
Homemade Pie Crust Recipe




This homemade pie crust makes enough for a double-crust pie, mixed by hand or in a food processor, with step-by-step photos for rolling and lining the pan plus a guide for blind baking. A blend of all purpose and cake flour mimics pastry flour, and shortening plus butter make it tender and flaky. About 20 minutes of active time, then at least 2 hours to chill. The dough keeps 2 days in the refrigerator or 3 months in the freezer.
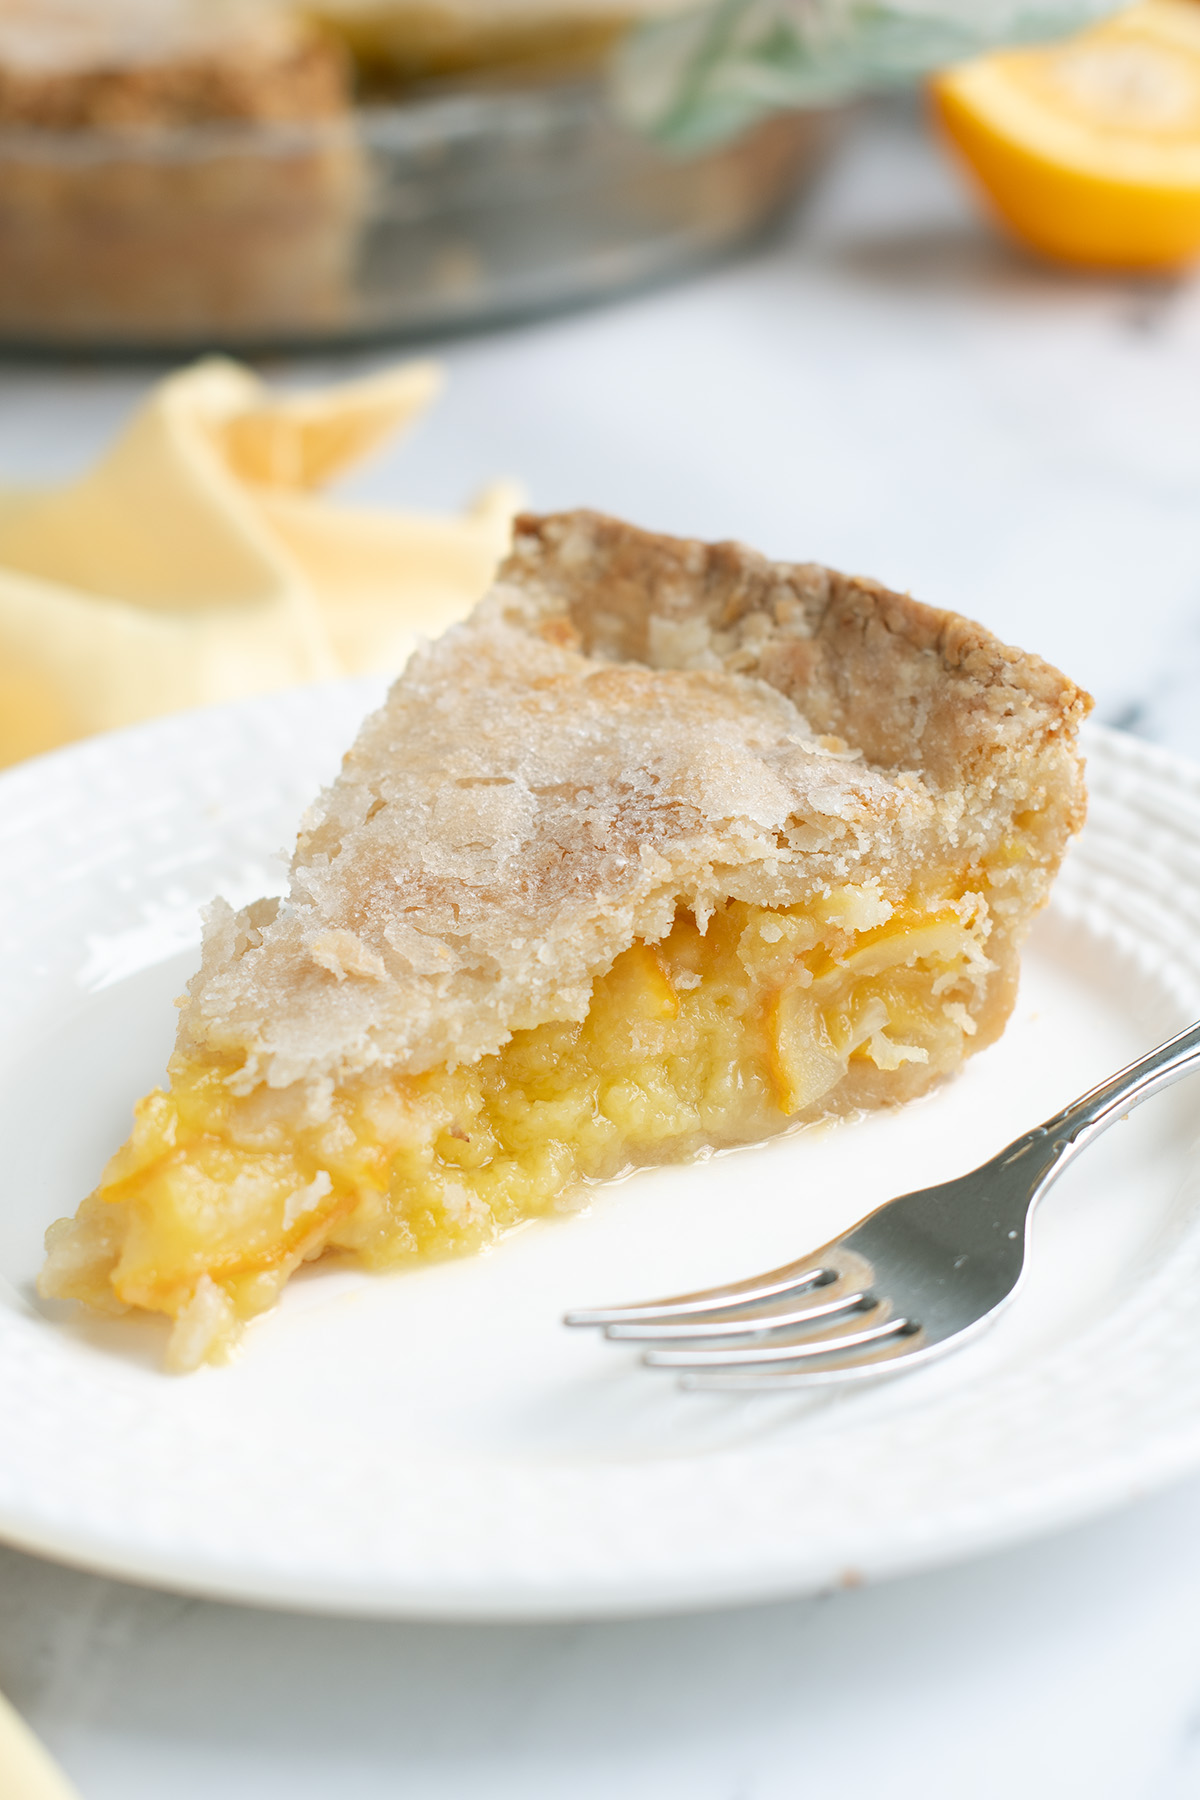
Table of contents
Choosing a favorite food is like choosing a favorite child. It’s impossible. My favorite food depends on my mood and appetite. But I can say that my favorite dessert is pie. Bake a sweet filling into a crust and I’m a happy camper.
So what’s the secret to a great pie? Well, it’s the crust, of course. This well-tested recipe will make a classic pie crust that is both tender and flaky and is easy to work with. You will get the best results mixing by hand, but I offer a food processor shortcut if you prefer a quick method.
Ingredients

- Flour – This recipe uses a mixture of all purpose and cake flour. The mixture mimics pastry flour, which can be hard to find in the supermarket. All purpose flour will give the dough enough structure so it can hold the flaky texture and a small proportion of cake flour will help keep it tender. If you have it, use 13.5 oz of pastry flour in place of the mixture. In a pinch, you can use 13.5 oz of bleached AP flour and get good results.
- Fat – I like to use a mixture of half vegetable shortening and half butter. Shortening has a higher melting point than butter and keeps the crust from slumping as it bakes. Butter is delicious, of course, and is great for getting that flaky texture. I sometimes use leaf lard in my pie crust. If you have that available you can use it in place of the shortening. I recommend adding the fat in two stages.
Why Add the Fat in 2 Stages?
The vegetable shortening is softer and it coats the flour so it absorbs less water, meaning less gluten is formed. The brittle texture of cold butter means you can keep visible flakes of butter in the dough. Those visible bits of butter melt and create the flaky layers. The result is a crust that is tender and flaky.
Process Photos
Here’s what the recipe process looks like at each stage. Refer to the recipe card below for measurements and exact instructions.
To Make Pie Crust By Hand
Working by hand is my favorite way to make pie dough. Hand mixing allows you to control the temperature and texture of the dough for the ultimate tender and flaky crust.

- Whisk together the dry ingredients.
- Work the shortening into the flour.
- Use a paring knife or vegetable peeler to slice the butter into 1/4″ thin slices. This can be done ahead of time and held in the refrigerator or freezer.
- Toss the sliced butter into the flour mixture. The thin slices will break down a bit as you toss, but should mostly stay intact.
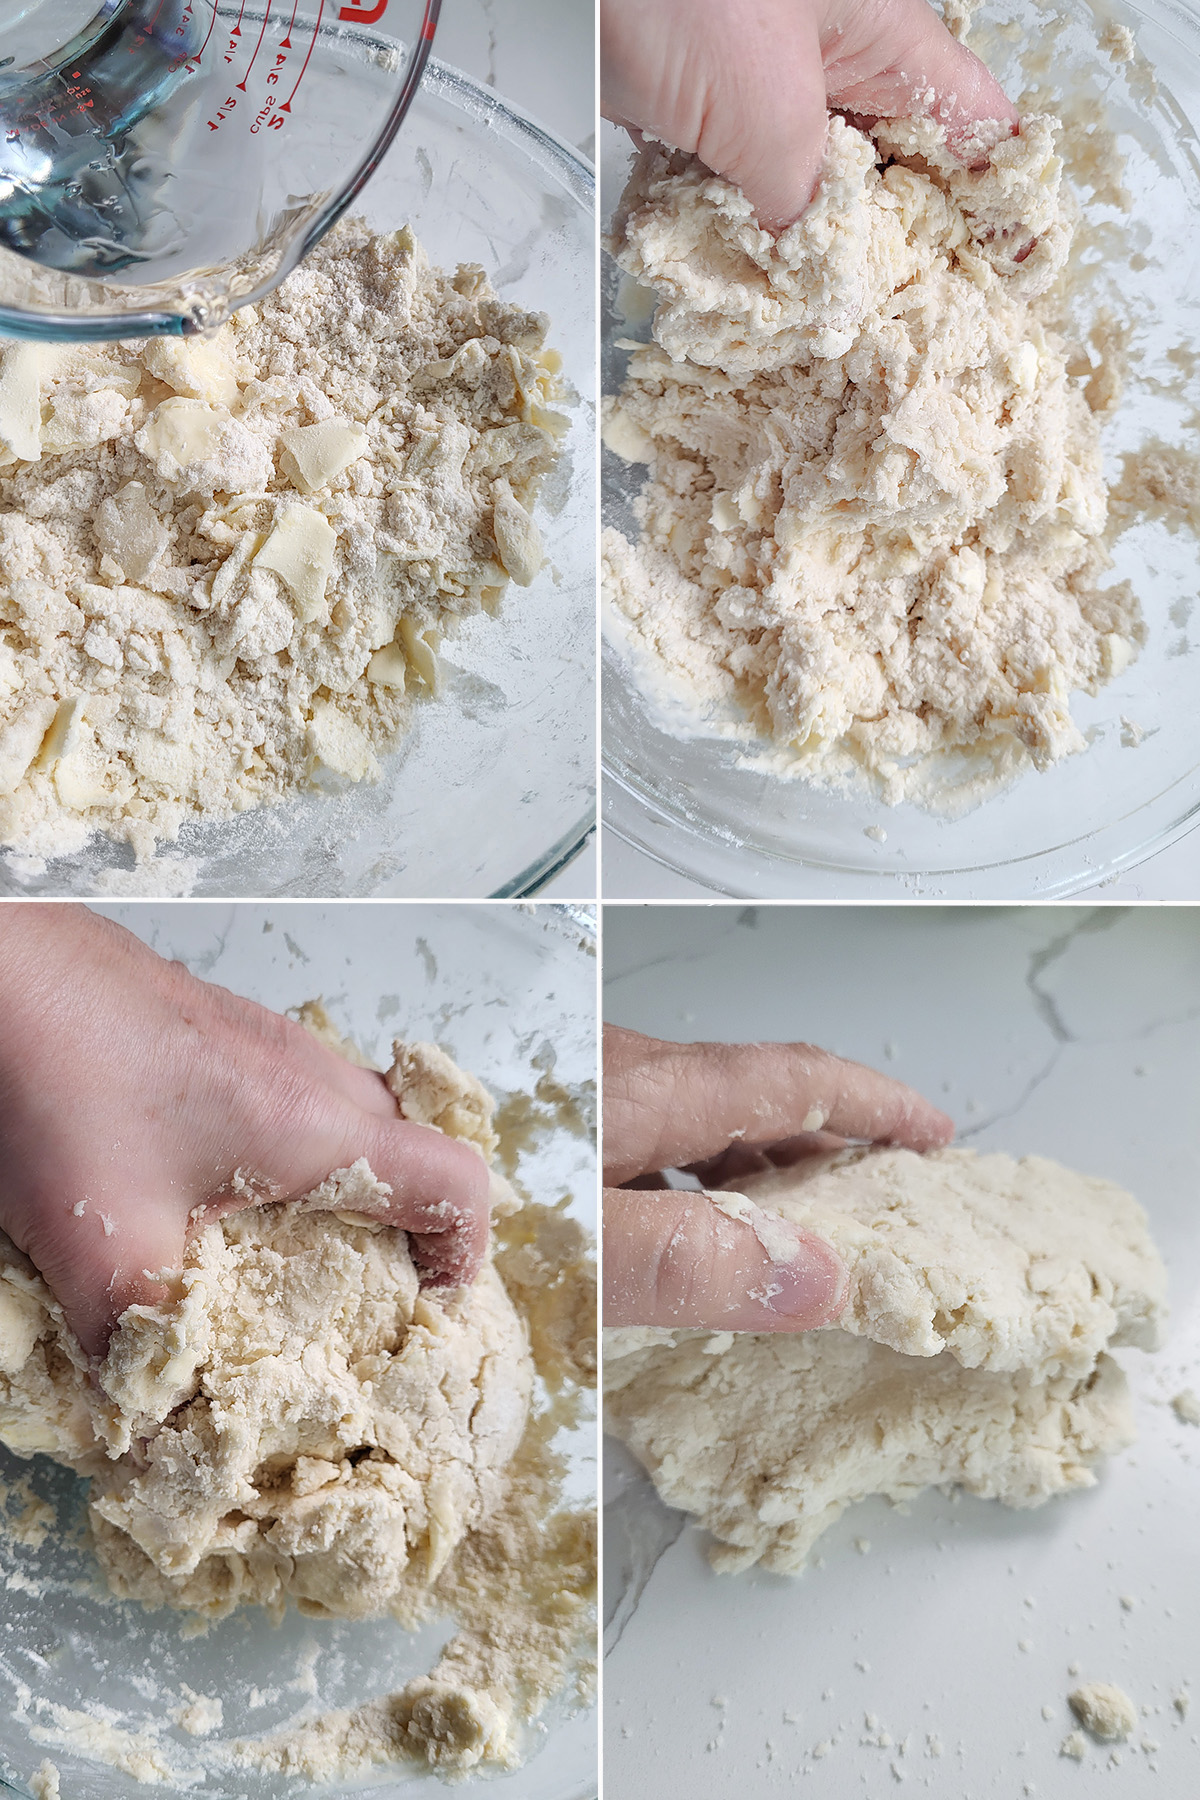
- Add the water all at once.
- Use a spatula or your hand to lightly toss the water through the flour.
- Gather the dough together, picking up the bits of dry flour as you go. If it’s a bit shaggy with some dry spots that’s ok. The water will redistribute while the dough rests in the refrigerator.
- Pat the dough to 1″ thick and fold it 2x to form layers.

- Divide the dough in half.
- Form each half into a disc.
- Place the dough into a bag or wrap in plastic and refrigerate for at least 2 hours or up to 2 days. The dough can be frozen for up to 3 months.
To Make Pie Crust in a Food Processor
For speed and convenience you can mix the dough in a food processor.
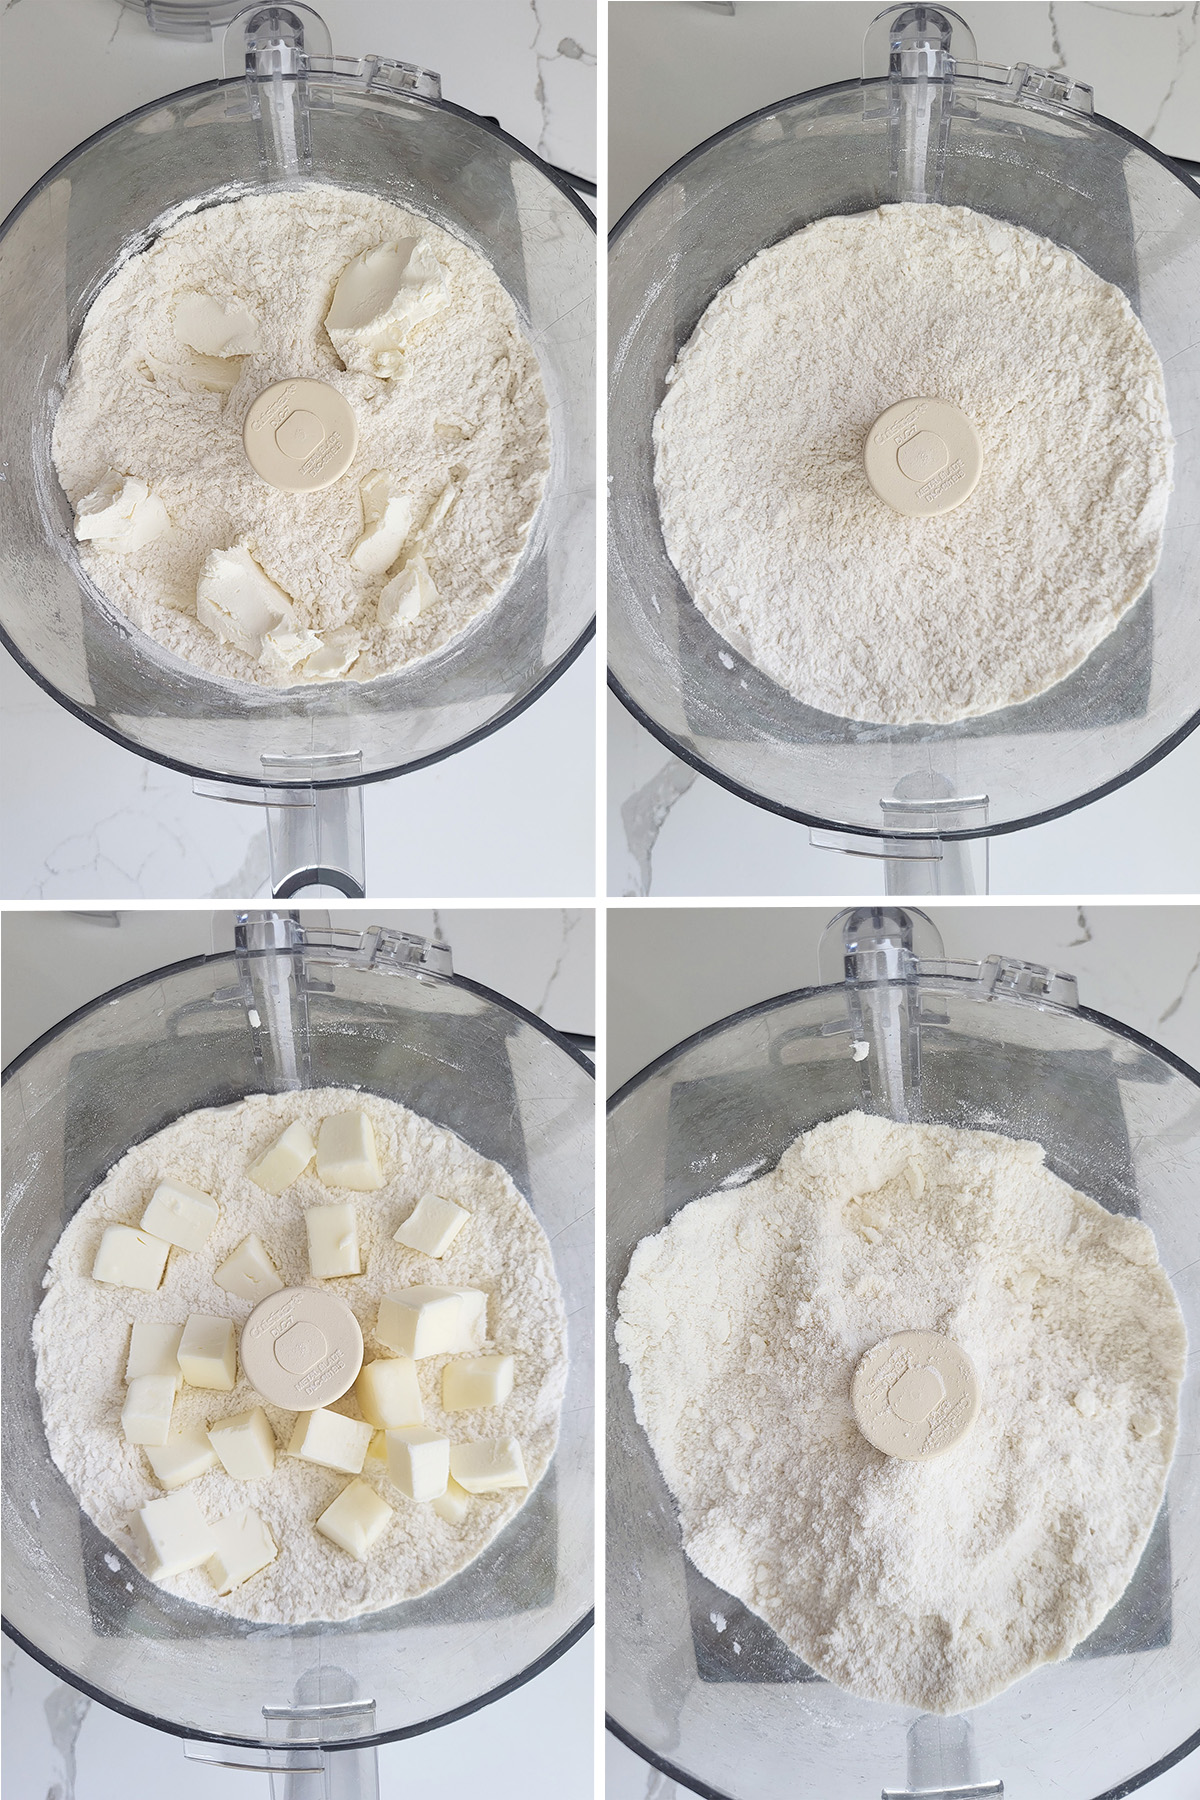
- Pulse the dry ingredients a few times to combine. Add the shortening and process until the mixture looks like coarse crumbs or cornmeal.
- Add 1/2″ cubes of butter and pulse 4-5 times. You don’t want the butter completely broken down. There should be lumps of butter visible.
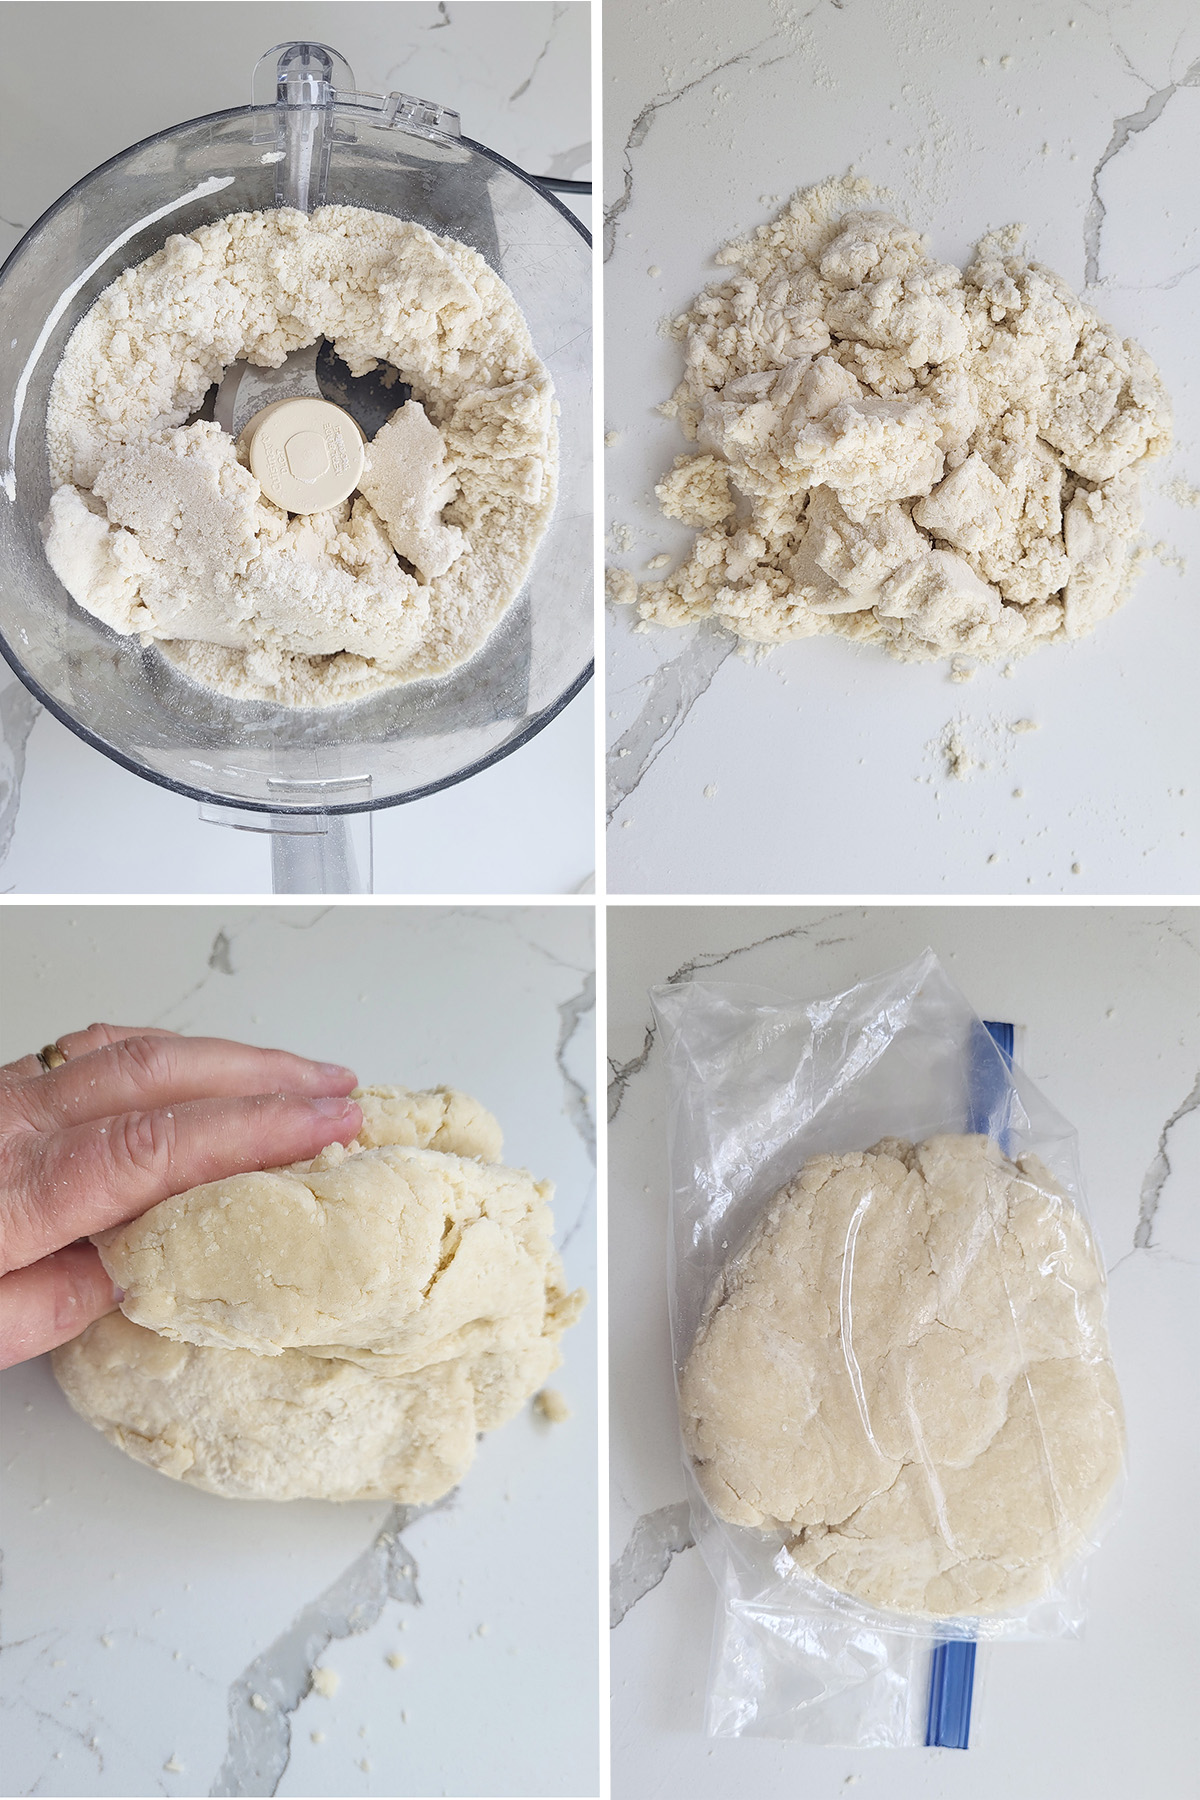
- Add the water and pulse until the dough begins to clump.
- Turn the shaggy dough out onto a surface and use your hand to form it into a cohesive mass.
- Pat the dough to 1″ thick and fold it 2x to form layers.
- Form it into two discs and chill at least 2 hours before rolling the dough.
Pastry Chef Tip
You must be patient and let the dough rest after you mix and before you roll. A couple of hours in the refrigerator gives any dry bits of flour time to absorb water. This transforms the dough from shaggy to cohesive. Let the dough rest 30 minutes after you roll it. Rolling works the gluten in the dough. If you bake it immediately it may shrink and crack in the oven.
How to Roll Pie Crust

- Place the cold dough on a lightly floured surface. Gently press back and forth over the dough with the rolling pin to loosen the dough.
- Roll the dough from the center out, constantly turning the dough so it doesn’t stick to the surface and it forms a circle.
- Roll the dough several inches wider than your pie plate.

- Roll the dough onto your rolling pin.
- Use the rolling pin to transfer the dough to the pie plate. Unroll the dough over the plate.
- Use your hands to tuck the dough into the pan. You should have a 1″ overhang all around the pan. If you’re making a single crust pie trim the edges and refrigerate the pie shell for at least 30 minutes before baking.

- If you’re making a double crust pie, after the pan is lined, roll the other half of the dough for the top of the pie.
- Sprinkle the rolled top crust lightly with flour. Fold the top in half and then into a quarter. Slide the top dough into the original bag or wrap in plastic.
- Place the pan into the refrigerator for at least 30 minutes to rest before filling and baking. You can unfold the top crust and use it as is, or you can cut it into strips to make a lattice pie crust.
How to Blind Bake Pie Crust
Blind baking, par-baking and pre-baking are all terms that refer to baking an empty pie crust before any filling is added.
The degree to which you bake the crust will be determined by the recipe you’re making.
- A par-baked crust is one that is baked until the dough is set, but is not fully browned. This method is useful for a pie that has a very wet filling, such as my Chocolate Buttermilk Pie or Coconut Custard Pie, or has a quick-bake filling like my Corn Quiche. Par-baking gives the crust a head-start so it is less likely to absorb too much moisture from the filling. Without par-baking the crust could end up soggy instead of crisp.
- A pre-baked crust is fully baked before the filling is added. You fully pre-bake a crust for pies that have a non-bake filling. For example, the filling for Lemon Meringue Pie is cooked on the stove and added to a fully baked crust.
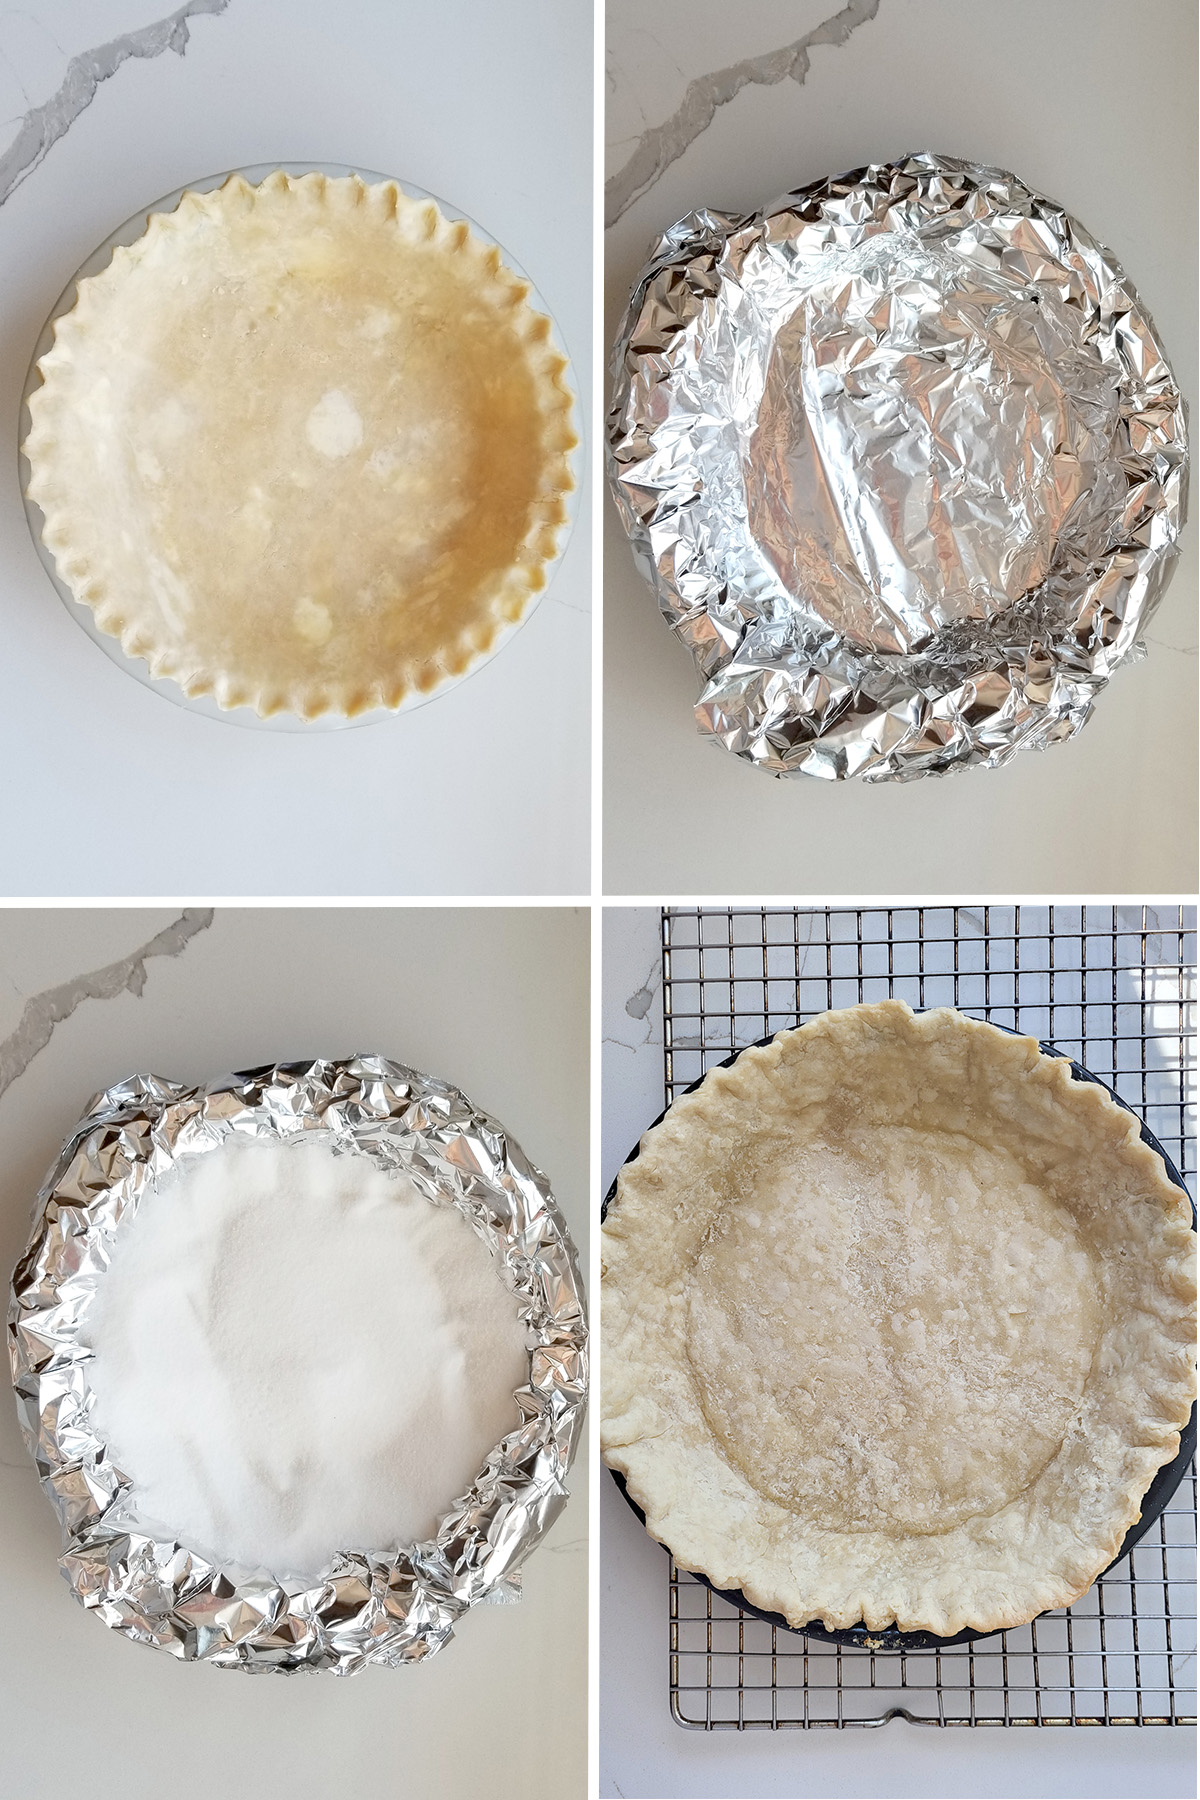
- Line the pie pan with the dough. Chill at least 30 minutes before baking to avoid shrinking or cracking in the oven.
- Line the pan with foil and fill the foil with pie weights, dry beans or granulated sugar. The weight keeps the dough from slumping in the pan as it bakes. Bake in a preheated 375℉ oven for 15 minutes. Lift the foil and check if the crust is mostly set. A few under-baked spots on the bottom are ok. If you remove the foil too early the dough may slide and slump in the pan.
- Once the dough is set, remove the foil and bake to the doneness indicated in the recipe. For a par-baked crust bake until the dough is set but still pale. About another 5 minutes after removing the foil. (See the above photo for an example of a par-baked crust.)
- For a fully baked crust bake until it is golden brown, about another 10 minutes.
Pastry Chef Blind Baking Tips
Save the dough scraps. After removing the foil, use the scraps to fill in any cracks or holes in the dough. This will prevent a wet filling from leaking. For a fully blind-baked crust, brush it with egg white as soon as it comes out of the oven to waterproof the crust before the filling is added.
Other Pie Crust Recipes
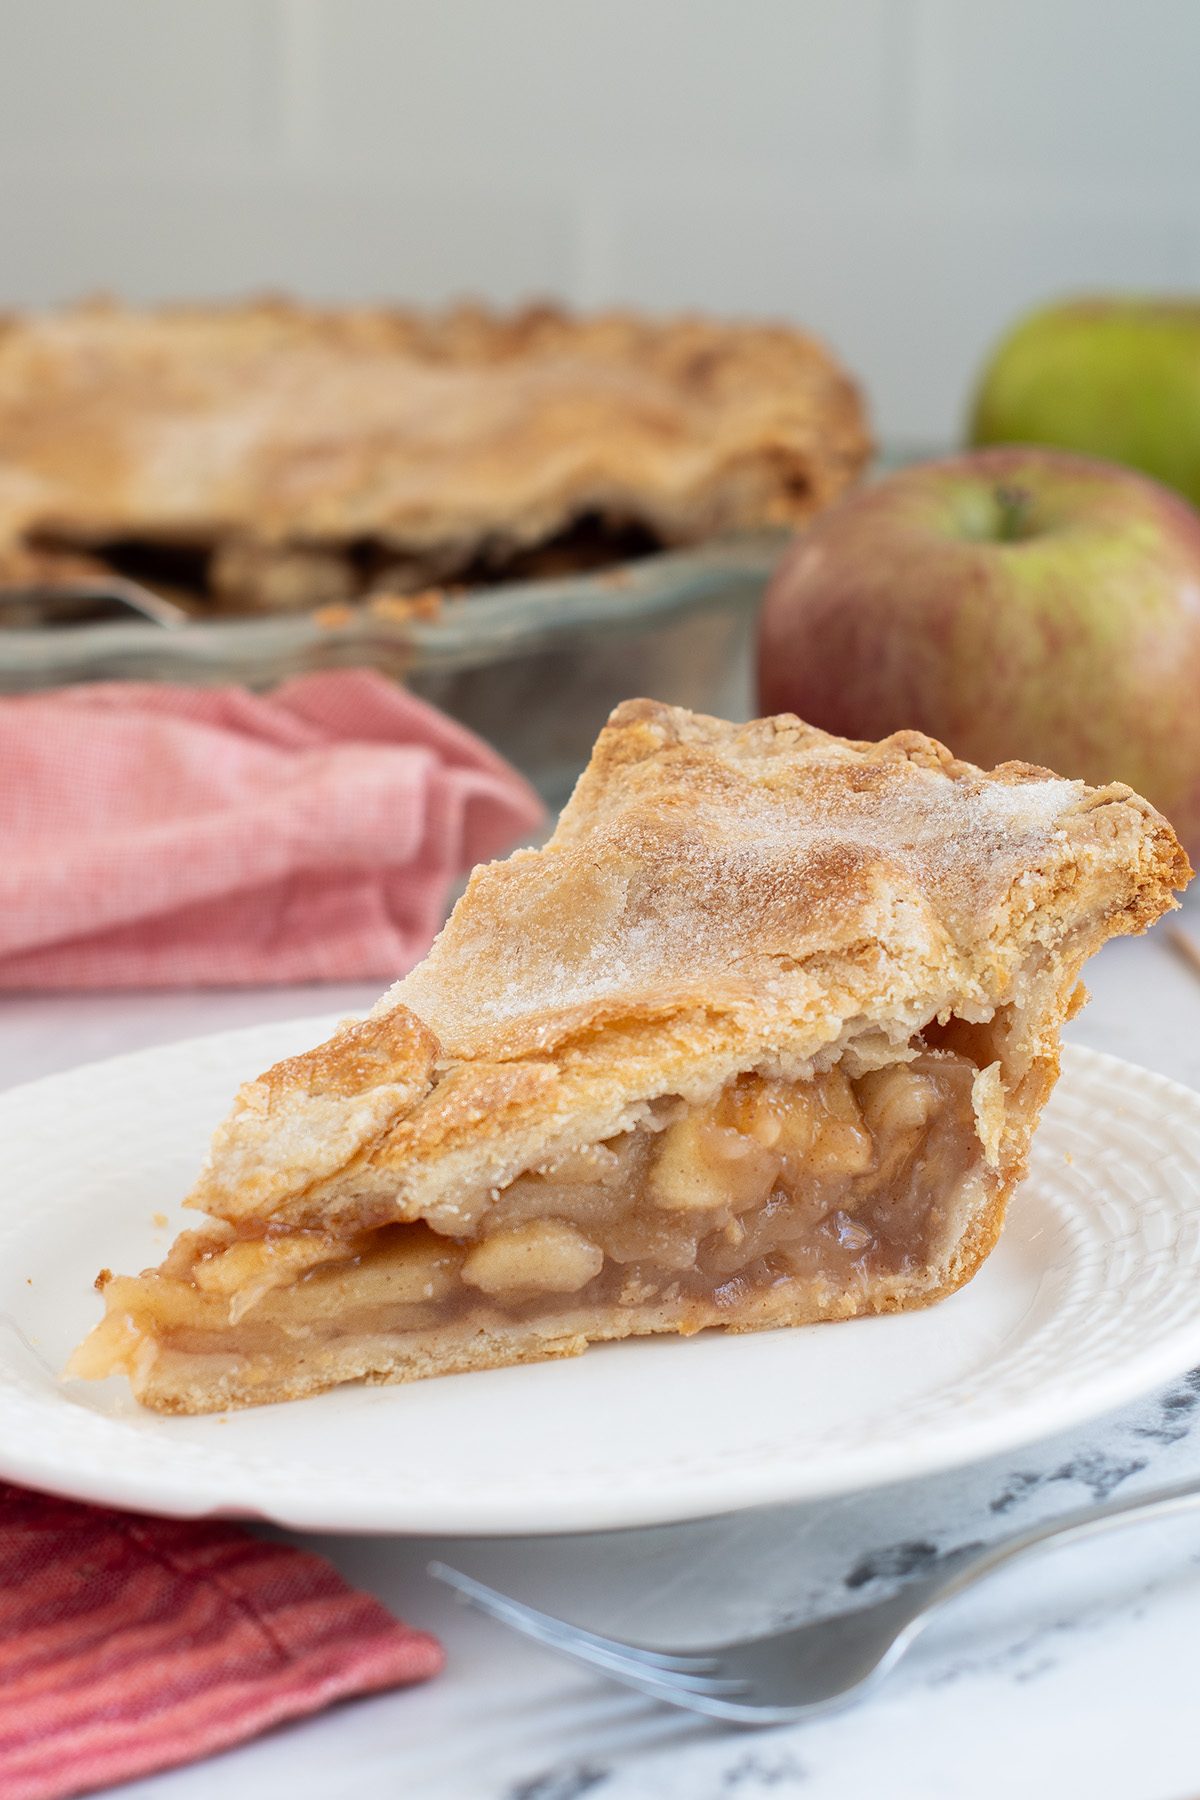
If you love this recipe as much as I do, I’d really appreciate a star rating and a quick comment. Ratings and comments help my recipes show in search results. Thanks!
Homemade Pie Crust Recipe
Video
Ingredients
- 10 oz all purpose flour (2 cups (see note))
- 3 ½ oz cake flour (⅔ cup)
- 1 teaspoon salt
- 1 tablespoon granulated sugar
- 4 oz vegetable shortening (see note)
- 4 oz unsalted butter (very cold and sliced into ¼" slices)
- 4 oz ice cold water (½ cup)
Instructions
- In a large bowl, combine 10 oz all purpose flour, 3 ½ oz cake flour, 1 teaspoon salt and 1 tablespoon granulated sugar. Whisk together to mix the ingredients evenly.
- Work 4 oz vegetable shortening into the flour mixture until it resembles coarse corn meal. Using your fingers, toss 4 oz unsalted butter slices into the flour mixture. Work quickly so the butter doesn't get warm. Don't break the butter down completely. There should be some large flakes remaining.
- Pour 4 oz ice cold water onto the flour all at once and toss to combine. Gently press the dough just until it comes together. It will look a little dry in spots. The water will redistribute in the dough as it rests. Pat the dough to 1" thick and fold it 2x to form layers. Divide the dough in 1/2 and form each half into a cohesive disc.
- Wrap the dough and refrigerate for at least 2 hours before using.
Would you like to save this recipe?


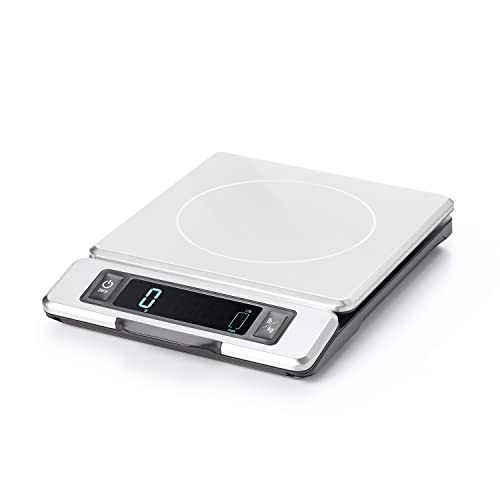

As an Amazon Associate and member of other affiliate programs, I earn from qualifying purchases.
I don’t know what I did wrong. I used both butter and crisco. It seemed the water was short. It didn’t look like the picture so I added a little more water. My hands are always to warm to normally touch crusts dough so I had a cold pack next to the marble to cool my hands to barely touch the dough. The resulting crust was so hard I had to us a serrated knife to cut the slices and everyone at family dinner ate the lemon filling and the meringue but left the stiff boat like crust. What did I do wrong?
Did you follow the procedure to first mix in the criso and then the butter? Did you weigh your ingredients? Did you use a light touch when adding the butter as illustrated in the photos? “Toss the sliced butter into the flour mixture. The thin slices will break down a bit as you toss, but should mostly stay intact.” It is noted in the recipe that the dough may look “shaggy” when it’s first mixed. That is, areas of dry bits of dough. The dough needs to be chilled after mixing for at least 2 hours, as instructed in the recipe. The water will redistribute in the dough during that rest period. If you over-mix the dough and add too much water it could certainly be to dense (hard) rather than light and flaky.
Under the list of ingredients, the (supposedly) lard ingredient, there is a garbled/broken link:
4 oz ” class=”wprm-recipe-ingredient-link” target=”_blank” rel=”nofollow”>leaf lard (or vegetable shortening, cold)
You may wish to have it fixed. Thanks!
Sorry, I’m in the middle of updating this recipe/post.
Delicious recipe, thank you. Can the recipe be doubled for 2 double crust pies?
Yes, certainly.
I should have commented here but left my praise over with the maple glazed apple pie. This is the best pie crust I have ever made. Forget the vodka, egg, or whatever ‘granny’s secret’ you have. Follow this recipe word for word and rest that dough in the fridge for the recommended time. Perfect roll, no raggy edges or cracking. Tender and flaky. Perfection. In Canada I use the Tenderflake lard with the butter and get great results.
@Allison, I’m just laughing at your comment Alison LOL! I will definitely try this pie crust.
Eileen, This is for sure the perfect pie crust. For some reason, my husband accreditation it to me telling family that I make the best pie crust. You’re spoiling him. I make the lemon meringue from your cookbook and it’s his favorite. We have a tree loaded with Meyer lemons, so many we have to give them away, but I freeze a lot of juice and peel for pies.
My only problem is the pie crust cracks around the edges when I’m rolling it out. What causes that and is there a fix. It doesn’t ruin the final product, but I’d like to rollout a perfect round.
Hi Judy. Thanks so much for the feedback. The cracking can happen when the dough is cold. I tend to use the sides of the hands to scootch the edges back together as I roll. Also I find that if I gradually roll around the edges and keep moving the dough as I roll there is less cracking. You are so lucky to have a Meyer Lemon tree. I’m very jealous!
I would like to have some working tips.
1. After chilling for the required time, can it be rolled right out of the refridgerator?
2. Is flour added to the working surface?
3. Does the rolled dough need to rest in the pie plate at room temperature or in the refridgarator? And if so, how long?
4. Is the pie dough baked before the filling is added? (I hope not)
5. Do you have more working tips?
Hi Lynn. 1. Yes it can be rolled right from the refrigerator. If you watch the video, you’ll see that I gently press down on the cold dough to soften it a bit before rolling. 2. Yes, lightly flour the work surface. 3. Always rest the dough in the refrigerator to keep it cold. Rest it as along as you need for the particular recipe you’re making. 4. It depends on the specific pie recipe. Follow the directions for the recipe you’re using. 5. Just what’s included in the post/recipe/video.
Can it set overnight in the fridge? I don’t have time to do itt all in one night.
Absolutely. It can stay in the fridge for several days or in the freezer for weeks.
I am so pleased with this recipe.. I found leaf lard on Amazon. And replaced 3 tablespoons of the cold water with 3 tablespoons of vodka. I made a peach pie with the traditional top crust and an apple pie with a top crust that was covered with an assortment of leaves cut from the pastry dough,. It was so scrumptious and very pretty to look at.
I’m learning so many great tips here, thanks so much. That pie looks to die for.
Thanks, pie is my absolute favorite dessert!