An Ice Cream Cone Recipe


Do you really need an Ice Cream Cone recipe? Are homemade ice cream cones really worth the effort? Yes! Store-bought cones are fine and all, but crisp, sweet and fresh homemade cones are an extra special way to enjoy your favorite ice cream.
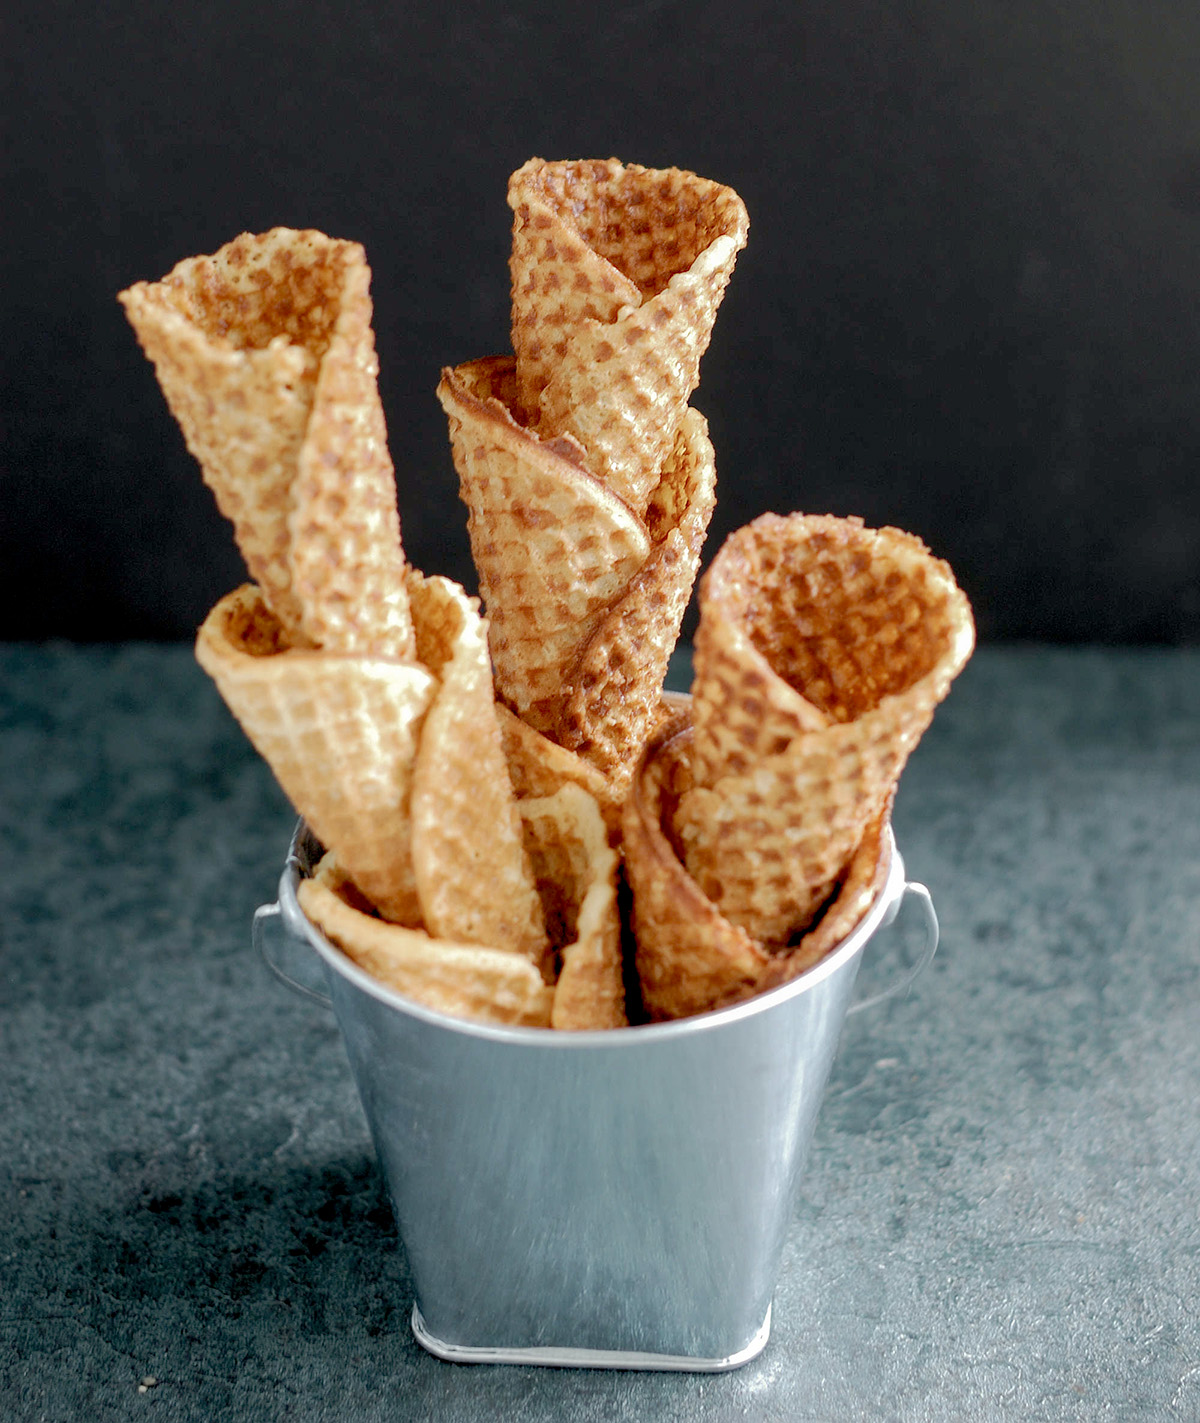
If you can bake cookies, you can make waffle cones.
The difference between cones that you make yourself and the ones you buy in the store is like the difference between packaged cookies and homemade cookies. No comparison!
Ingredients
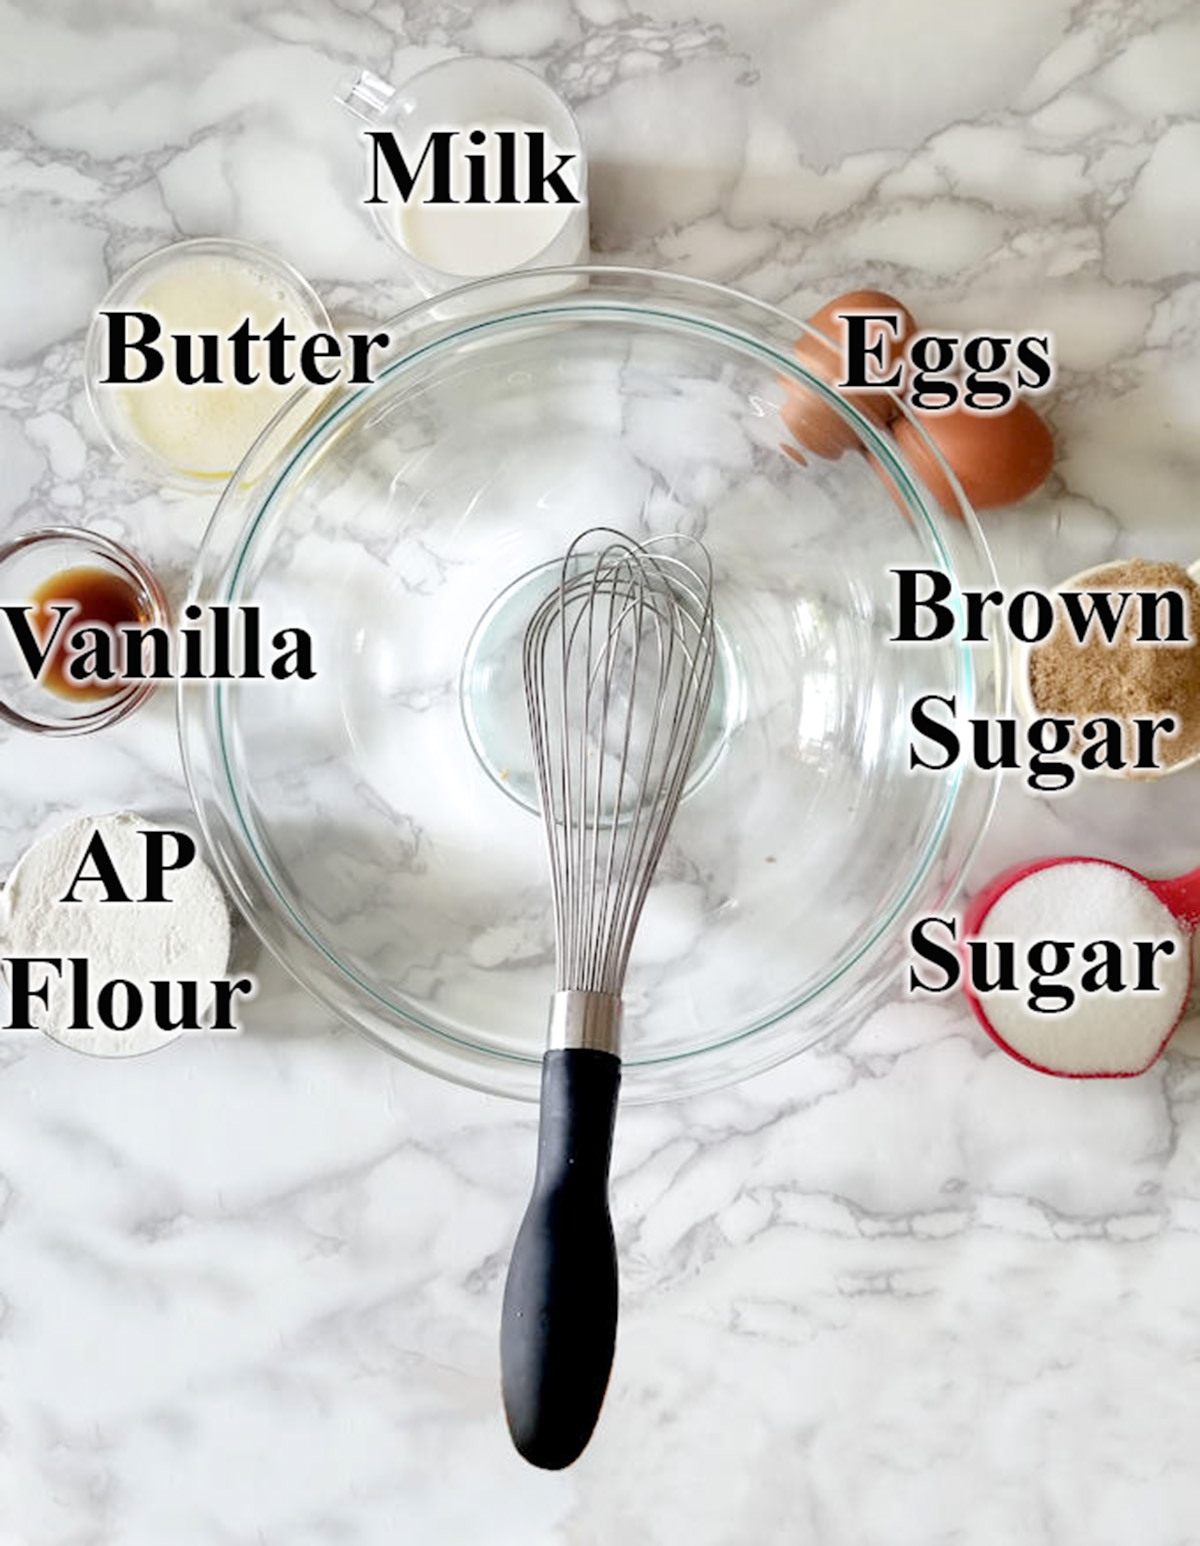
Process Photos
Here’s what the recipe process looks like at each stage. Refer to the recipe card below for measurements and exact instructions.
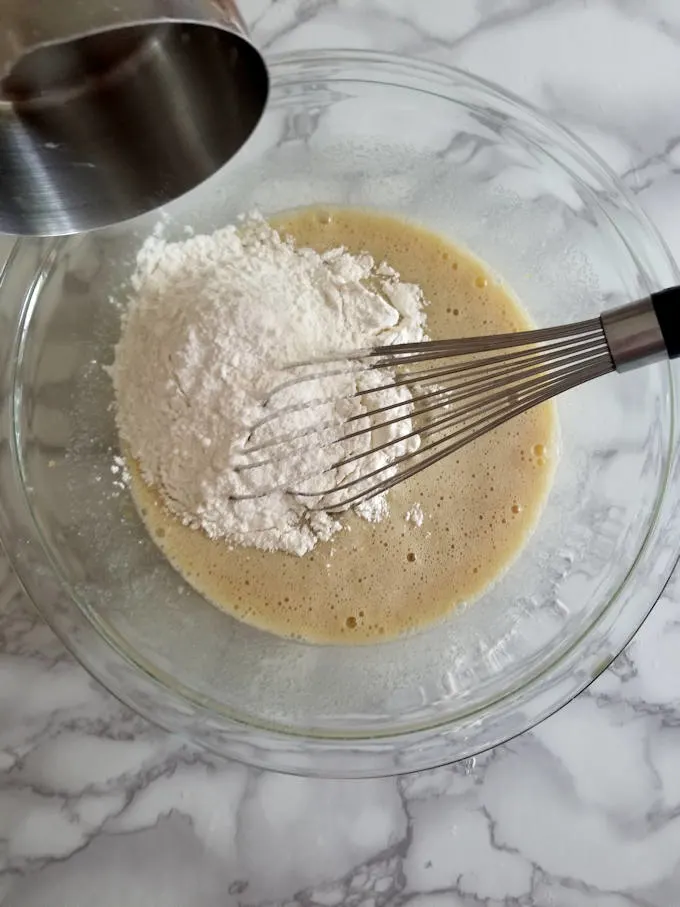
- Combine all the ingredients except the flour in a large bowl.
- Whisk the flour into the batter.
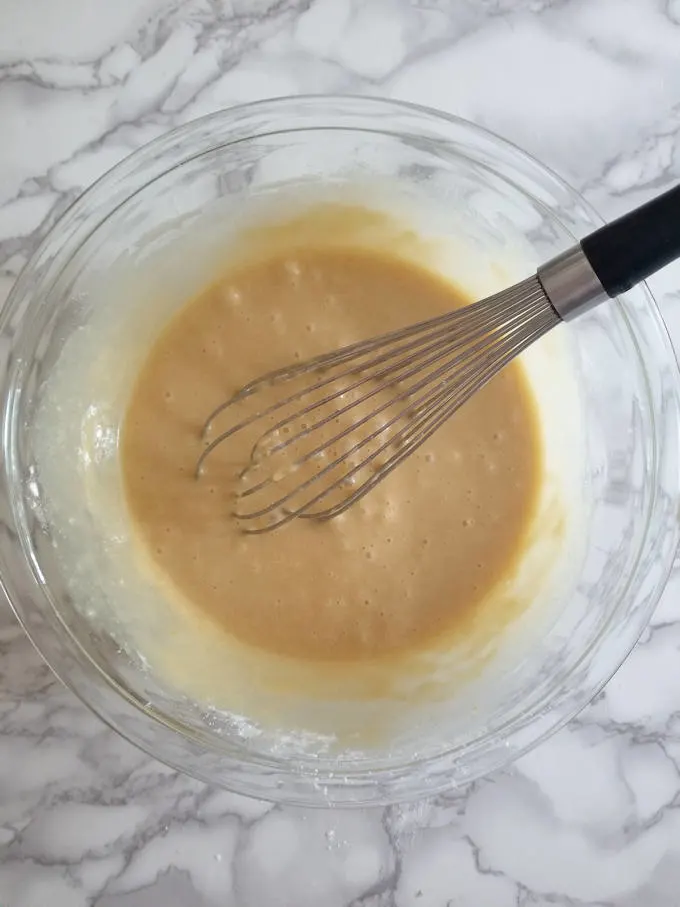
- Let the batter rest at least a 1/2 hour before baking.
- At this point can also be refrigerated for several days or frozen for up to a month.
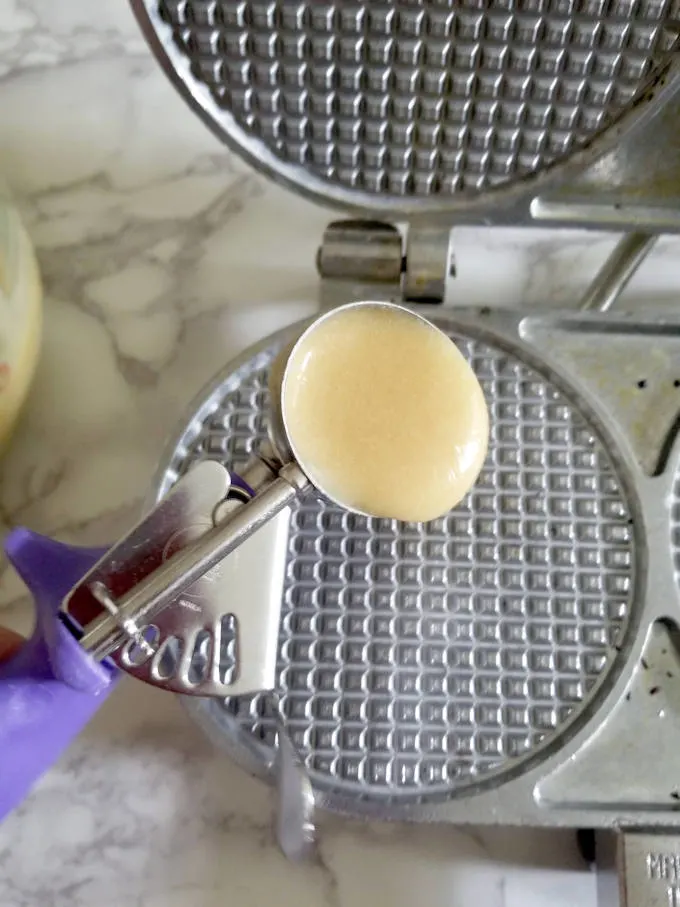
- Use a cookie scoop or a spoon to portion the batter.
- Adjust the amount of batter based on the size of your waffle iron.
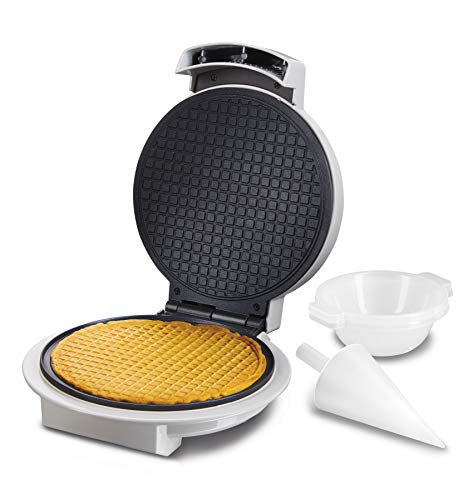
- If you don’t have a special cone maker you can spread the batter onto baking sheets and bake them in the oven. Your cones won’t have the waffley ridges, but they’ll still taste great.
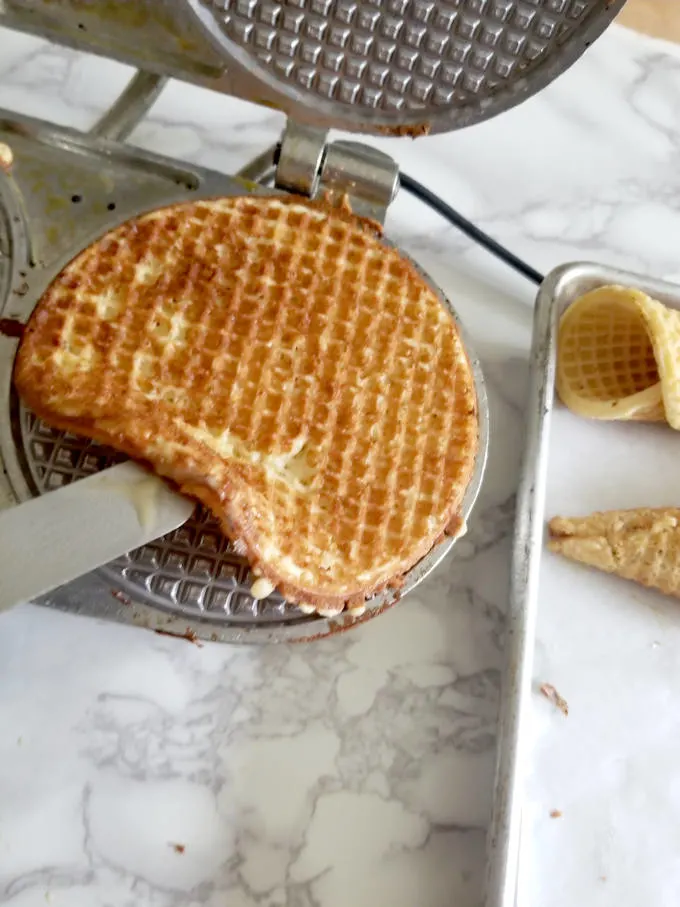
- Use a small spatula, fork or the tip of a paring knife to lift the waffle off the heat.
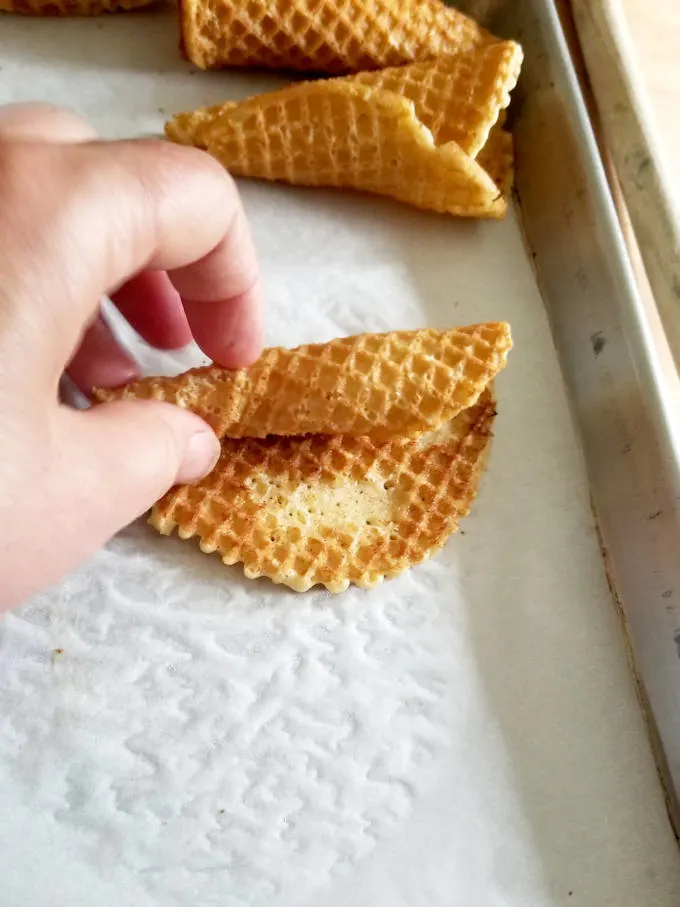
- Shape the cone while the waffle is still warm. You can go back and tweak the shape before the cone is completely cooled.
- If a cookie starts to harden before you shape it return it to the oven for a minute or two to soften and then continue
- Continue baking and shaping the cones until all the batter is used. If you don’t want to bake all the cones at once you can refrigerate or freeze the batter to use later.
How to make Waffle Cone Bowls
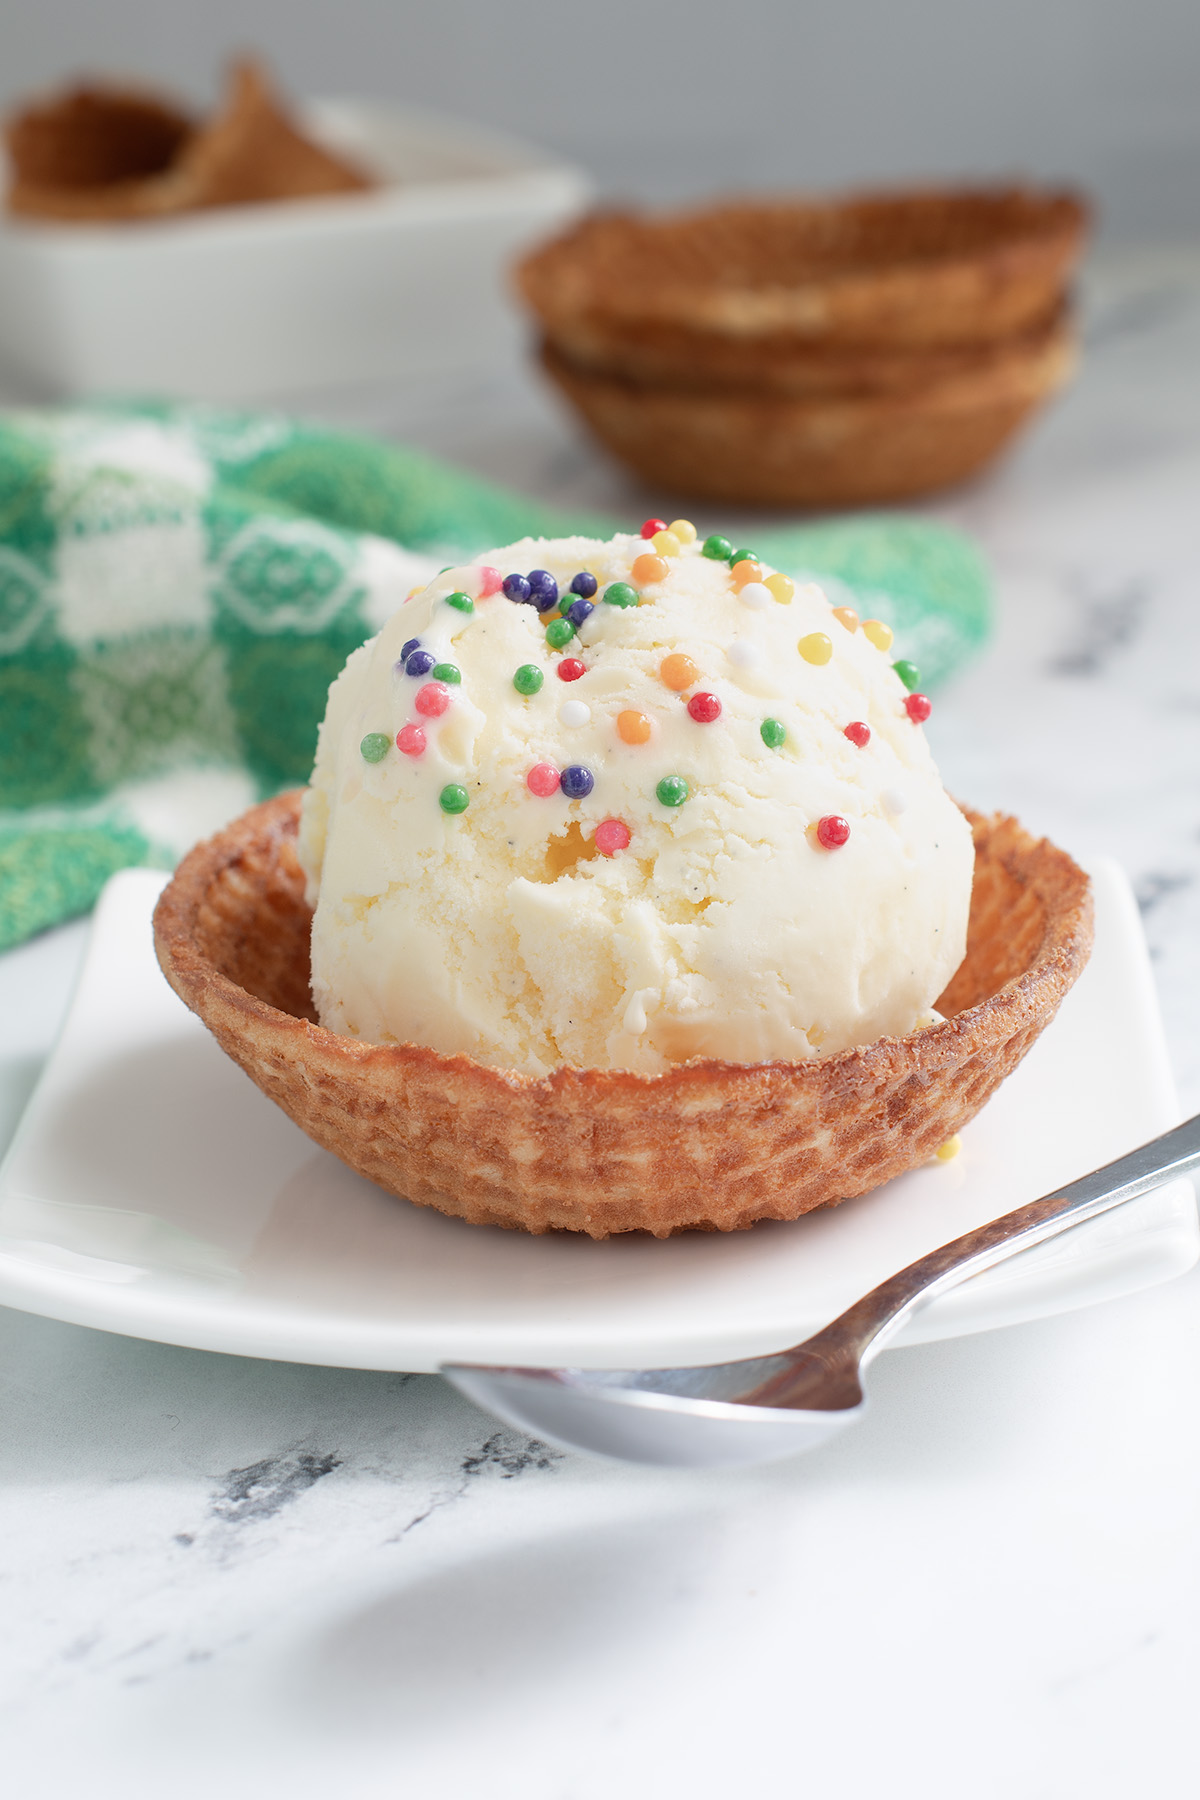
- .To create waffle cone bowls, drape the warm cookies over the back of a small bowl and let it cool.
- Another option is to leave the cookies flat and just enjoy them as a cookie, or use two cookies to create an ice cream sandwich!
Storage
Homemade Ice Cream Cones should be stored in a covered container at room temperature. They will stay crisp for 4-5 days but are best they day they are made. The baked cones don’t freeze well. The batter can be refrigerated or frozen and baked as needed.
If you’re a chocoholic, you might like these Chocolate Waffle Cones


Ice Cream Cone Recipe
Ingredients
- 4 oz brown sugar (½ cup)
- 4 oz granulated sugar (½ cup)
- 2 large eggs
- 1/8 teaspoon table salt
- 4 oz whole milk (½ cup)
- 2 oz unsalted butter (¼ cup, melted)
- 1 tablespoon vanilla extract
- 5 oz all purpose flour (1 cup, see note)
Instructions
- In a large bowl, whisk together4 oz brown sugar, 4 oz granulated sugar, 2 large eggs, 1/8 teaspoon table salt, 4 oz whole milk, 2 oz unsalted butter 1 tablespoon vanilla extract.
- Whisk in 5 oz all purpose flour until combined. The batter will look like pancake batter.
- Set aside the batter for 30 minutes or refrigerate overnight. Return the batter to room temperature before making the cookies.
- If you have a waffle cone iron preheat that. If you don't have a special iron, line 2 baking sheets with parchment paper or a silicone baking mat and preheat the oven to 350 °F.
- If using the waffle iron bake the cookies according to the directions for your model. Remove the cookie from the iron and set it on a work surface. Pour another cookie and while that bakes, wrap the first cookie into a cone shape. Continue working with two cookies at a time. While one is baking, form the other into a cone. As the cones cool continue tweaking the shape until they are set.
- If baking the cones in the oven, work with 2 cookies at a time on each baking sheet. For each cookie, spread two tablespoons batter to a 5-6″ circle. Bake one sheet of cookies until golden brown, about 7-8 minutes. While the first set of cookies is baking, spread the cookies onto the other sheet. Remove the first sheet from the oven and put in the second sheet. While the second sheet is baking form the cones from the first sheet. Continue working with the sets of cookies until all the batter is used up. (see note)
- Cool completely. Store at room temperature in a tightly covered container.
Would you like to save this recipe?


As an Amazon Associate and member of other affiliate programs, I earn from qualifying purchases.

Is it 2 oz butter or 1/4 cup? 1/4 cup is 4 oz.
A cup is 8 oz so a 1/4 cup is 2 oz.
By far the most delicious ice cream cone I ever had.