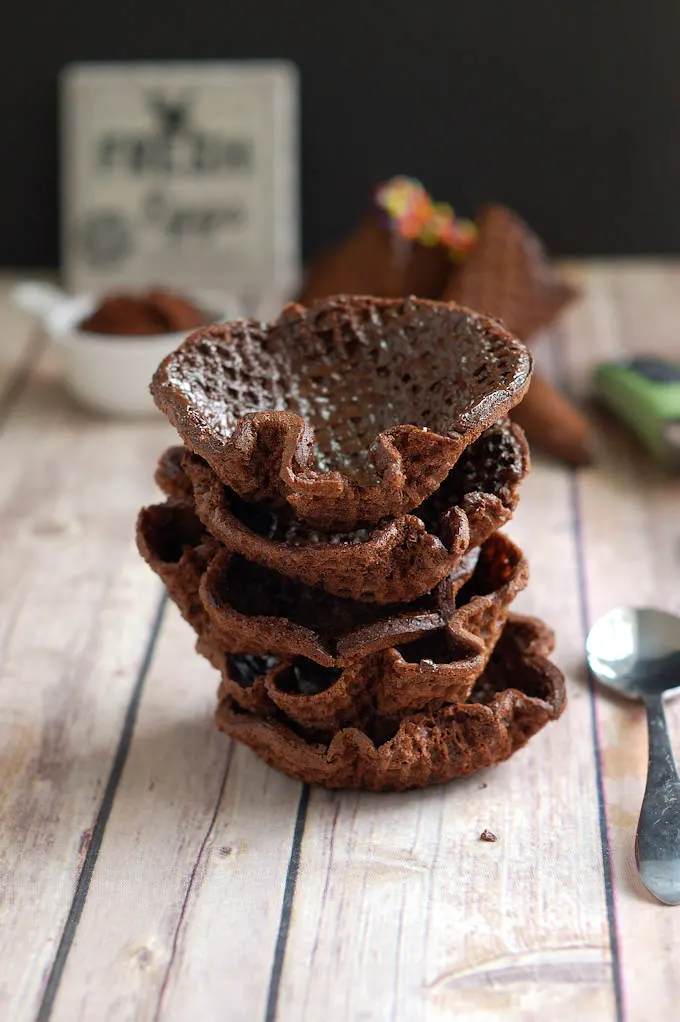
A Chocolate Waffle Cone Recipe (or make bowls!)
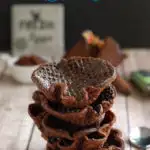

Why make this Chocolate Waffle Cone recipe instead of just buying a box of premade cones? Because the difference between homemade chocolate ice cream cones and the ones you buy in the store is like the difference between packaged cookies and homemade cookies. No comparison! Also, you can turn these cones into little bowls if you’d like.
This recipe is a variation on my basic Ice Cream Cone Recipe. By replacing some of the flour with cocoa, we can make beautiful chocolate cones or bowls.
The main difference when working with chocolate cone batter is that you won’t be able to use visual cues of browning to know when the cookies are done.
If you’re using a waffle maker, bake according to the directions for your model. If you’re baking the cookies in the oven bake until the batter is set all the way to the center.
Tips for making homemade Chocolate Waffle Cones or Bowls:
- The batter will keep in the refrigerator for several days if you want to make just a couple of cones at a time. Left over batter can be frozen for several weeks.
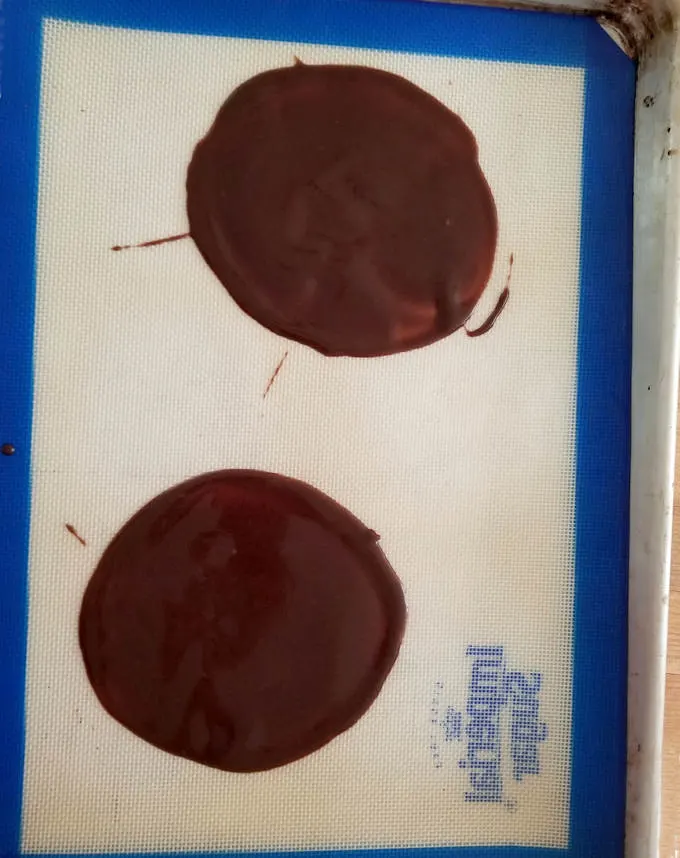
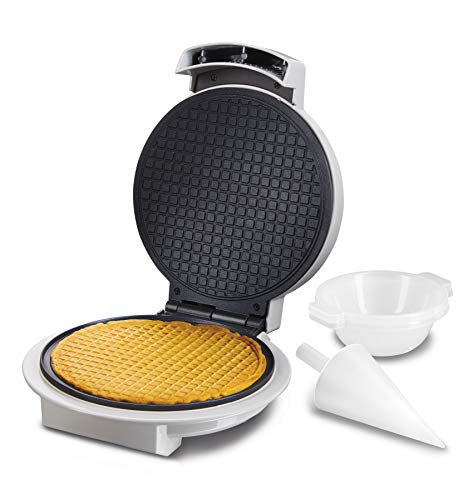
- I used a Waffle Cookie Iron. But you can spread the batter onto baking sheets and bake them in the oven.
- Adjust the amount of batter per cone according to the directions for your waffle cone maker.
- Do resist the urge to spread the cookies too thick. More is not always better. The batter should be super-thin so the cones bake up very crisp. You want the cone to crack when you bite it.
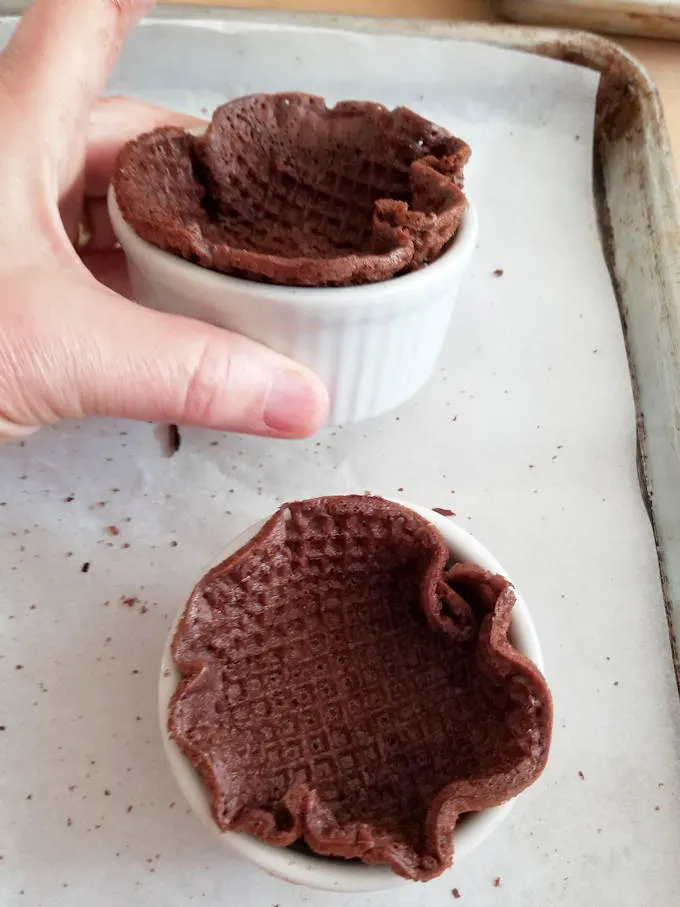
- If a cookie starts to harden before you shape it return it to the oven for a minute or two to soften and then continue.
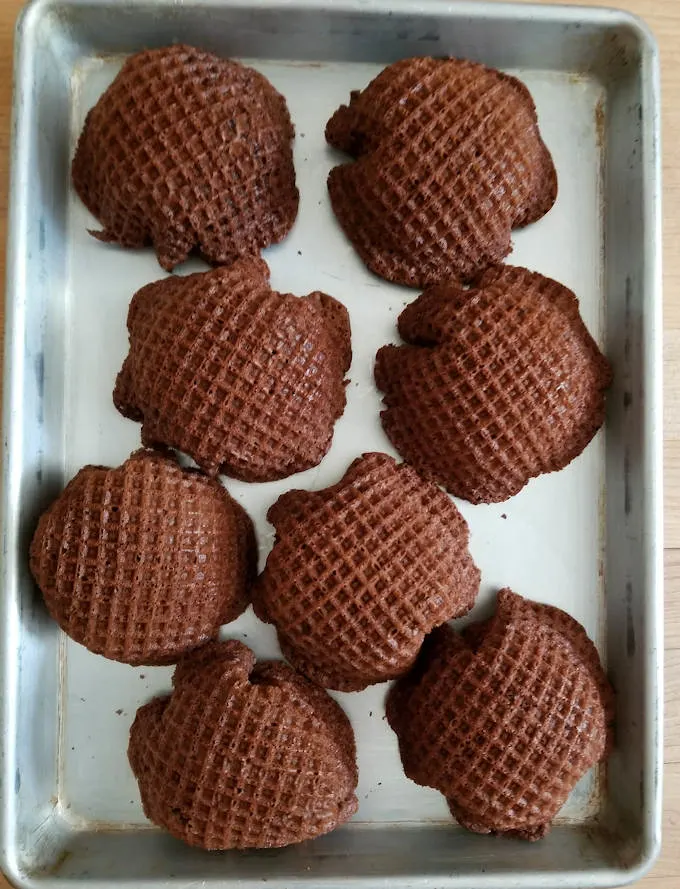
- To create ice cream bowls, drape the warm cookies over a small bowl.
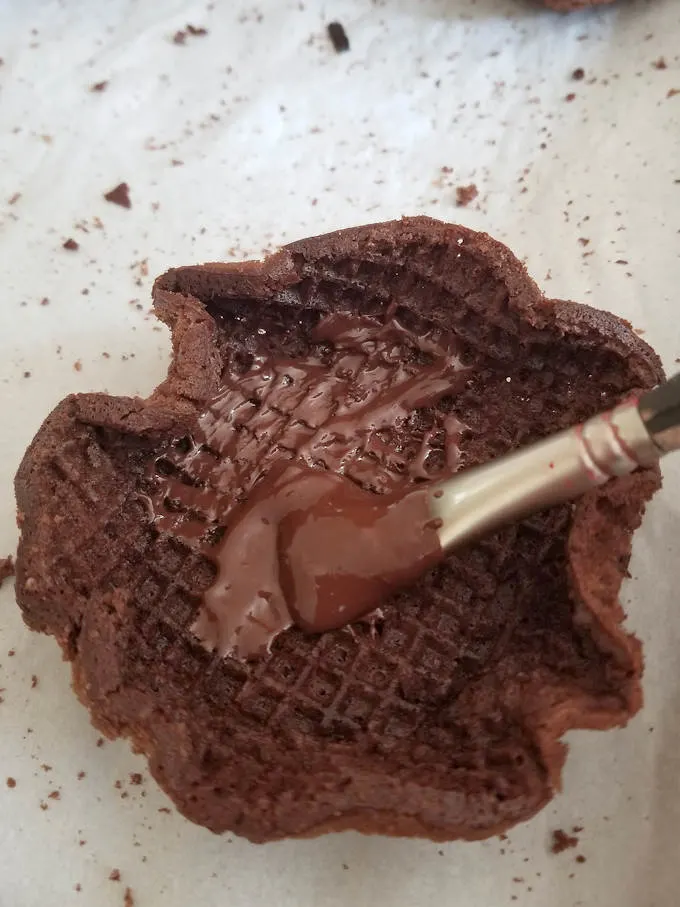
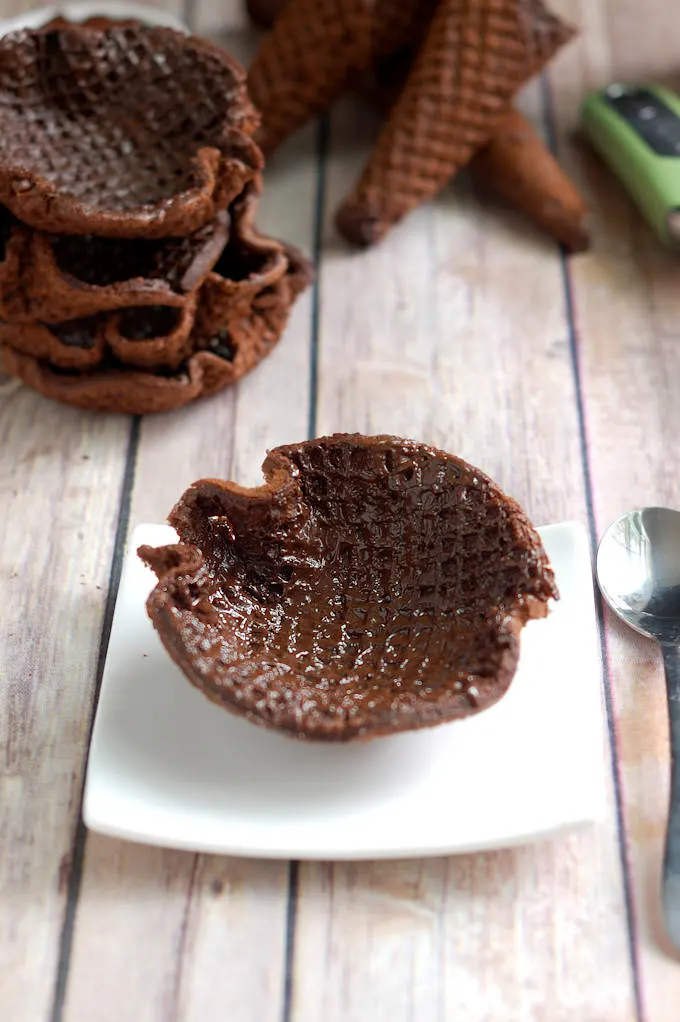
- I like to coat the inside of the waffle bowls with melted chocolate. You can also dip the top and bottom of waffles cones in chocolate to prevent leakage.
Scroll through the step-by-step photos to see how to make chocolate waffles cones or bowls:


Now, all this recipe needs is a big ole’ scoop of ice cream. How about some Homemade Cookie Dough Ice Cream?
If you love this recipe as much as I do, please consider leaving a 5-star review:
Chocolate Ice Cream Cone Recipe
Ingredients
- 4 oz brown sugar (½ cup)
- 4 oz granulated sugar (½ cup)
- ⅛ teaspoon table salt
- 2 large eggs
- 4 oz whole milk (½ cup)
- 2 oz unsalted butter (¼ cup, melted)
- 1 tablespoon vanilla extract
- 3 ¾ oz all purpose flour (¾ cup, see note)
- 1 oz cocoa powder (¼ cup)
Instructions
- In a large bowl, whisk together 4 oz brown sugar, 4 oz granulated sugar, ⅛ teaspoon table salt, 2 large eggs, 4 oz whole milk, 2 oz unsalted butter and 1 tablespoon vanilla extract.
- Whisk in 3 ¾ oz all purpose flour and 1 oz cocoa powder until combined. The batter will look like pancake batter.
- Set aside the batter for 30 minutes or refrigerate overnight. Return the batter to room temperature before making the cookies.
- If you have a pizelle cookie/waffle cone iron, preheat that. If you don't have a cookie iron, line 2 baking sheets with parchment paper or a silicone baking. mat and preheat the oven to 350 °F.
- Use about 2 tablespoons of batter for each cone or adjust the amount of batter according to the instructions for your cookie iron. Scoop the batter into the center of the cookie iron and immediately spread to cover the surface. Close and bake until set. Remove the cookie from the iron and set it on a work surface. Pour another cookie and while that bakes, wrap the first cookie into a cone shape. Continue working with two cookies at a time. While one is baking, form the other into a cone. As the cones cool continue tweaking the shape until they are set.
- If baking the cones in the oven, work with 2 cookies at a time on each baking sheet. For each cookie, spread two tablespoons batter to a 5"-6" circle. Bake one sheet of cookies until set, about 10 minutes. While the first set of cookies is baking, spread the cookies onto the other sheet. Remove the first sheet from the oven and put in the second sheet. While the second sheet is baking, form the cones from the first sheet. Continue working with the sets of cookies until all the batter is used up. (see note)
- Cool completely. Store at room temperature in a tightly covered container.
Would you like to save this recipe?

As an Amazon Associate and member of other affiliate programs, I earn from qualifying purchases.
Notes
You might also like:


Eileen, I can’t eat cane sugar, but I’m okay with beet sugar. Brown sugar is ALWAYS cane because apparently the molasses from sugar beets is so bad that only pigs will eat it! Would a bit of honey or rice syrup… or maybe maple syrup give theses the goey moisture brown sugar imparts? Thanks!
I used brown sugar in this recipe mostly for the flavor element. You can use all white (beet) sugar.