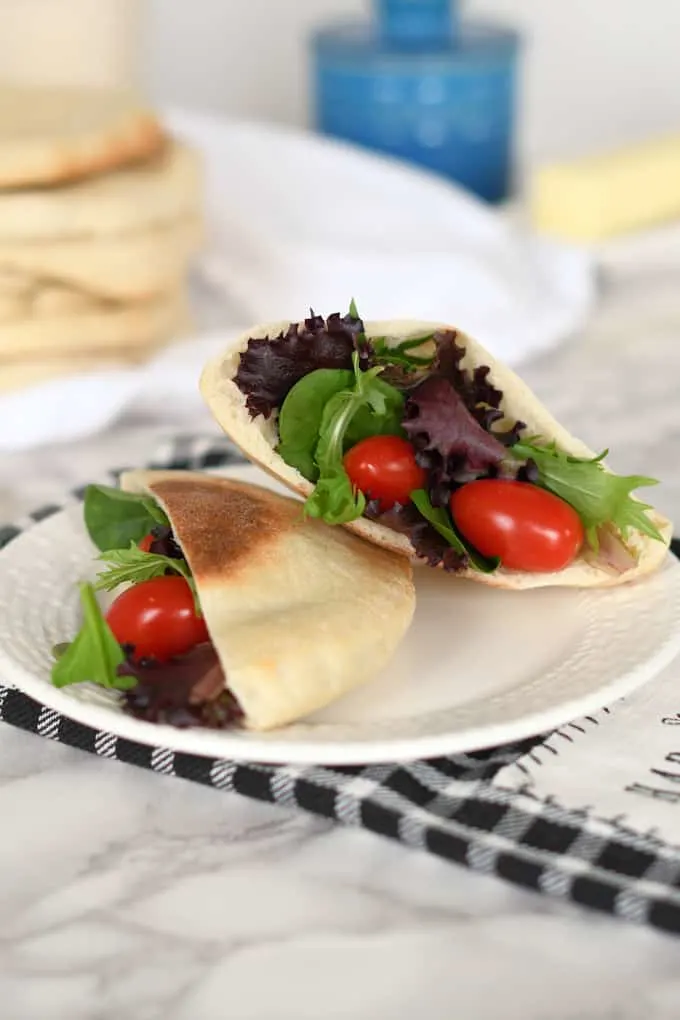
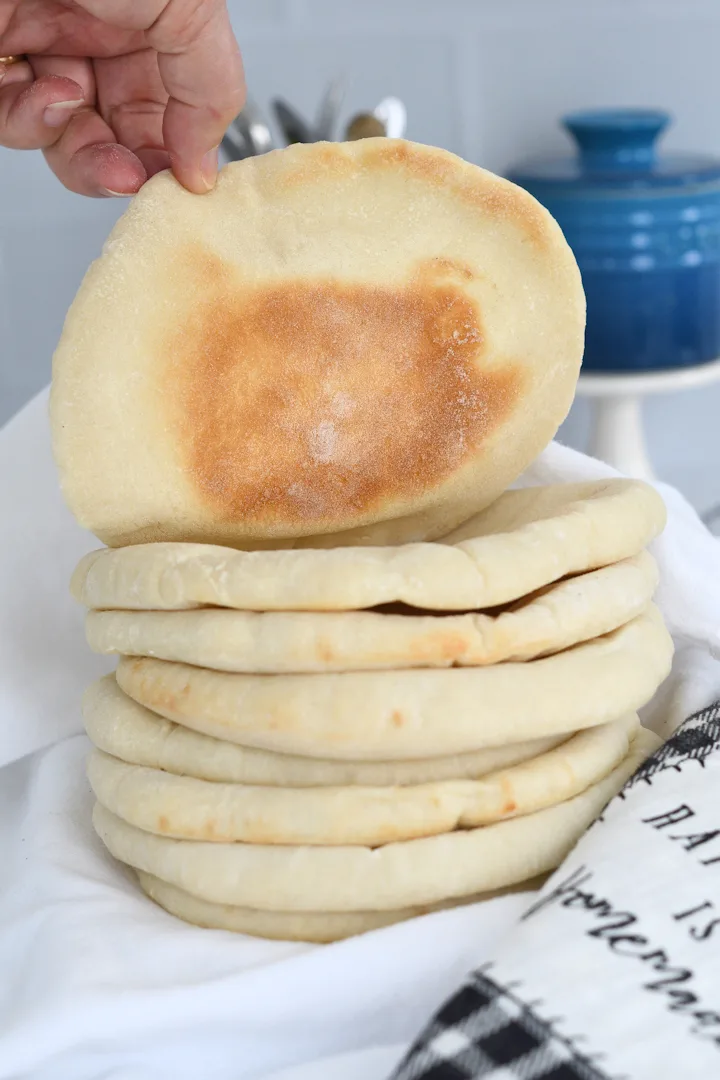
Homemade Pita Bread

If you’ve never made homemade Pita Bread, you’ll be surprised how easy they are to make. It’s quite something to watch the flat round of dough puff up like a balloon in the oven. Because this dough only needs to rise one time, it’s one of the fastest yeast bread recipes you can make.
If you love baking bread and want to understand the process a little better, take a look at my comprehensive Bread Baking Guide. It covers the basics of mixing, kneading, proofing, and baking so you can get perfect results every time.
If you’ve got a sourdough starter, you can make Sourdough Pita Bread or Sourdough Whole Wheat Pita Bread instead of this yeasted pita bread recipe.
If you don’t have a starter I can show you how to make one, and in the meantime you can start with this super easy and quick recipe.
Pita Bread Ingredients
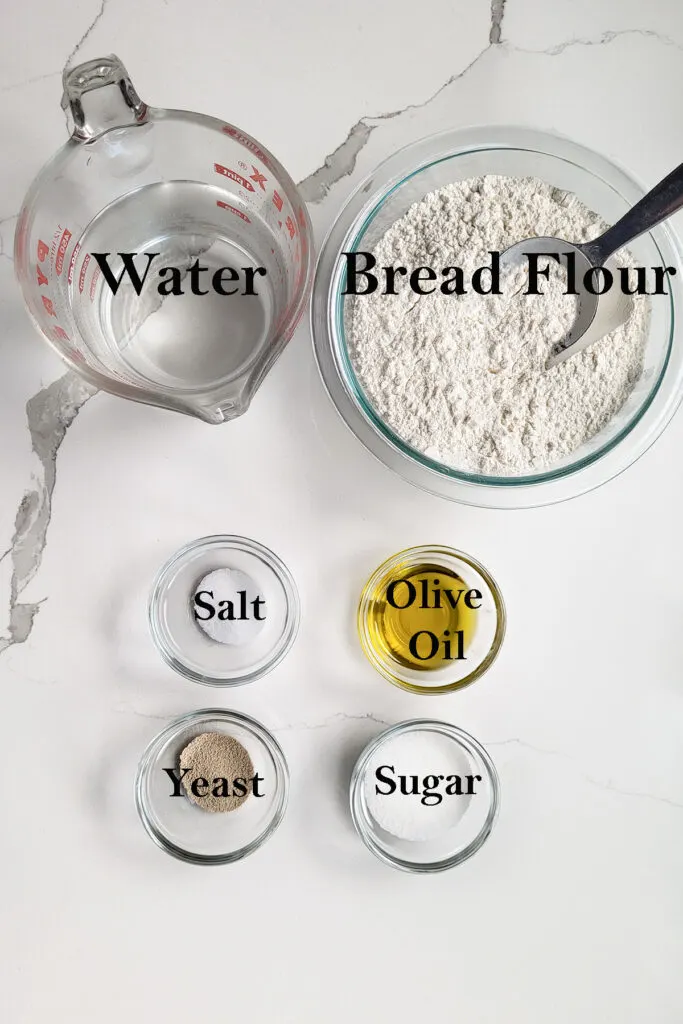
- Water – Use warm water to activate the dry yeast
- Yeast – I prefer dry active yeast to rapid rise yeast for a slower rise time and better flavor.
- Bread Flour – High protein bread flour will develop enough gluten to allow the pita to puff up in the heat of the oven.
- Salt – For flavor.
- Sugar – For flavor and browning.
- Olive Oil – To enrich the bread and add flavor.
How to make Pita Bread
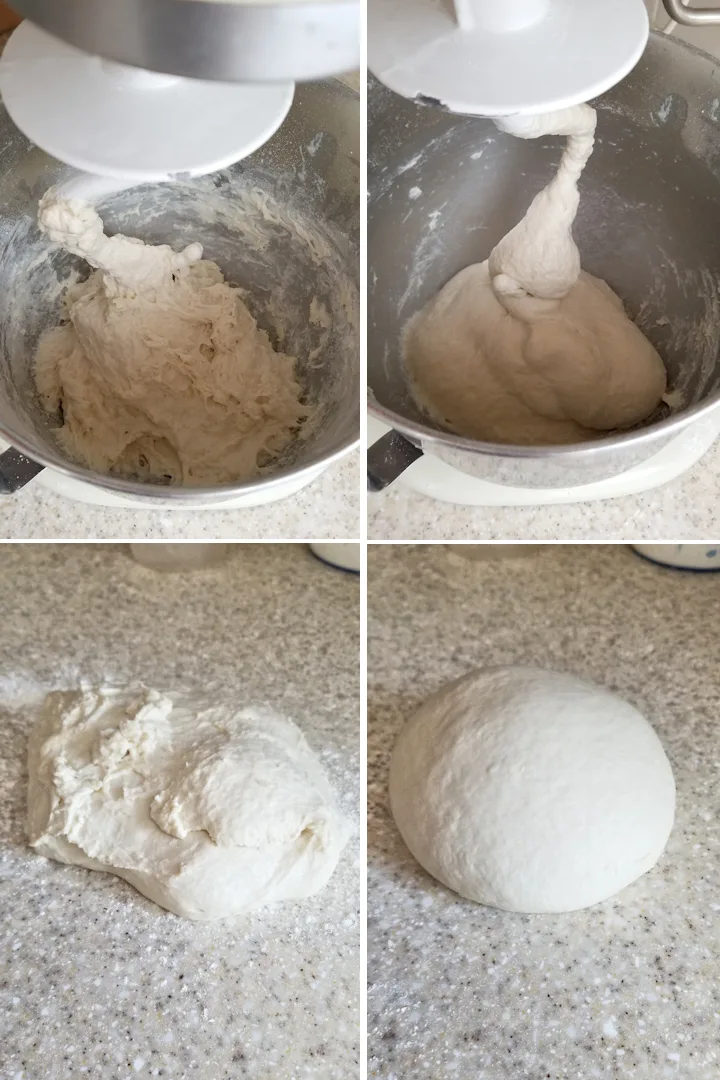
- Mix the ingredients.
- Knead for 5 minutes until the dough gathers on the hook.
- Turn the dough out of the bowl. It will be a bit sticky at this point.
- Knead the dough into a smooth ball.
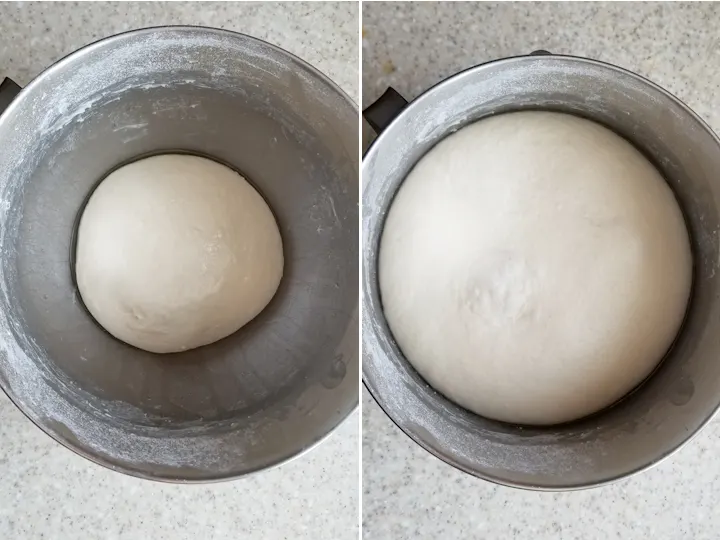
- Set the dough aside to rise until doubled in size.
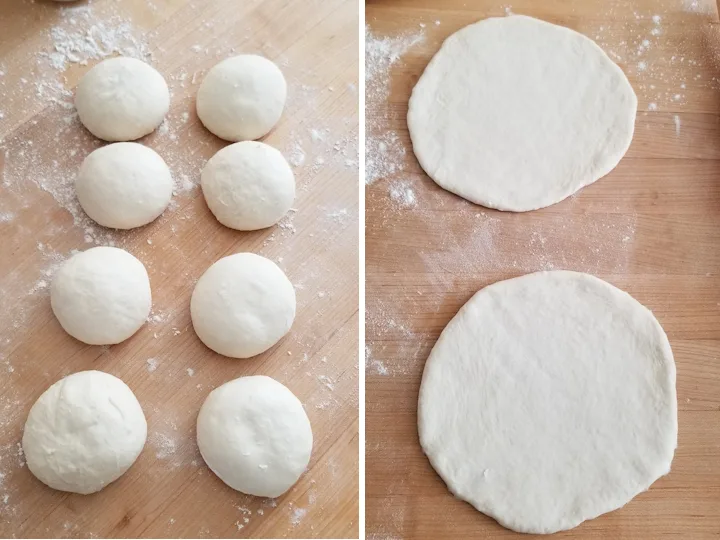
- Divide the dough into 8 pieces and roll each piece into a tight ball.
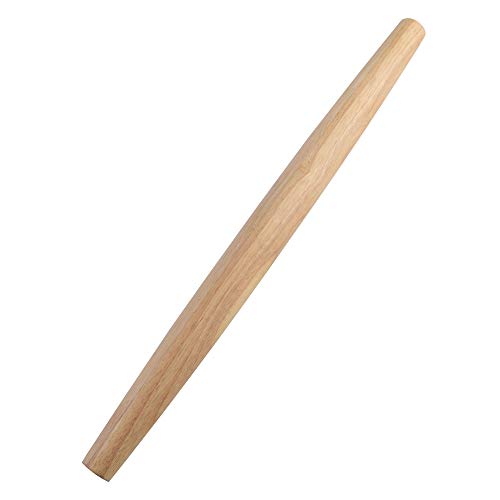
- Roll each piece to a 6″-7″ round.
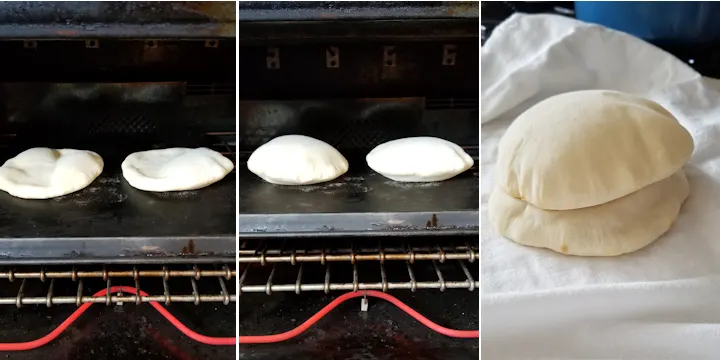
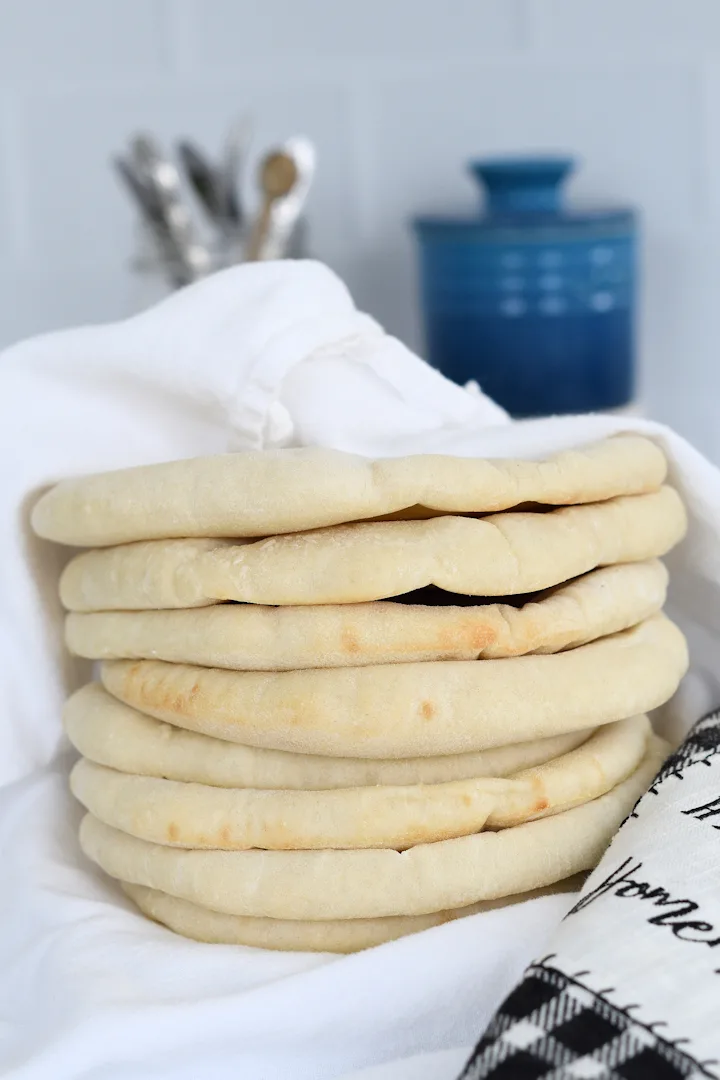
- Bake the pitas, 2 at a time, on a preheated pan, baking steel or baking stone.
- Bake until the pitas are fully-puffed and lightly browned on the bottom.
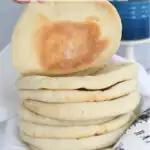
- Wrap the pitas in a towel as they come out of the oven.
FAQs about making Homemade Pita Bread:
No, after the first rise, you can refrigerate the dough for up to 2 days.
If your oven is not hot enough the pita may not puff properly. If the sheet pan or baking stone is not pre-heated the pitas won’t puff. If the bread is rolled too thin in spots it may not puff properly.
The bread is best eaten the day it is made and even better while it’s still warm.
Yes! Store the pita rounds in a freezer bag for up to 3 months.
Wrap the pita in foil and place in a 200°F oven until warm.

Here are some other great yeasted bread recipes you should try: Soft White Sandwich Bread, Milk & Honey Whole Wheat Bread, Hamburger Buns Crusty Semolina Bread and Hoagie Rolls.
If you love this recipe as much as I do, I’d really appreciate a 5-star review.

Pita Bread Recipe
Ingredients
- 12 ounces warm water (1 ½ cups)
- 2 ¼ teaspoons dry yeast (1 packet)
- 1 ounce olive oil (2 tablespoons)
- ½ ounce granulated sugar (1 tablespoon)
- 1 ½ teaspoons table salt
- 15 ounces bread flour (3 cups (see note))
Instructions
- Combine 12 ounces warm water, 2 ¼ teaspoons dry yeast, 1 ounce olive oil, ½ ounce granulated sugar 1 ½ teaspoons table salt and half of the bread flour in the bowl of a stand mixer. Mix until it forms a thick batter. Switch to the dough hook. If mixing by hand add flour until you can no longer stir, then turn the dough out onto a floured surface to finish by hand.
- With the mixer running on low add the remaining flour. Knead for 5 minutes or until the dough begins to clean the bottom of the bowl and form a ball around the hook.
- Place the dough in a lightly oiled bowl, turn once to coat the dough and cover the bowl. Rise for 1 – 1 ½ hours or until doubled in size. (The dough can also rise in the refrigerator overnight).
- Preheat the oven to 450 °F. Use the convection setting if you have it. If you have a baking steel or stone place it in the oven. Otherwise, place a baking sheet on the bottom rack of the oven. If you have a dark colored baking sheet use that.
- Divide the dough into 8 equal pieces. Using a cupped hand on a lightly floured surface, roll each piece of dough into a tight ball. Use a rolling pin to roll each ball into a 6” round. If the dough springs back too much let it rest for 5 minutes and continue rolling. Once all the pitas are rolled you can begin baking.
- Place two pita rounds on the baking steel or pan. Close the oven and bake until the rounds puff up like a balloon, about 3-4 minutes. You don’t need to flip the bread. Remove the baked breads and wrap in a clean kitchen towel while you continue baking the remaining pitas.
- The pitas are best the day they are made, but they also freeze very well.
Would you like to save this recipe?


As an Amazon Associate and member of other affiliate programs, I earn from qualifying purchases.