Soft White Sandwich Bread


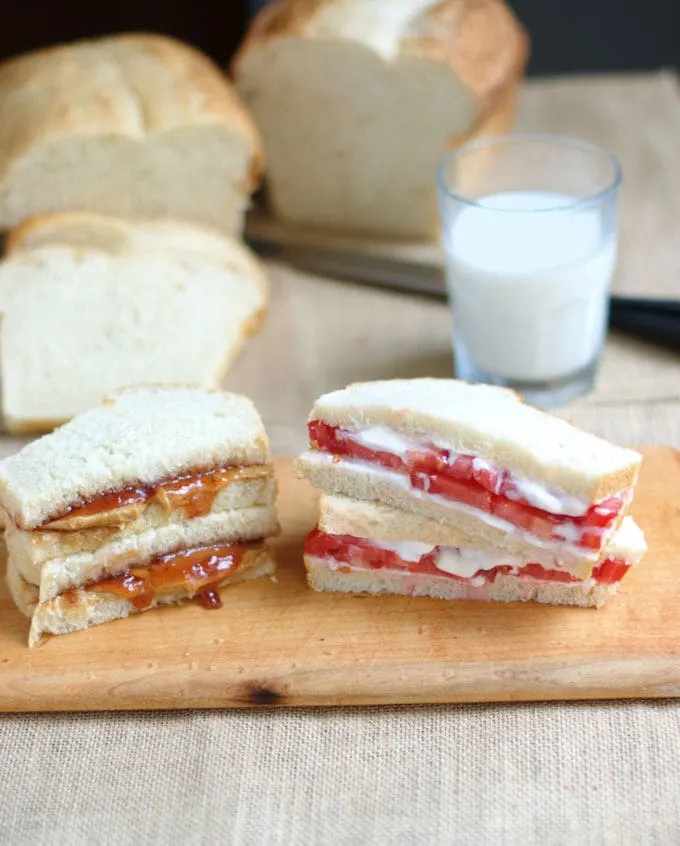
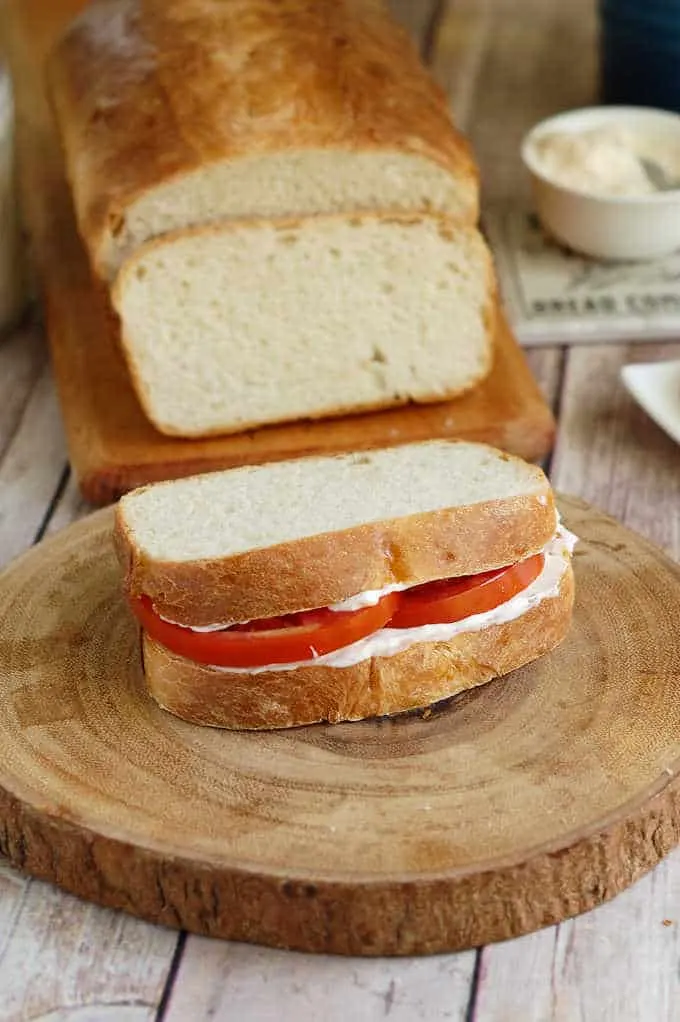
This is the perfect White Sandwich Bread. This soft white bread has milk and butter in the recipe. It’s the perfect loaf for your next BLT or PB&J.
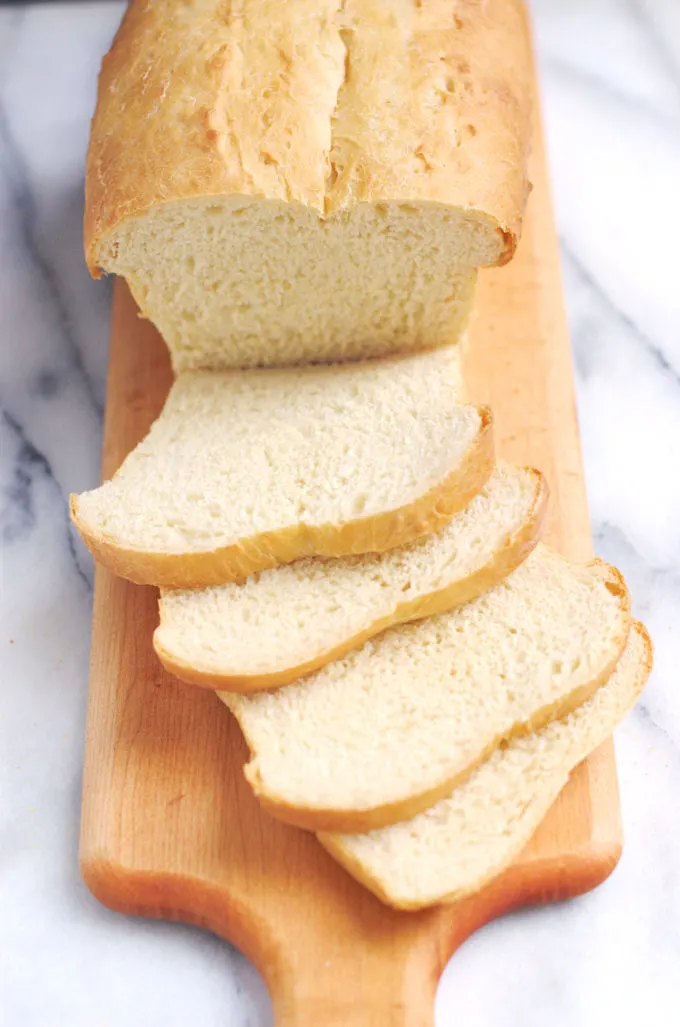
Table of contents
Why you’ll love this bread
Though I usually prefer a whole wheat or rye bread for the flavor and texture, I think certain sandwiches work best with a soft white bread with a nice soft crust. Think BLT, PB&J or grilled cheese.
But just because it’s white bread doesn’t mean it has to have the lackluster taste and squishy texture of a certain “wonderous” bread that many of us ate growing up. This bread has deep flavor, a beautiful texture and a perfectly soft crust.
If you love baking bread and want to understand the process a little better, take a look at comprehensive Bread Baking Guide. It covers the basics of mixing, kneading, proofing, and baking so you can get perfect results every time.
Oh, by the way, if you maintain a sourdough starter, check out this recipe for Sourdough Sandwich Bread with a Soft Crust.
Ingredients
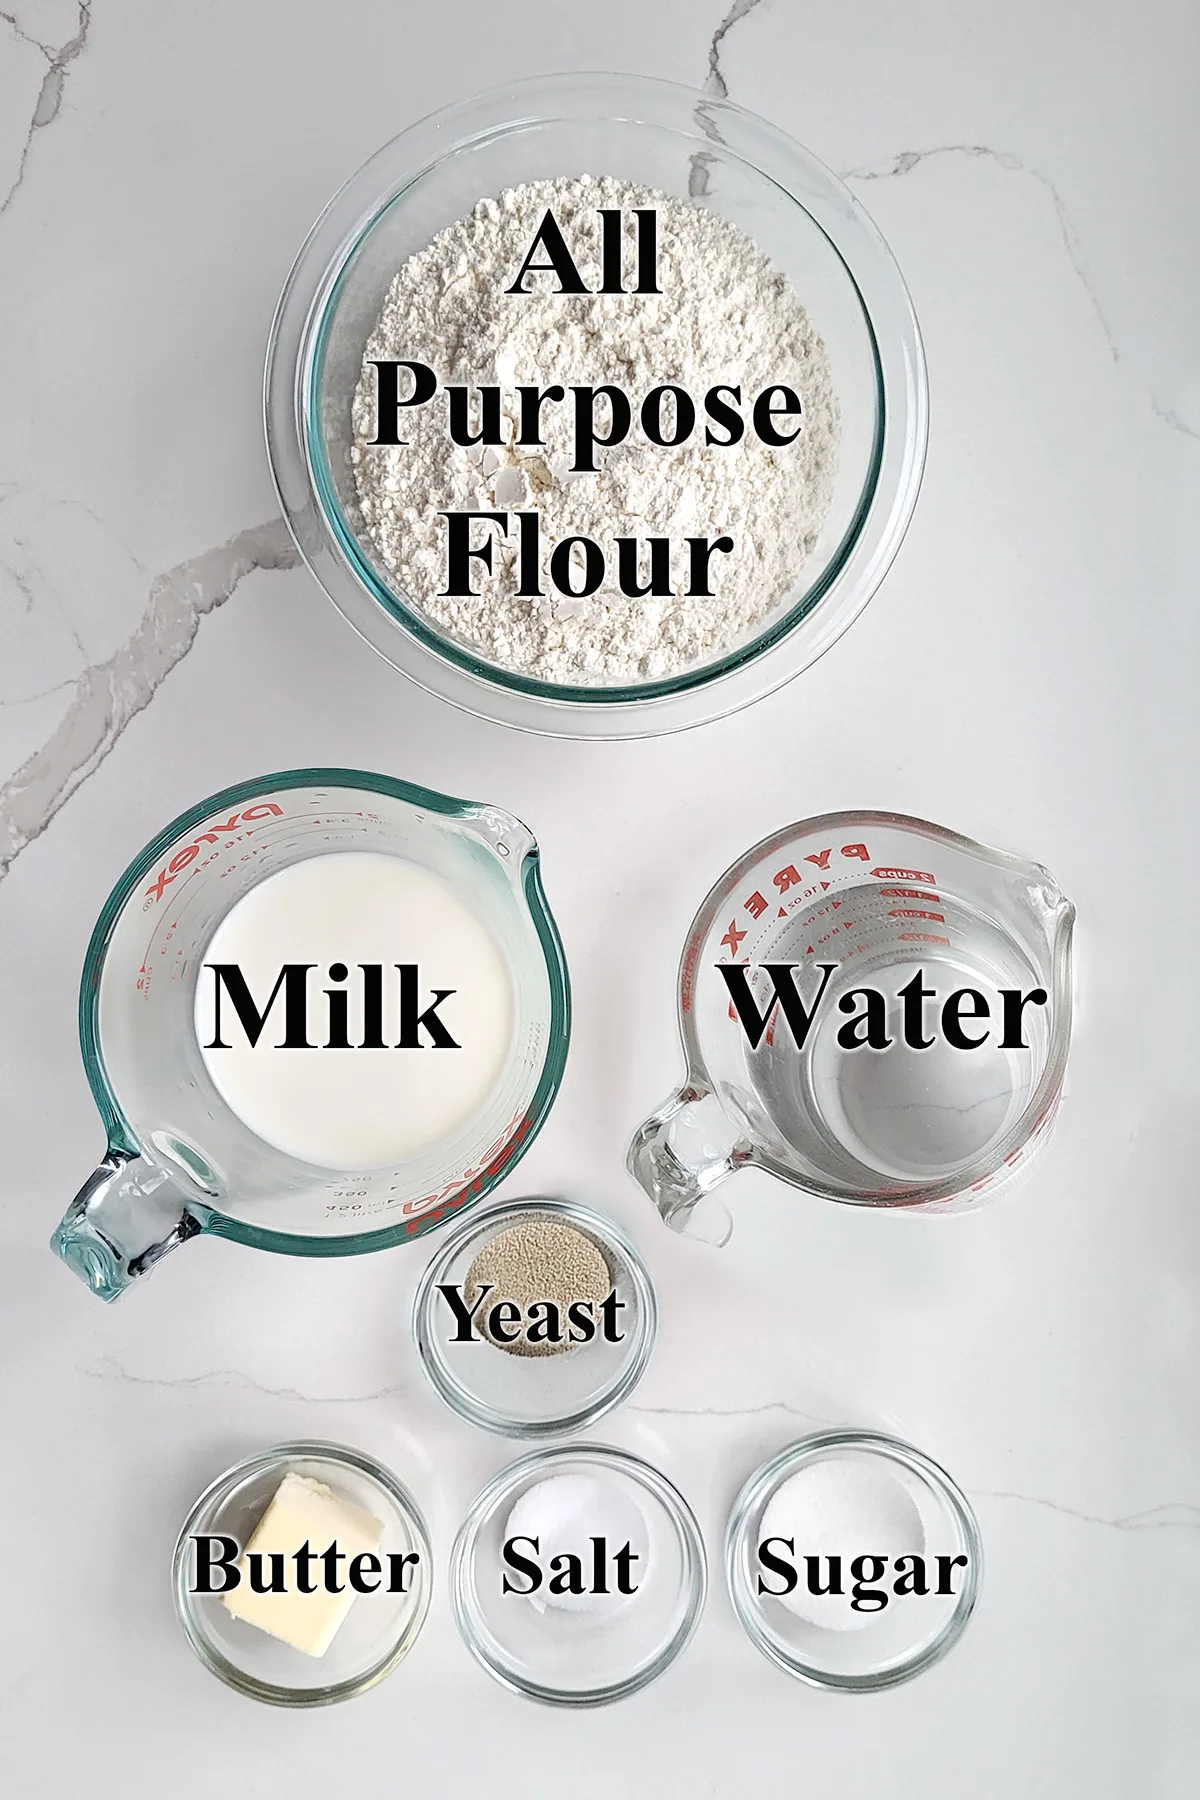
Ingredient Notes
- All Purpose Flour – Medium protein AP flour makes a bread with a soft crumb yet develops enough gluten so the bread rises high in the oven.
- Water – Warm water activates the dry yeast
- Yeast – I prefer dry active yeast to rapid rise yeast for a slower rise time and better flavor.
- Milk – Scalding denatures (breaks down) proteins in the milk which can interfere with gluten development.
- Butter – A little fat softens the crumb of the bread.
- Salt – For flavor.
- Sugar – Enhances browning and make the crumb soft and slightly sweet.
How to make soft White Sandwich Bread
Here’s what the recipe process looks like at each stage. Refer to the recipe card below for measurements and exact instructions.
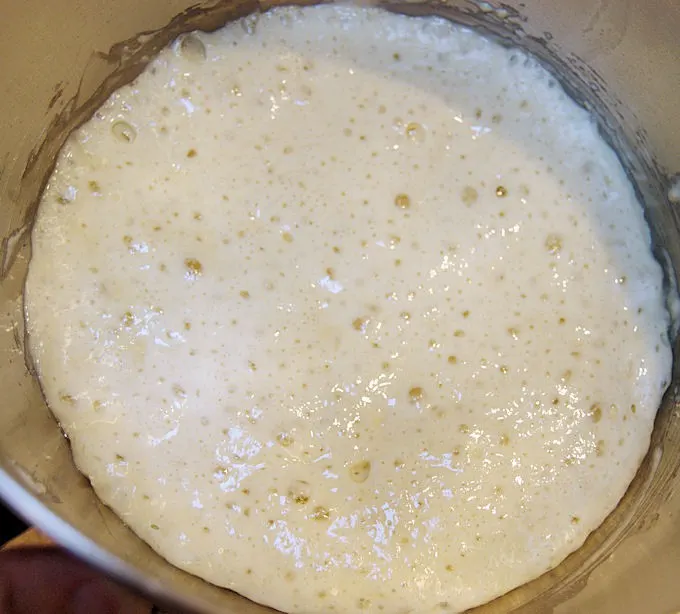
- Combine the water, yeast and some of the flour to form a “sponge”.
- Set it aside for 30-60 minutes.
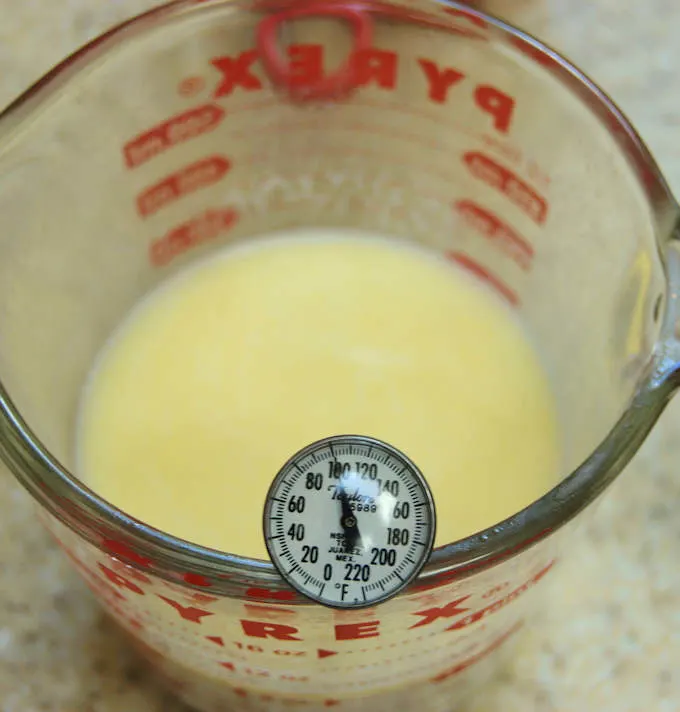
- While the sponge is rising, scald the milk and add the butter to the hot milk.
- Set the milk aside to cool to 100F.
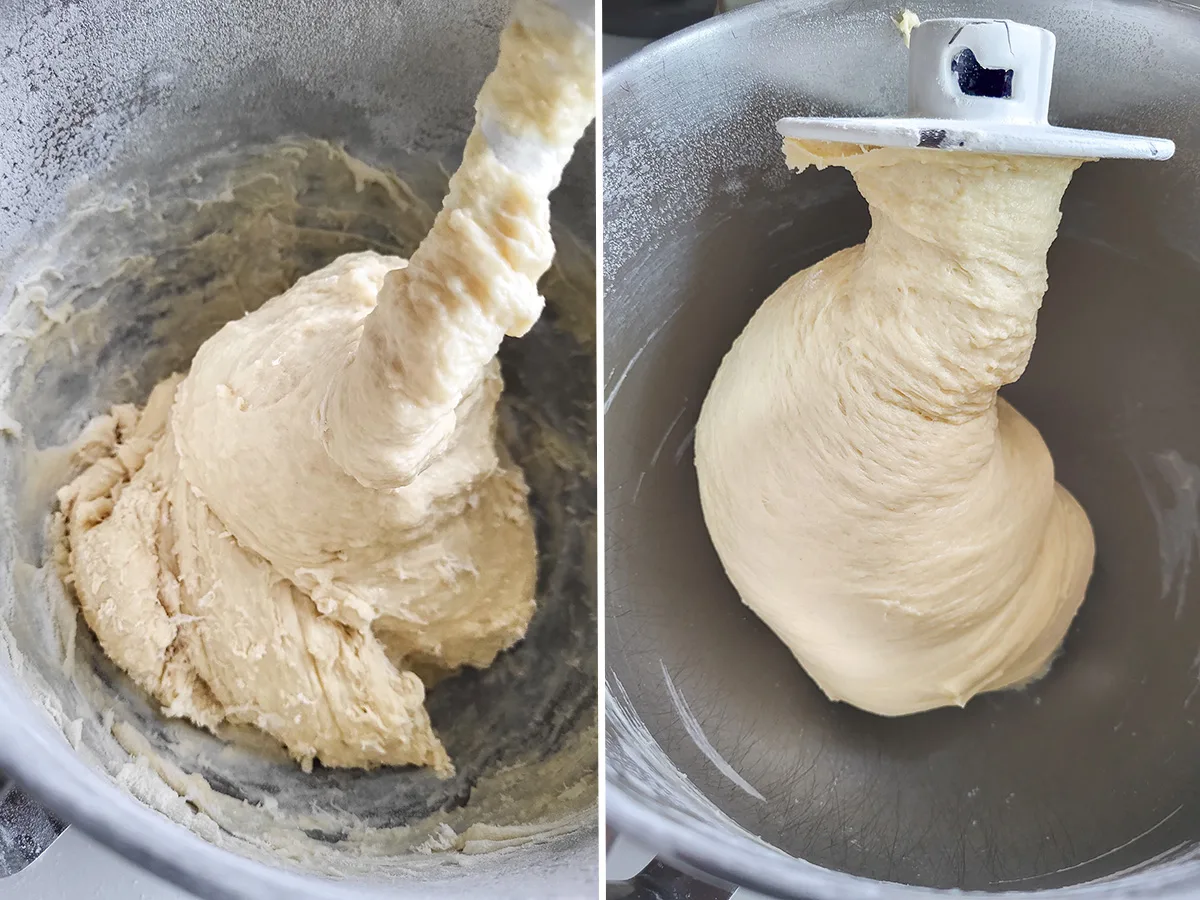
- Add the milk, sugar, salt remaining flour to the dough. It will start out quite soft.
- Knead for 5 minutes. The dough will cling to the hook and clear the sides of the bowl.
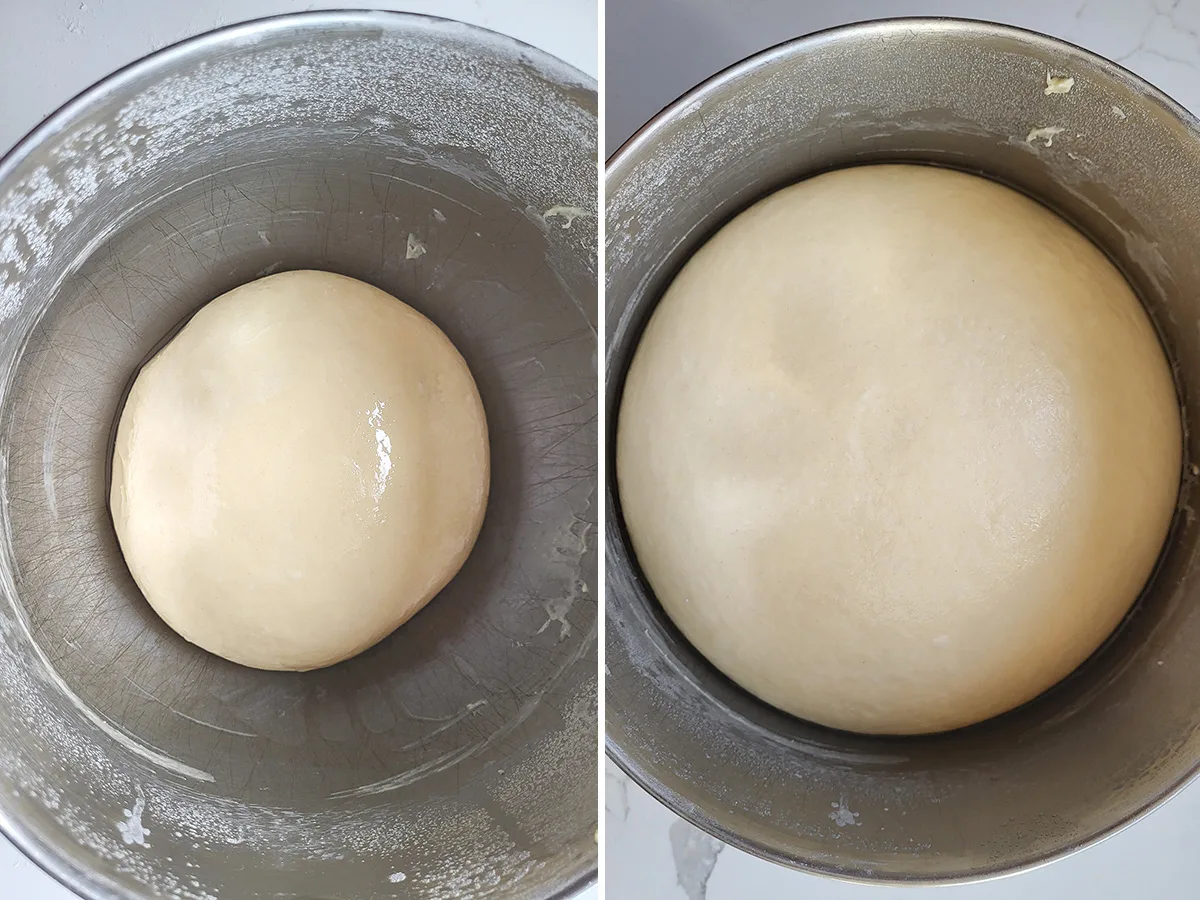
- Set the dough aside to rise until it has doubled in volume.
- At this point you can continue with the recipe or refrigerate the dough for up to 2 days before continuing.
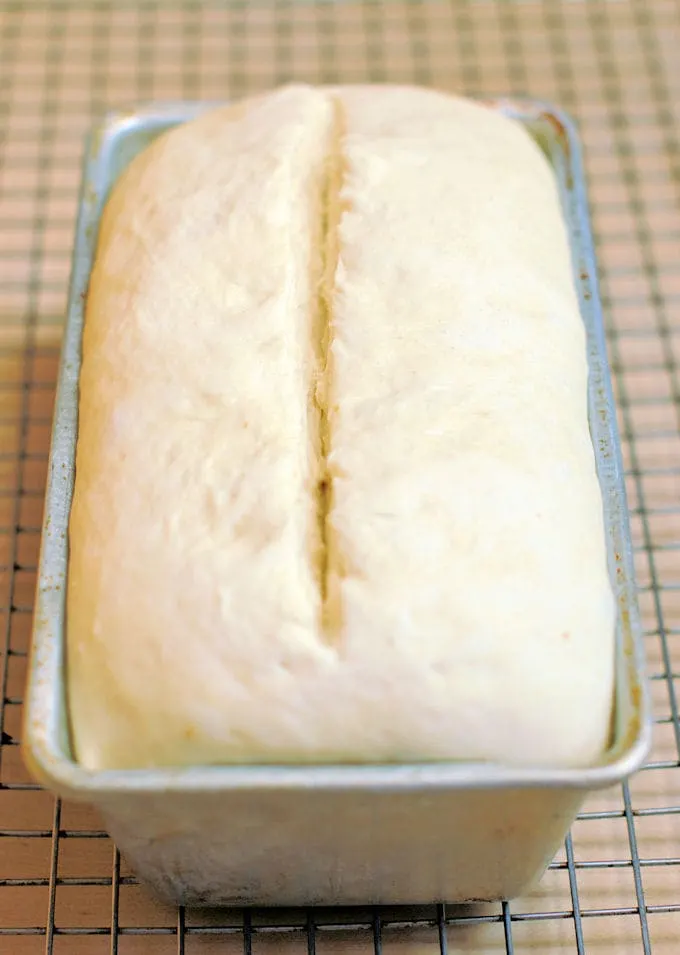
- The loaf is ready for the oven when it’s doubled in size.
- Cut a slash down the middle to help the bread rise evenly.

- Bake until the crust is golden brown and the interior temperature is 200F.
Pastry chef helpful tips
- Leave the sponge to rise for at least 30 minutes, preferably 60 minutes. This time will allow the gluten to start forming and will give the yeast a head start.
- To work ahead, you can make the dough and let it go through the first rise. At that point you can refrigerate the dough for up to 2 days.
- After the first rise you can shape and bake the loaf right away or you can cover the pan and refrigerate it overnight. In the morning, take the loaf out of the refrigerator and let it warm to room temperature while the oven preheats. Bake as directed in the recipe.
- At any point if the dough over rises, even after you’ve formed the loaf, you can knead the air out of the dough and continue with the recipe.
Storage
White Sandwich Bread will keep at room temperature for 2-3 days. The bread can be frozen, sliced or whole, for up to a month.
Looking to make a great submarine sandwich? You can make Homemade Hoagie Rolls!
If you love this recipe as much as I do, please consider leaving a 5-star review.

White Sandwich Bread Recipe
Ingredients
- 4 oz warm water (½ cup)
- 2 ¼ teaspoons dry yeast
- 15 oz all purpose flour (3 cups, see note)
- 8 oz whole milk (1 cup)
- 1 oz unsalted butter
- 1 tablespoon granulated sugar
- 1 ½ teaspoons salt
Instructions
- Combine 4 oz warm water, 2 ¼ teaspoons dry yeast and a 1/2 cup of the flour in the bowl of a stand mixer or a large mixing bowl. Mix to form a loose batter. Cover the bowl and set the sponge aside for 30-60 minutes.
- While the sponge rises, scald 8 oz whole milk in the microwave. Stir 1 oz unsalted butter into the warm milk to melt. Set the milk aside to cool to about 100 °F.
- Uncover the bowl with the sponge. Add8 oz whole milkthe cooled milk/butter and 1 tablespoon granulated sugar and 1 ½ teaspoons salt and stir to combine. Add 1 ½ cups of the flour and stir until the batter looks like thick pancake batter. If using a stand mixer, change to the dough hook.
- With the mixer running, slowly add the remaining flour. Knead for 5 minutes. The dough should gather on the hook and clear the sides of the bowl. If mixing by hand, stir in as much flour as you can then turn the dough out onto a floured surface and knead in the remaining flour then knead for at least 5 minutes.
- Remove the dough from the bowl onto a lightly floured surface. Knead to form a smooth ball. If the dough is very sticky sprinkle a little more flour as you knead.
- Place the dough in an oiled bowl, turning once to coat the dough. Cover with plastic wrap and set aside in a warm spot to rise for about 1-1 ½ hrs hours, until doubled in size.
- Lightly grease a 9"x 5" loaf pan with a light film of vegetable oil or baking spray.
- Turn the dough out onto a floured surface and without kneading out the air, gently push the dough to a rectangle then roll the dough from top to bottom to form a log shape.
- If the log is shorter than the loaf pan, gently roll and push the log from the center out to the size of the pan. Set the dough into the pan and cover. Set in a warm place and rise until the dough almost doubles in size and fills the pan, about 1-1½ hours.
- Preheat the oven to 350 °F. Use a sharp knife or razor to cut a 1/2" deep slash down the center of the loaf. Brush the top of the loaf with milk.
- Bake about 30-35 minutes until golden brown. The interior temp should be 200 °F.
- Cool in the pan about 5 minutes before turning out onto a cooling rack. Finish cooling to room temperature before slicing,
Would you like to save this recipe?


As an Amazon Associate and member of other affiliate programs, I earn from qualifying purchases.
This is a delicious basic white sandwich bread! I sometimes put sesame seeds on top (after brushing with milk), which adds an extra bit of flavor.
That’s how I usually finish my loaves. I love sesame seeded bread.
May I use skim milk instead of whole milk?
Yes.
This is a wonderful bread. The dough comes together very well and is easy to handle. Could part of the flour be replaced with Semolina ? I South Africa only coarse ground semolina is available
Yes, certainly. I also have a recipe for crusty Semolina Bread.
I have made this recipe and it is wonderful! If I want to double the recipe to make 2 loaves, do I need to double the sponge ingredients too?
Yes. If you don’t have enough starter, do a double feeding to up the amount available then mix the sponge.
Do you have the carb count on the sandwich bread?