Hoagie Rolls
Hoagie Rolls! Hoagie, hero, submarine, sub, grinder; whatever you call your sandwich, this is a great roll for building your masterpiece.
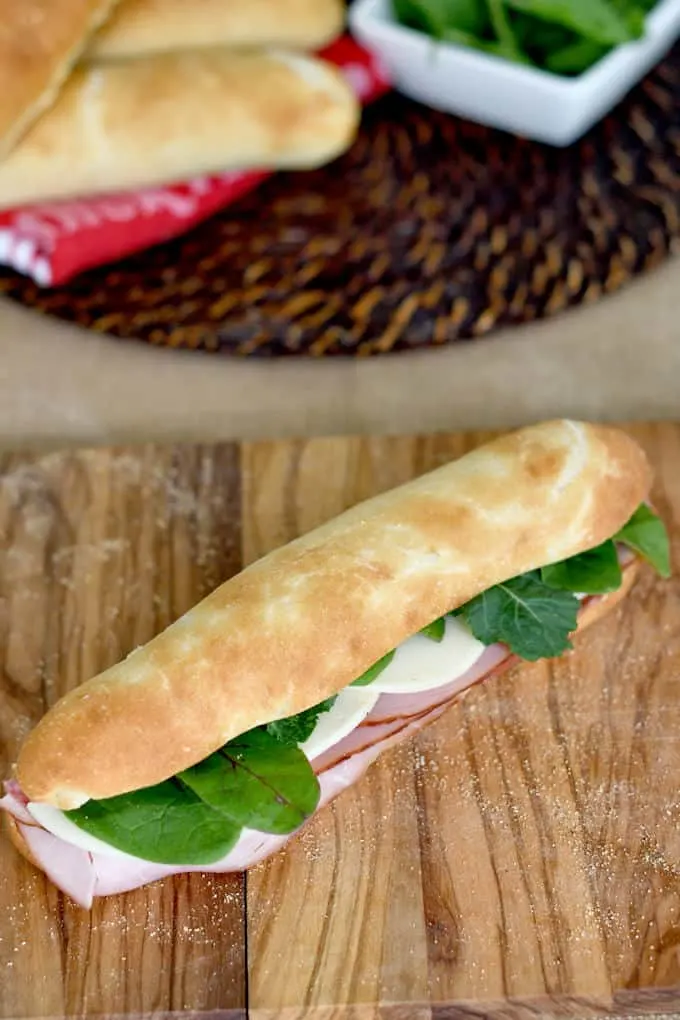
Table of contents
Why this is the best Hoagie Roll Recipe
Whatever you call it, there is no doubt that the key to a great sandwich is the perfect long roll.
Much as I love a good crusty loaf of artisan bread, that’s not the best basis for a great submarine sandwich. You’ve probably had it happen. You bite into one end of that crusty sandwich and all the fillings squirt out the other end.
The perfect hoagie roll should have a thin, crisp crust and a light, soft, slightly chewy crumb. That’s exactly what you’ll make with this recipe.
By the way, if you’ve got an active Sourdough Starter you can make Sourdough Hoagie Rolls.
Ingredients
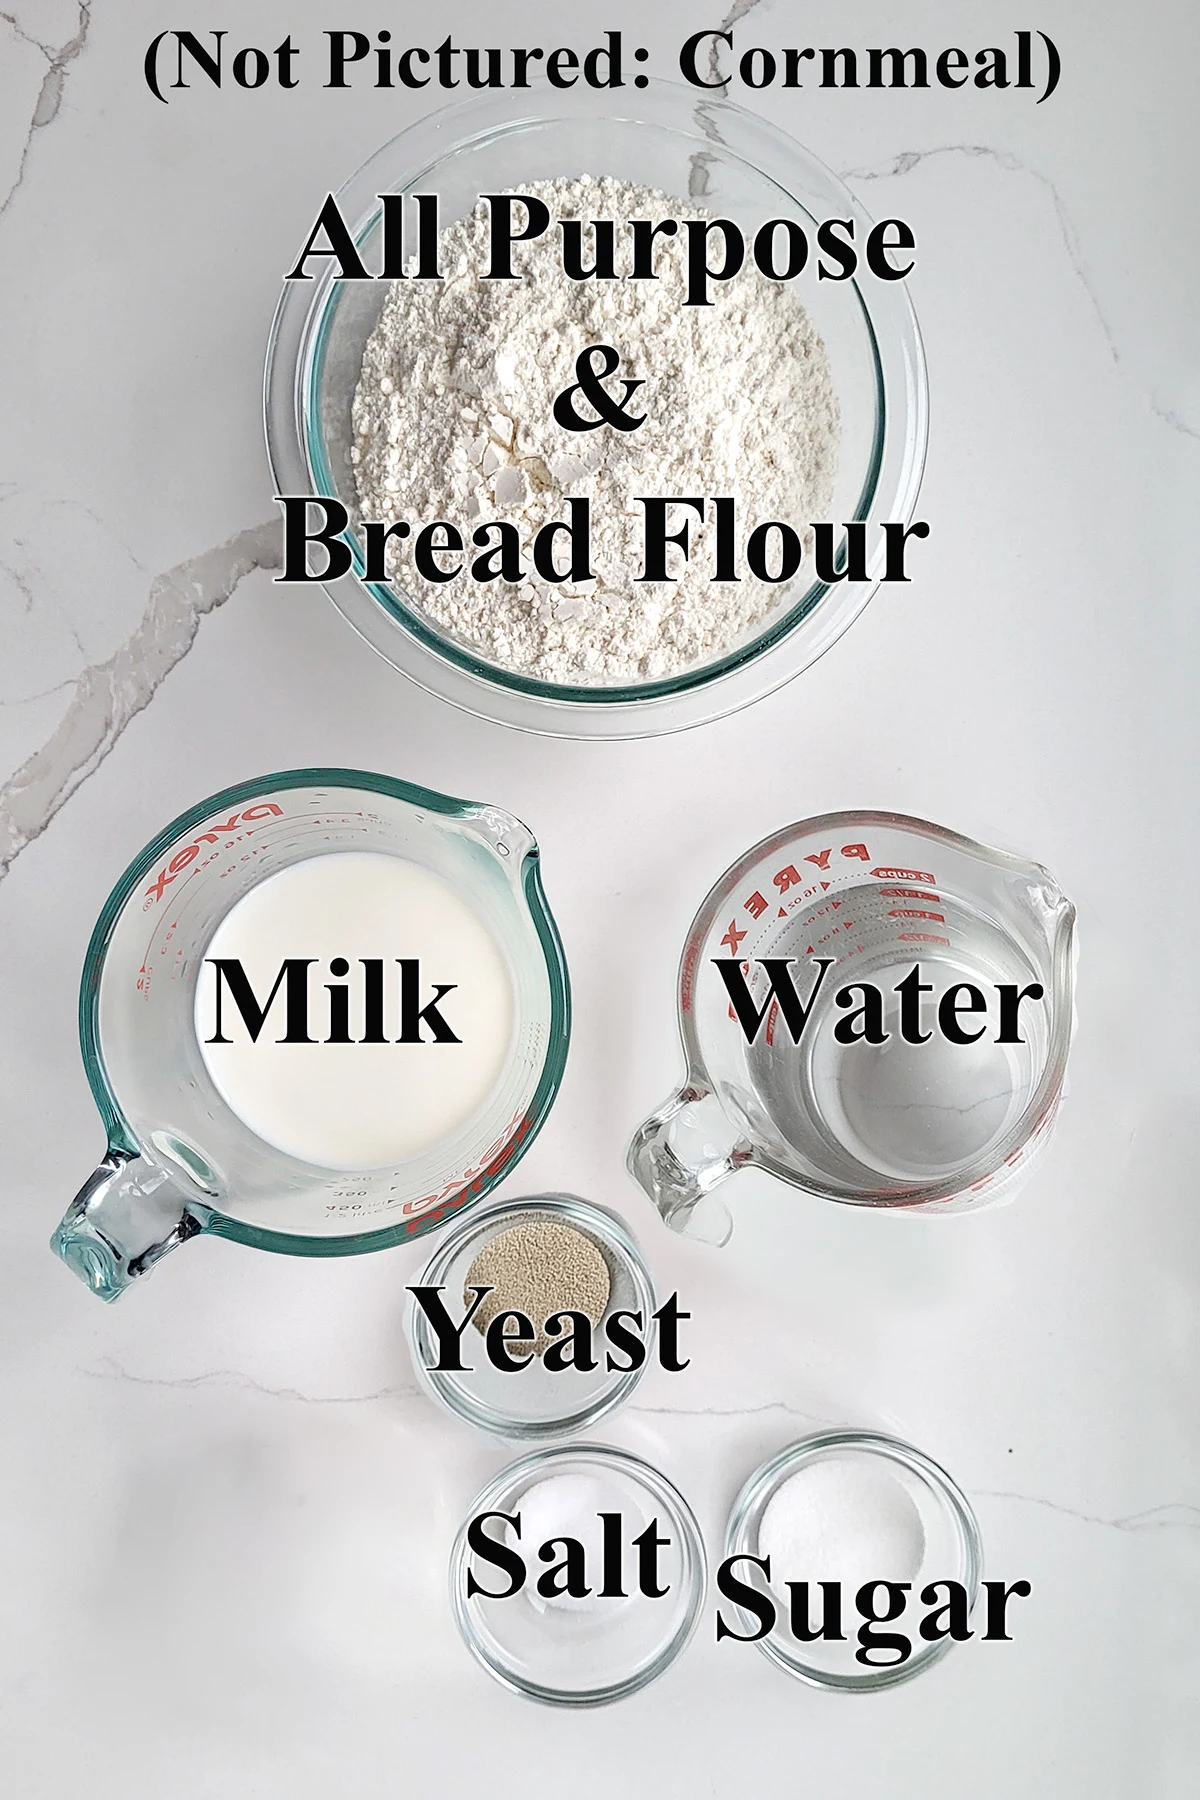
Ingredient Notes
- AP & Bread Flour – Using a mix of all purpose and bread flour makes for a light, yet resilient crumb.
- Yeast – I prefer instant yeast to rapid rise yeast for a slower rise.
- Milk – Scalding denatures (breaks down) proteins in the milk which can interfere with gluten development.
- Sugar – A hint of sugar is added for great flavor and extra browning.
How to make Hoagie Rolls
See the recipe card for detailed measurements and instructions.
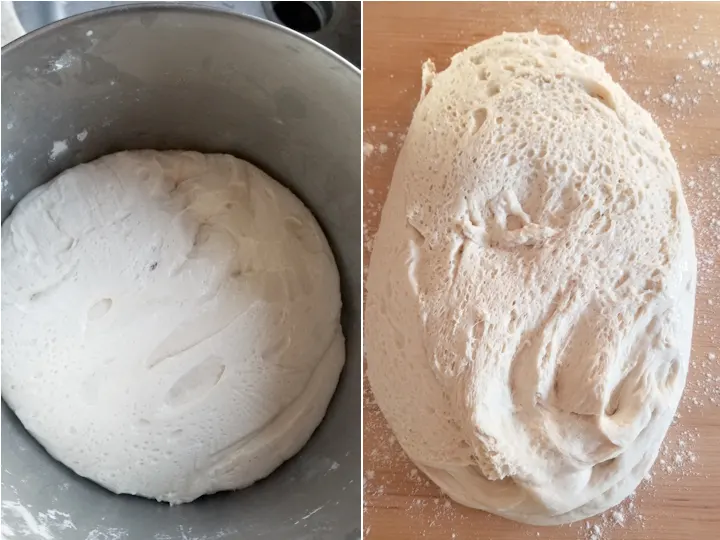
- After the first rise, cover the dough and refrigerate overnight.
- Turn the cold dough out onto a lightly floured surface.
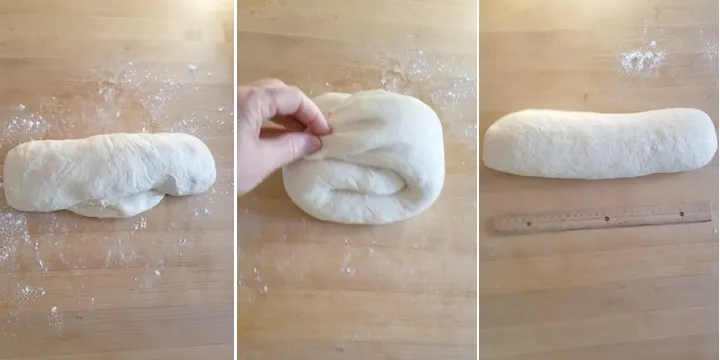
- Roll the dough to a 12″ log.
- Fold the two ends of the log towards the center.
- Roll the dough to a 12″ log again.
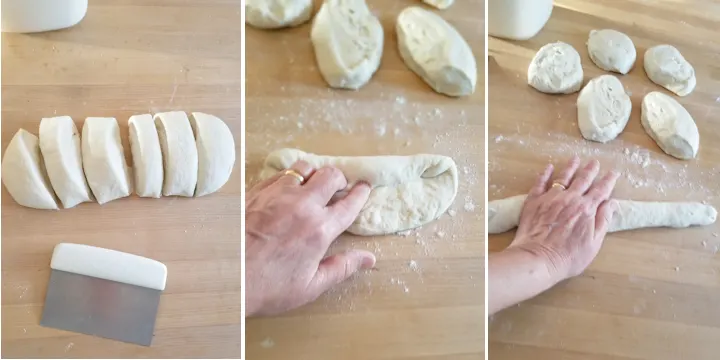
- Cut the dough into 6 pieces.
- Form each piece into an oval and roll the oval into a small log.
- Roll the dough to 10″ long.
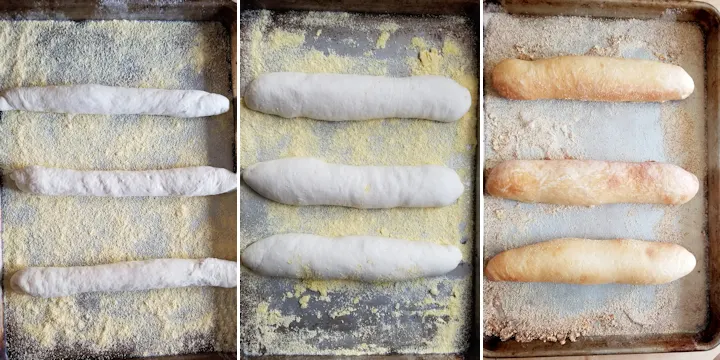
- Set the rolls onto a sheet pan sprinkled with cornmeal to rise.
- Cover and rise until doubled in size.
- Bake until golden brown.
Pastry Chef Tips for this recipe
- Make a sponge and set it aside for 30 minutes. This gives the gluten a head start and helps hydrate the flour.
- Brush the rolls with milk before baking for the perfect thin, crisp crust.
- Create steam in your oven with a pan of water. This will also help make the perfect crust.
- Refrigerate the dough overnight. The rolls can be made and baked the same day, but a night in the refrigerator will produce rolls with a nicer crust, chewier crumb and more authentic flavor.
A timeline for making Sub Sandwich rolls:
- Start the dough late in the afternoon or early in the evening of day 1.
- Leave the dough out for the first rise, then refrigerate the dough over night or up to 2 days.
- Take the dough out first thing in the morning and shape the rolls while the dough is still cold.
- Set the rolls aside to rise while the oven preheats.
- To make the rolls in one day, start the dough early in the morning. Skip the refrigeration step. The entire one-day process will take about 3 – 3 1/2 hours.
Storage
Hoagie Rolls are best the day they are baked. They will keep at room temperature for a day. Leftovers can be frozen for up to a month. Defrost and warm in a 200F oven to re-crisp the rolls.
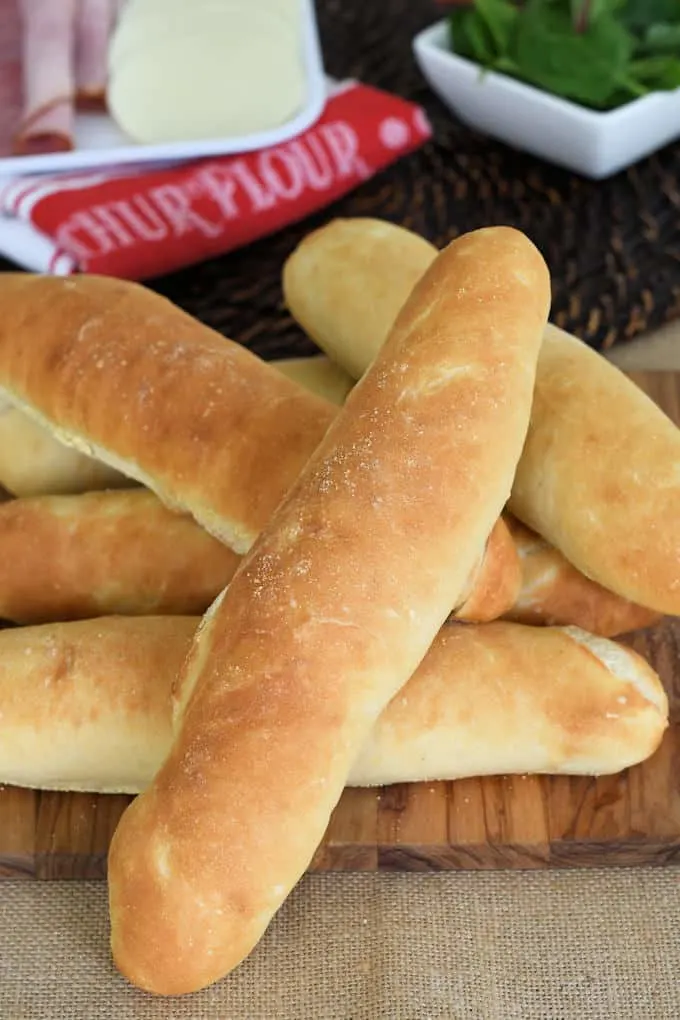
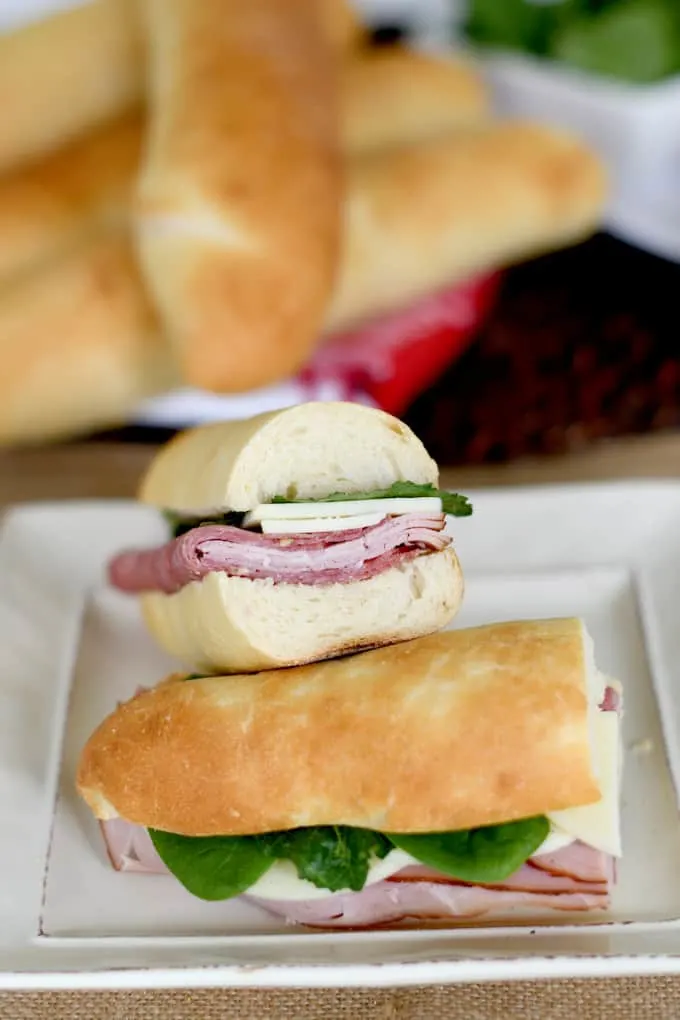
If you love a good sandwich, I highly recommend my White Sandwich bread and my Milk & Honey whole Wheat Bread. Overnight Rye Bread is also the base for a great sandwich.
If you love this recipe as much as I do, I’d really appreciate a star rating and a quick comment. Ratings and comments help my recipes show in search results. Thanks!
Hoagie Rolls
Ingredients
- 2 ¼ teaspoons dry yeast
- 1 tablespoon granulated sugar
- 12 oz warm water (1 ½ cups)
- 15 oz unbleached all purpose flour (3 cups, see note)
- 4 oz milk (1/2 cup, scalded and cooled to room temperature)
- 7 ½ oz unbleached bread flour (1 ½ cups)
- 2 teaspoons table salt
Instructions
- In a large mixing bowl or in the bowl of a stand mixer, combine 2 ¼ teaspoons dry yeast, 1 tablespoon granulated sugar and 12 oz warm water. Add 2 cups (10 oz) of the all purpose flour. Mix with the paddle on low speed until it forms a thick batter. Cover the bowl and set aside for 30 minutes.
- Add 4 oz milk, 7 ½ oz unbleached bread flour and 2 teaspoons table salt. Mix to combine. If using a stand mixer, switch to the dough hook. With the mixer running, add the remaining cup (5 oz) of all purpose flour. Knead the dough for 5 minutes until it is smooth and elastic. If mixing by hand add the flour using a wooden spoon and/or a plastic bowl scraper and knead on a floured surface.
- Place the dough into a lightly oiled bowl, turn once to coat the dough. Cover the bowl and set it aside at room temperature for 1 – 1 1/2 hours or until doubled in size. Turn the dough out of the bowl and knead briefly.
- Return the dough to the bowl. Cover the bowl tightly, refrigerate overnight. (see note)
- In the morning, take the dough out of the refrigerator. Generously sprinkle two half sheet pans with corn meal.
- Turn the dough out onto a lightly floured surface. Roll the dough back and forth to form a 12" log. Fold the two ends into the middle then roll back and forth to form a 12” log again. If at any point the dough springs back too much you can give it a 10 minutes rest then continue. Cut the log into 6 equal portions.
- On a lightly floured surface, pat a piece of dough into a 6” oval. Tightly roll the dough from the long side to form a 6" cylinder. Pinch the seam tightly. Using flat hands roll from the center out to form a 10” long roll. Let your hands go over each side to taper the ends of the roll. Set the roll onto one of the prepared pans. Continue forming the other rolls and place 3 on each pan.
- Cover the pans with a damp kitchen towel and set aside in a warm place to rise until doubled in volume (about 1 hour). Meanwhile Preheat the oven to 450 °F.
- To create steam in the oven, place a small pan onto the floor of the oven to preheat. If you have them, you can put lava rocks or whiskey rocks into the pan to preheat as well.
- When the rolls are ready to bake brush them lightly with milk. Place the trays into the oven. Pour a 1/4 cup of warm water into the preheated pan on the floor of the oven and immediately close the oven door.
- Bake until the rolls are golden brown, about 15 minutes. Turn the trays after 10 minutes to promote even browning. Cool completely on a wire rack before slicing.
Would you like to save this recipe?
As an Amazon Associate and member of other affiliate programs, I earn from qualifying purchases.


How much sourdough starter if we are using that instead of dry yeast
Here’s a recipe for Sourdough Hoagie Rolls.
I think the link to the video is missing. I can see this heading, followed by 2 pictures (with Pintetest links, but no video.:
WATCH THE RECIPE VIDEO TO SEE HOW TO MAKE HOAGIE ROLLS:
If you have an ad blocker running you won’t see the video. If you turn off your ad blocker you should see the video.
Can I use instant yeast?
Yes.