
Vanilla Butter Cake Recipe
This is the vanilla butter cake I used for years in my wedding cake business — moist enough to eat without frosting, adaptable enough to layer with frosting or stack into tiers. Careful recipe testing and specific ingredient and technique choices get it there. The baked layers freeze well, so you can make this ahead of a birthday or a bigger cake project.
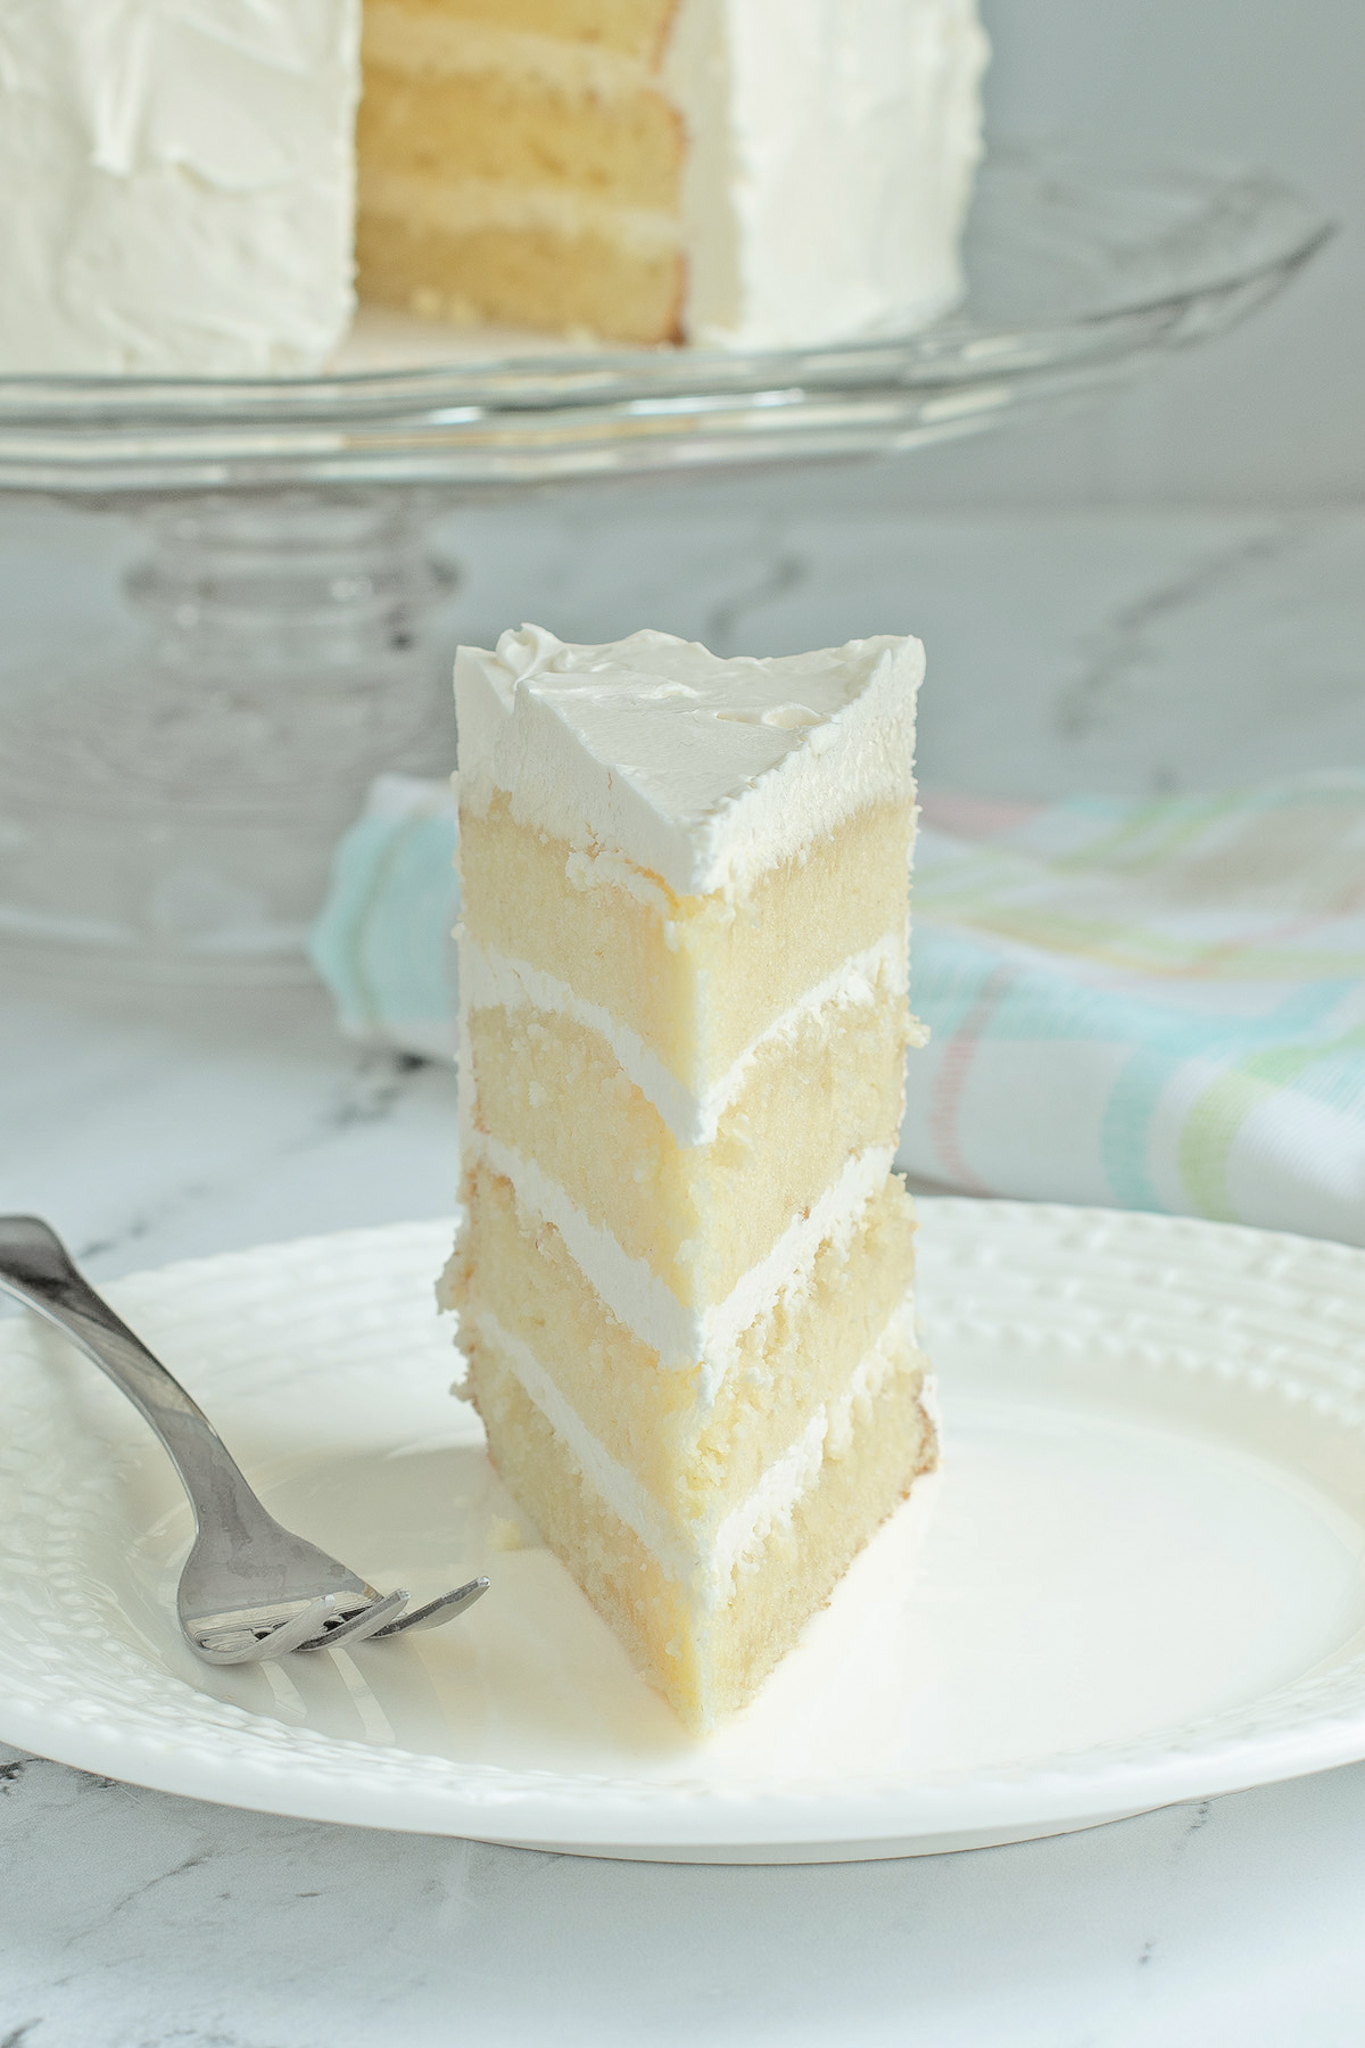
Table of contents
Why This Vanilla Butter Cake Works
You’ll love this recipe for all the reasons you love butter (you do love butter, don’t you?). The cake is rich with a full vanilla flavor and the velvety crumb melts in your mouth like, well, like butter.
There are three important factors that really set this recipe apart:
✓ Extensive Recipe Testing
This exact recipe was the base for hundreds and hundreds of wedding cakes I sold when I had my wedding cake business.
Professional bakers use the “Baker’s Percentage” to balance the ingredients in a recipe. With this knowledge I worked for months developing the softest and moistest vanilla cake that could be appropriate for a simple birthday cake or stacked into a towering wedding cake.
You can find the percentages for this Vanilla Butter Cake recipe in this all-encompassing post describing how to create the best cake recipes.
✓ Rich Ingredients
In addition to balancing the recipe, I made very specific ingredient choices. Sour cream, extra egg yolks and whipped egg whites create a soft and moist cake. See the ingredient notes section for more information.
✓ Reverse Creaming Method
Traditional cake recipes cream butter and sugar together first, then add the dry ingredients. This recipe uses reverse creaming instead — the butter is mixed directly into the dry ingredients before any liquid is added, coating the flour in fat. The result is a finer, more velvety crumb with less risk of the tunnels or dense streaks that can show up in a traditionally creamed cake.
Ingredient Notes
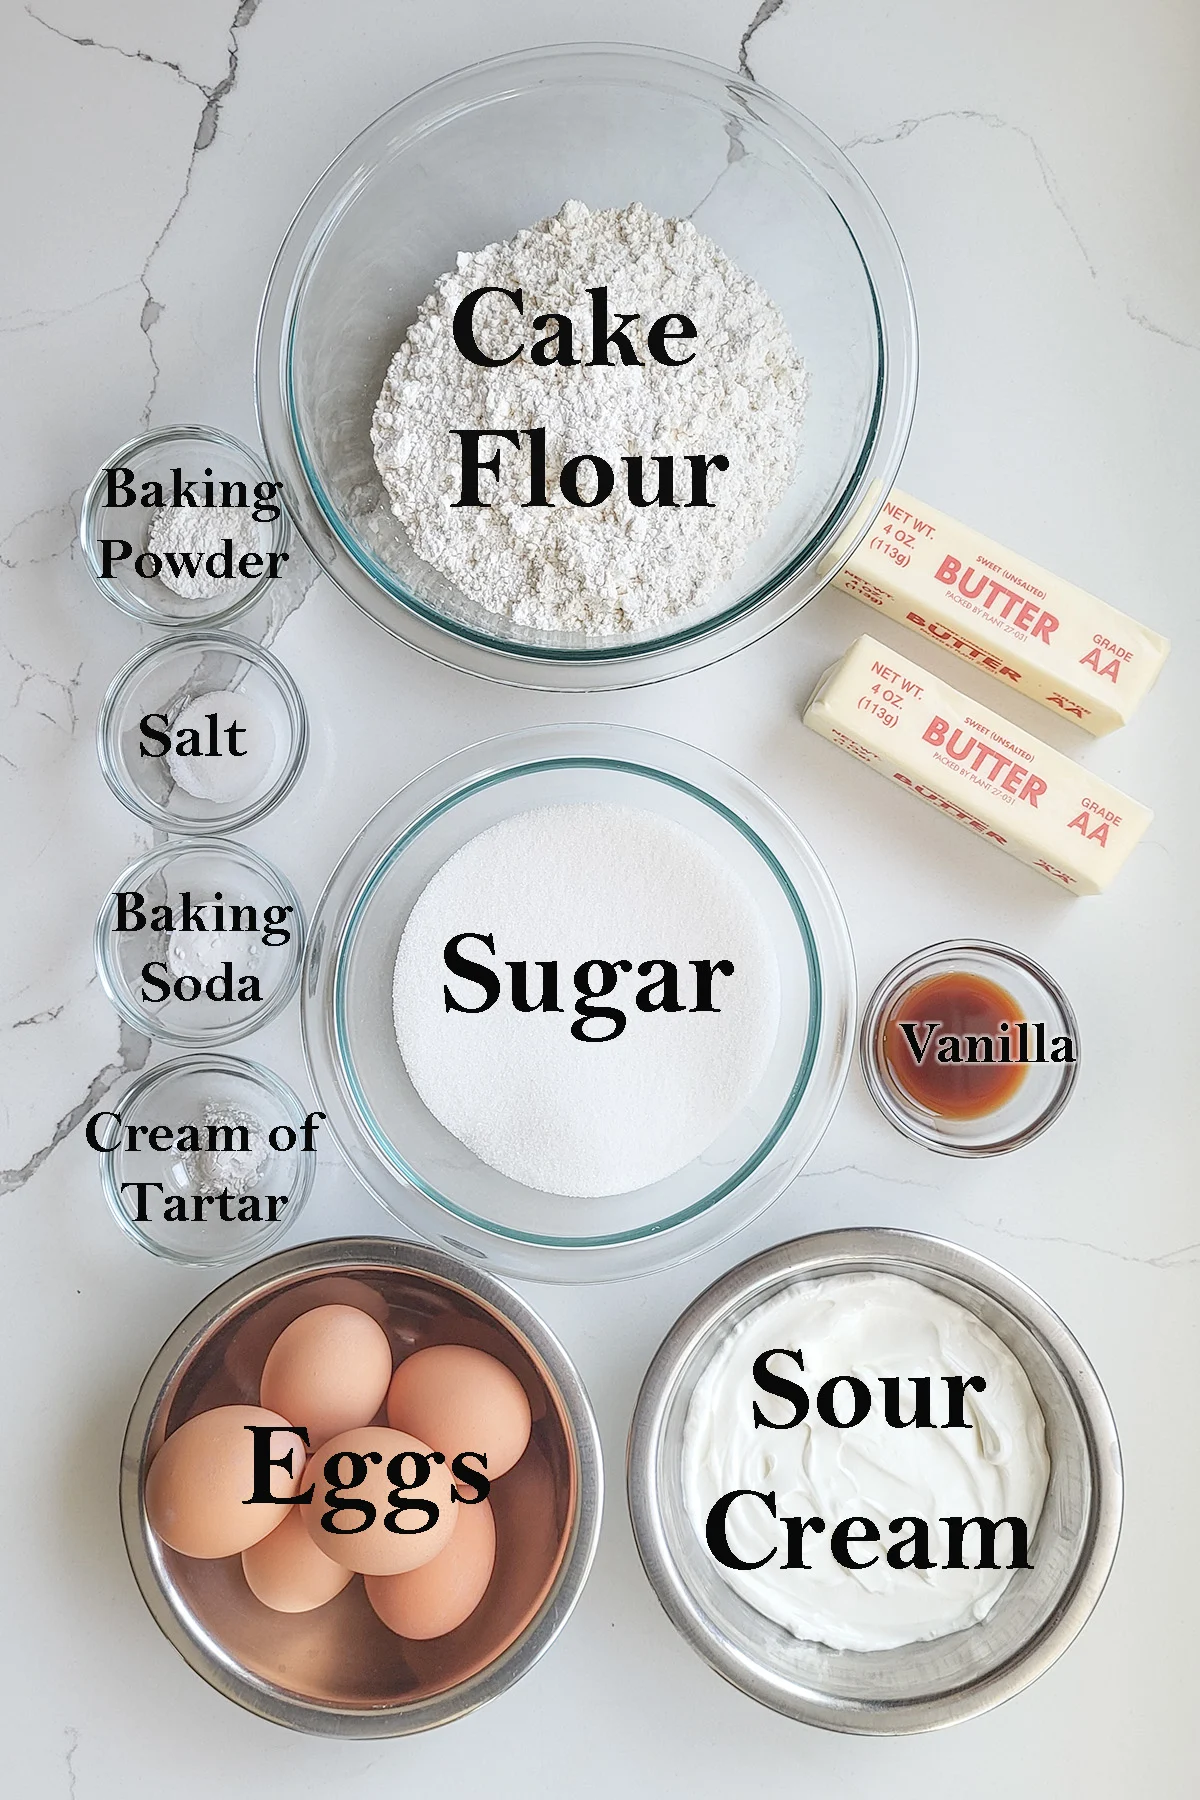
- Cake Flour – Has a lower protein content than all purpose flour so it makes a softer cake. I prefer bleached cake flour. Bleached cake flour is acidic which tenderizes the cake and allows the batter to absorb more liquid for a moister cake. Although you will definitely get the best results with cake flour, in a pinch, for every cup of cake flour use ¾ cup of all-purpose flour mixed with 2 tablespoons of corn starch.
- Unsalted Butter – I prefer unsalted butter so I can control the amount of salt in the recipe. If you use salted butter eliminate the salt listed in the ingredients. The butter must be room temperature for the best results. Room temperature butter is about 65F-70°F (21°C). The butter should be pliable but not soft and melty.
- Sour Cream – Is used instead of milk as the “liquid” in this batter. Sour cream softens the cake and the added fat enriches the batter. Full-fat, unsweetened Greek yogurt would be the best substitute for sour cream.
- Eggs – Extra egg yolks in the batter enriches the cake and emulsifies the batter for an even and tender crumb. The whites are whipped and folded into the batter for an extra light cake crumb.
- Cream of Tartar – This acidic ingredient stabilizes the whipped egg whites and acidifies the batter for a softer crumb.
How to Make Vanilla Butter Cake
See the recipe card for detailed instructions and measurements.
Prep the Pans
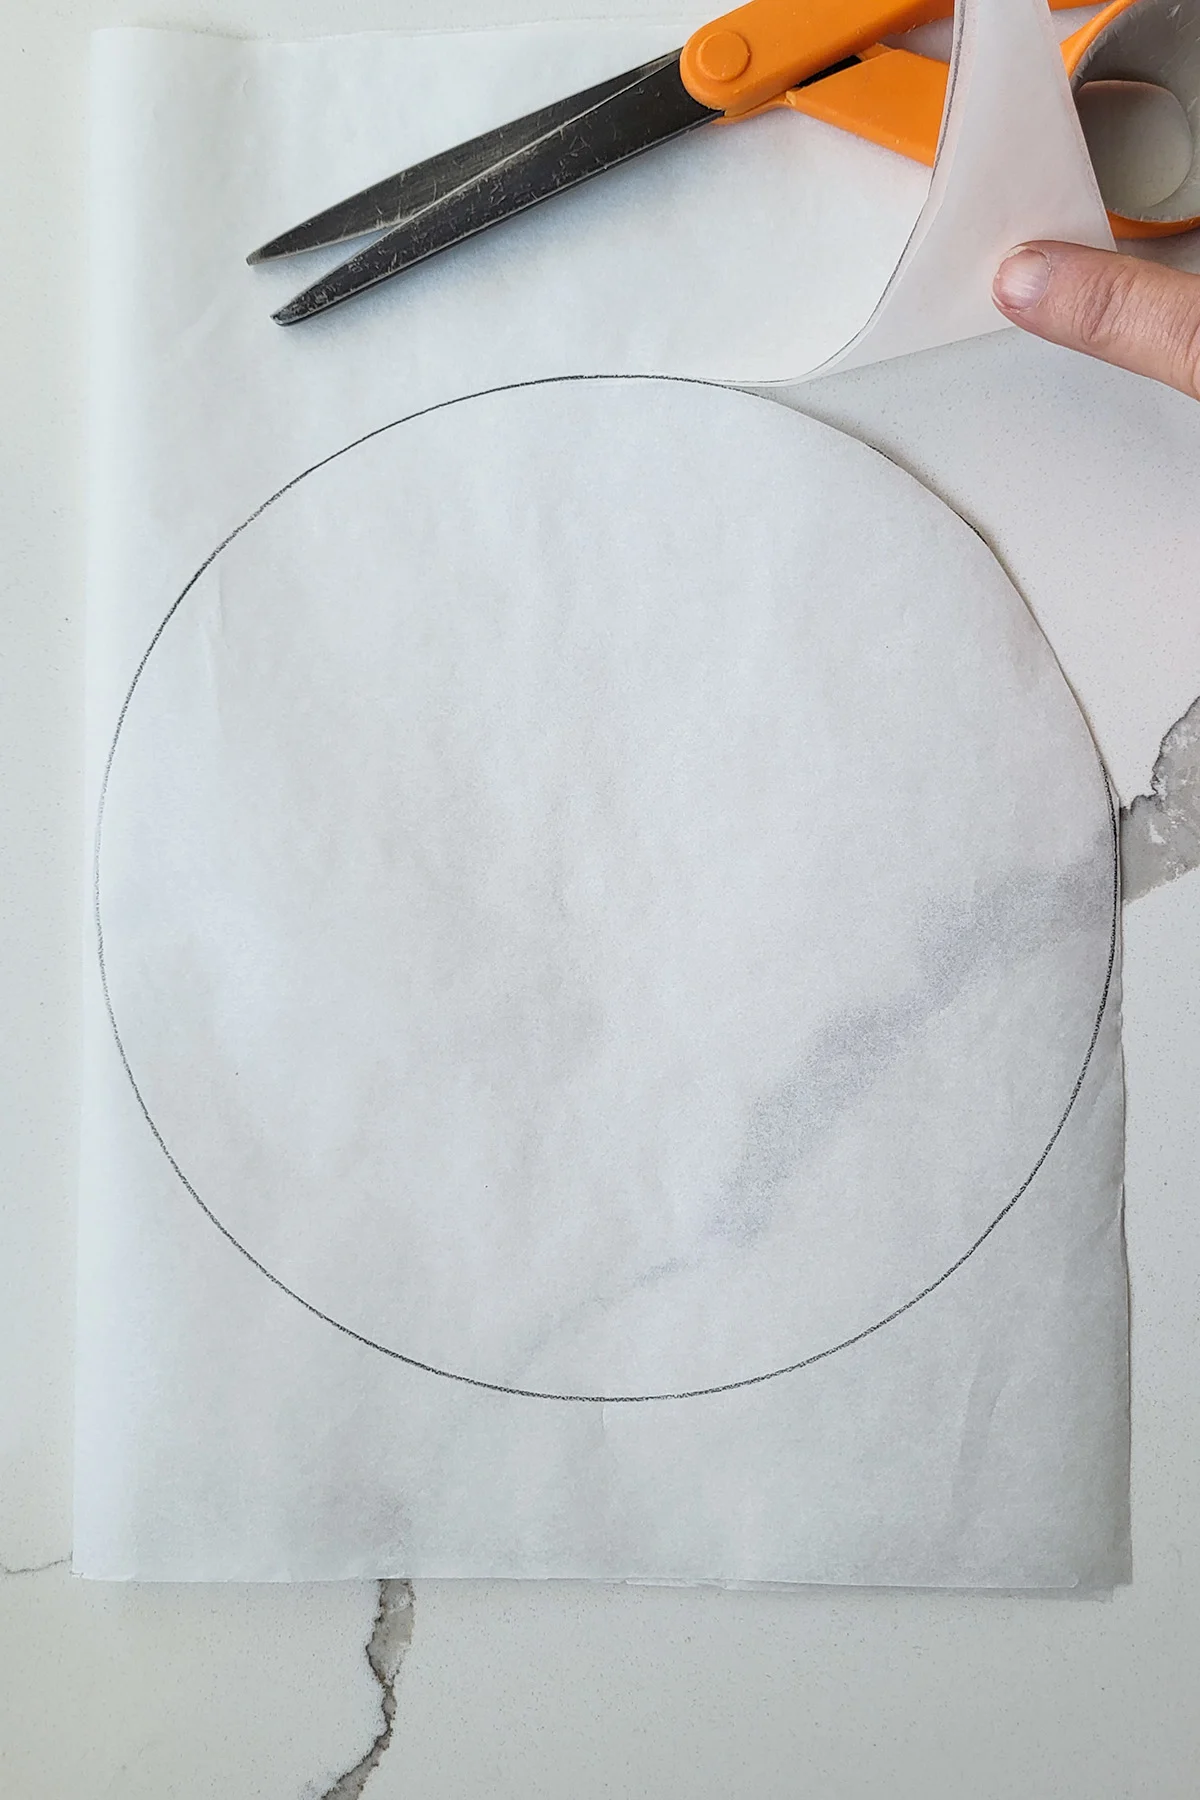
- Draw an 8″ circle on parchment paper using your cake pan as a guide. Cut out two circles and use them to line your cake pans.
- If you don’t have parchment paper butter and flour the bottom of the cake pan only, not the sides.
My Easy Pan Prep Method
After baking thousands of cakes in my career I have learned that the best way to prep a cake pan is the simplest. Just line the bottom of the pan with a round of parchment paper.
By leaving the sides of the pan without any grease, the cake batter slightly grips the pan as it bakes. This encourages straight, tall sides on the cake and a thinner and more delicate crust. But don’t worry, since the bottom doesn’t stick it’s very quick to release the cake from the pan.
Even better, pan cleanup is much easier!
Mix the Batter
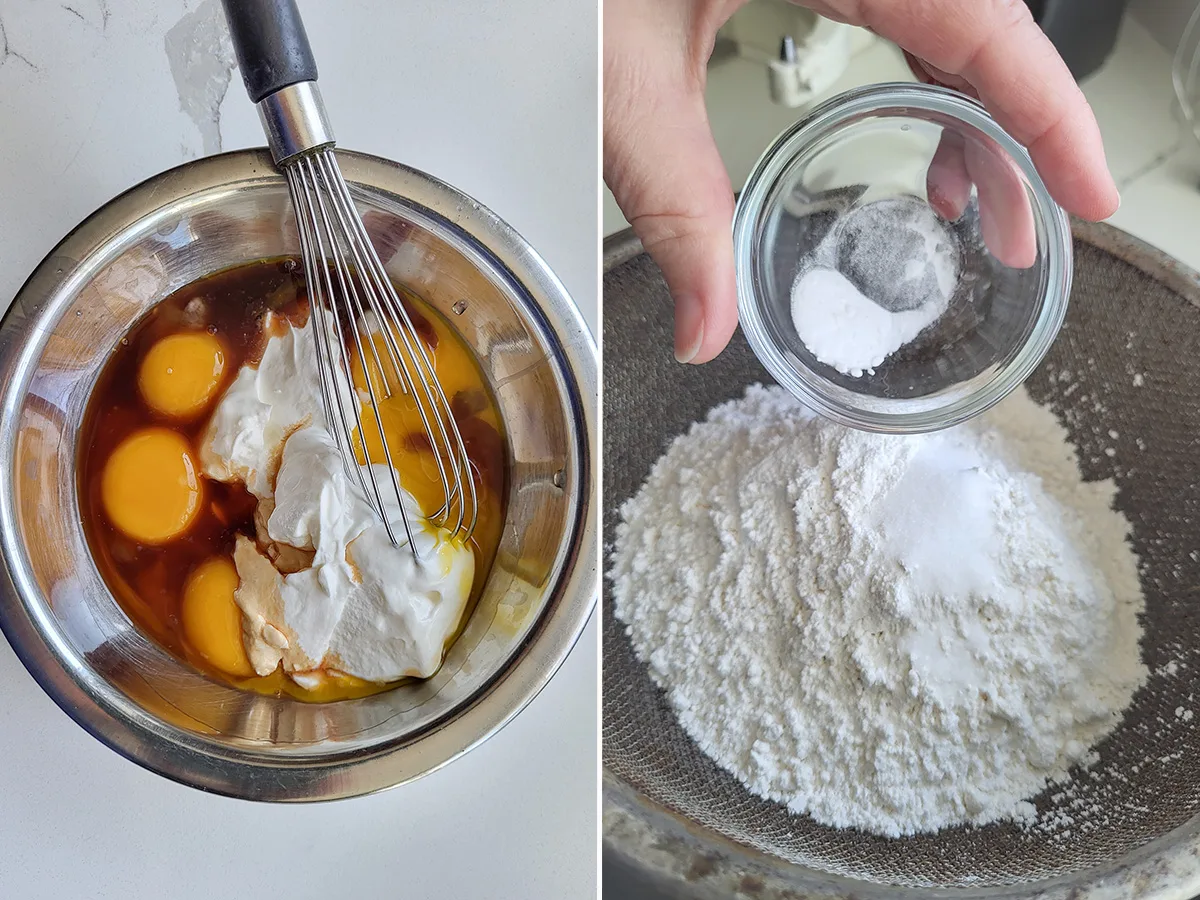
- In a small bowl whisk together the yolks, 1/2 the sour cream and vanilla.
- Sift the dry ingredients into a mixing bowl.
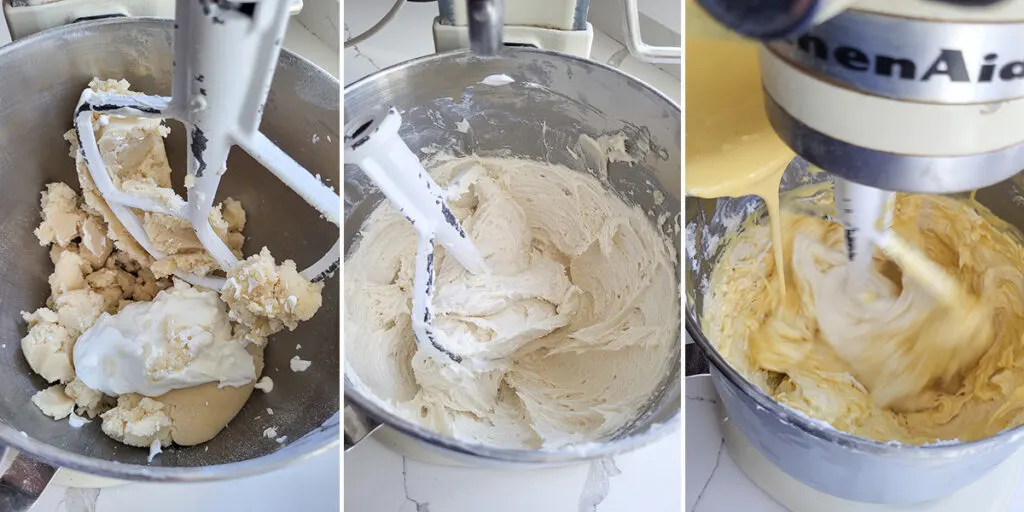
- Mix the dry ingredients on low speed and add the butter — this is the reverse creaming step — mix until it forms a thick paste. Add the reserved sour cream.
- Mix the batter on high speed until it is light and aerated. Scrape the bowl and beater.
- With the mixer running on low, add the yolk mixture. Mix until combined.
Whip and Fold the Egg Whites
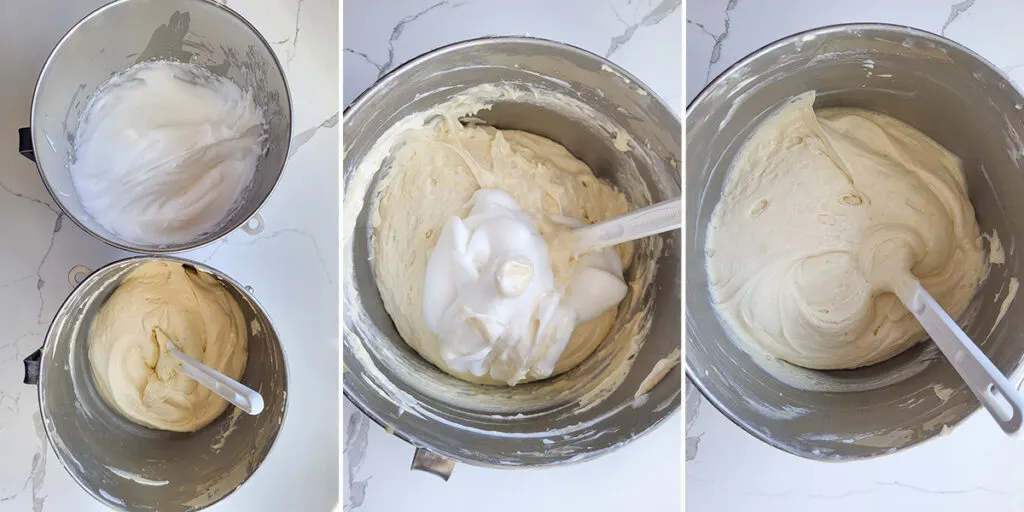
- Whip the whites with the cream of tartar and the remaining sugar to soft peak.
- Fold the whites into the batter in two batches. Stop folding as soon as there are no streaks of whites.
Why Soft Peak?
Soft whipped whites are easy to incorporate into the batter so prevents over-folding. Overwhipping the whites can result in a drier and less stable meringue which may compromise the rise on the cake.
Bake and Cool
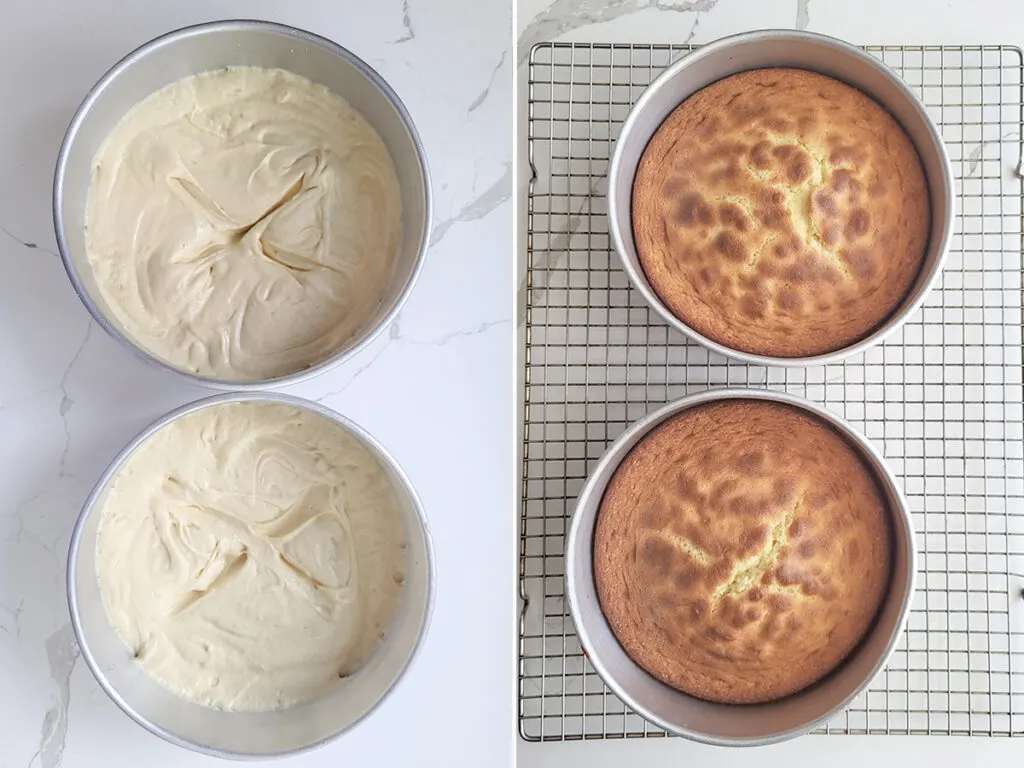
- Evenly divide the batter between the two pans. Smooth to even level then use the tip of your spatula to make an “X” in the center of each cake. This will help the cake rise more evenly in the oven.
- Bake until the center of the cake springs back when lightly pressed. Cool in the pan for 20 minutes then cool completely before icing.
Frosting Your Cake
I like this recipe filled and iced with Italian Meringue Buttercream or Swiss Meringue Buttercream.
American Buttercream is slightly sweeter than meringue buttercream and is also nice with this cake, especially when the cake is for children.
For a lighter finish you can fill and or ice the cake with simple whipped cream or Chocolate Whipped Cream.
Storage and Serving
To work ahead, the uniced cake can be held, tightly wrapped, for 2-3 days at room temperature or up to 3 months in the freezer. Defrost the cake in the wrapping.
Do not refrigerate the cake unless it is filled or iced with a perishable frosting. The refrigerator will accelerate the staling process, while the freezer stops it.
The cake is best served at room temperature. Just like a stick of butter, a chilled butter cake will be firm and won’t melt in your mouth the way a room temperature cake will. If your cake has a perishable filling and must be held in the refrigerator, take it out and hold it at room temperature for 2-3 hours before serving.
Occasions for This Cake
- This recipe is perfect for making birthday cakes. It’s wonderful as a simple vanilla cake, but you can also fold in colorful sprinkles to make a funfetti cake or mini chocolate chips.
- This cake can be used for making wedding and stacked cakes. You’ll need to use proper supports for stacking cake tiers.
- I used this cake many times to create carved and sculpted Cakes. Chill the assembled layers before carving the cake.
FAQs
Yes, the cake is yellow because of the egg yolks in the cake. Most people use the terms “vanilla cake” and “yellow cake” interchangeably. Vanilla is the flavoring in the cake.
That being said, not all vanilla cakes are yellow cakes. If you eliminate the egg yolks in the cake and make white cake flavored with vanilla, it too is a vanilla cake.
Any cake recipe that starts with the traditional “cream the butter and sugar” step can be adapted to reverse creaming. Start with the dry ingredients (flour, sugar, salt leavening), add room temperature butter and half the liquid. Finally add remaining liquid and eggs.
Now that you’ve made this recipe what should you do with all the extra egg whites? Check out this collection of recipes that use extra whites for some great ideas.
If you love this recipe as much as I do, I’d really appreciate a star rating and a quick comment. Ratings and comments help my recipes show in search results. Thanks!
Vanilla Butter Cake Recipe
Video
Ingredients
- 6 large egg yolks (room temperature)
- 8 ounces sour cream (1 cup, room temperature)
- 1 tablespoon vanilla extract
- 12 ounces granulated sugar (1 ½ cups)
- 9 ounces cake flour (2 cups, see note)
- ¾ teaspoon baking powder
- ¾ teaspoon salt
- ¼ teaspoon baking soda
- 8 ounces unsalted butter (room temperature, see note)
- 3 large egg whites (room temperature)
- ¼ teaspoon cream of tartar
Instructions
- Preheat the oven to 350 °F. Line two 8"x3" round cake pans with a circle of parchment paper or butter and flour the bottom of the pans only, not the sides.
- Combine 6 large egg yolks, 4 ounces sour cream and 1 tablespoon vanilla extract in a small bowl, whisk to combine, set aside.
- Into a mixer bowl sift 10 ounces granulated sugar, 9 ounces cake flour, ¾ teaspoon baking powder, ¼ teaspoon baking soda and ¾ teaspoon salt. Mix on low speed for 10 seconds to distribute the leavening. Add 8 ounces unsalted butter to the flour mixture. Mix on low until the butter is incorporated and the batter looks like a paste. Add 4 ounces sour cream to the flour and butter mixture. Increase the speed to medium and mix about 3 minutes until the batter lightens in texture. If you're using a hand mixer add another minute or two to the total time.
- Scrape the sides and bottom of the bowl. With the mixer on low, add ½ the egg yolk mixture. Mix until mostly incorporated. Scrape the sides and bottom of the bowl. Add the rest of the egg yolk mixture. Scrape the bowl and mix until incorporated.
- In another bowl, whip 3 large egg whites with ¼ teaspoon cream of tartar on medium high until foamy. Turn the mixer to medium low and slowly add 2 ounces granulated sugar. Turn the mixer to medium high and whip the whites to soft peak. Fold the whites into the base in 2 parts, folding just until there are no streaks of egg whites.
- Divide the batter between the 2 pans and spread so it's level. Use the tip of your spatula to form an "x" in the center of each cake. This will help the cake rise evenly.
- Bake until the center of the cake springs back when lightly pressed or a toothpick inserted into the middle of the cake comes out clean, about 25-30 minutes.
- Cool 10 minutes in the pan and then turn out onto a cooling rack. Wait until the cake is fully cooled before filling and assembling with your favorite frosting.
Would you like to save this recipe?



As an Amazon Associate and member of other affiliate programs, I earn from qualifying purchases.
Hi Eileen, I’m so glad I found this page. I have been trying out a pound cake recipe that uses the reverse creaming method (sort of) .The dry ingredients are mixed together and then the butter and half the liquids(eggs+ milk + vanilla) are added to the dry ingredients and mixed on low speed for about 30sec till combined; then speed is amped up to medium speed and mixed for 60secs, Remaining half of liquid ingredients are added in two turns and mixed for about 30 secs each.
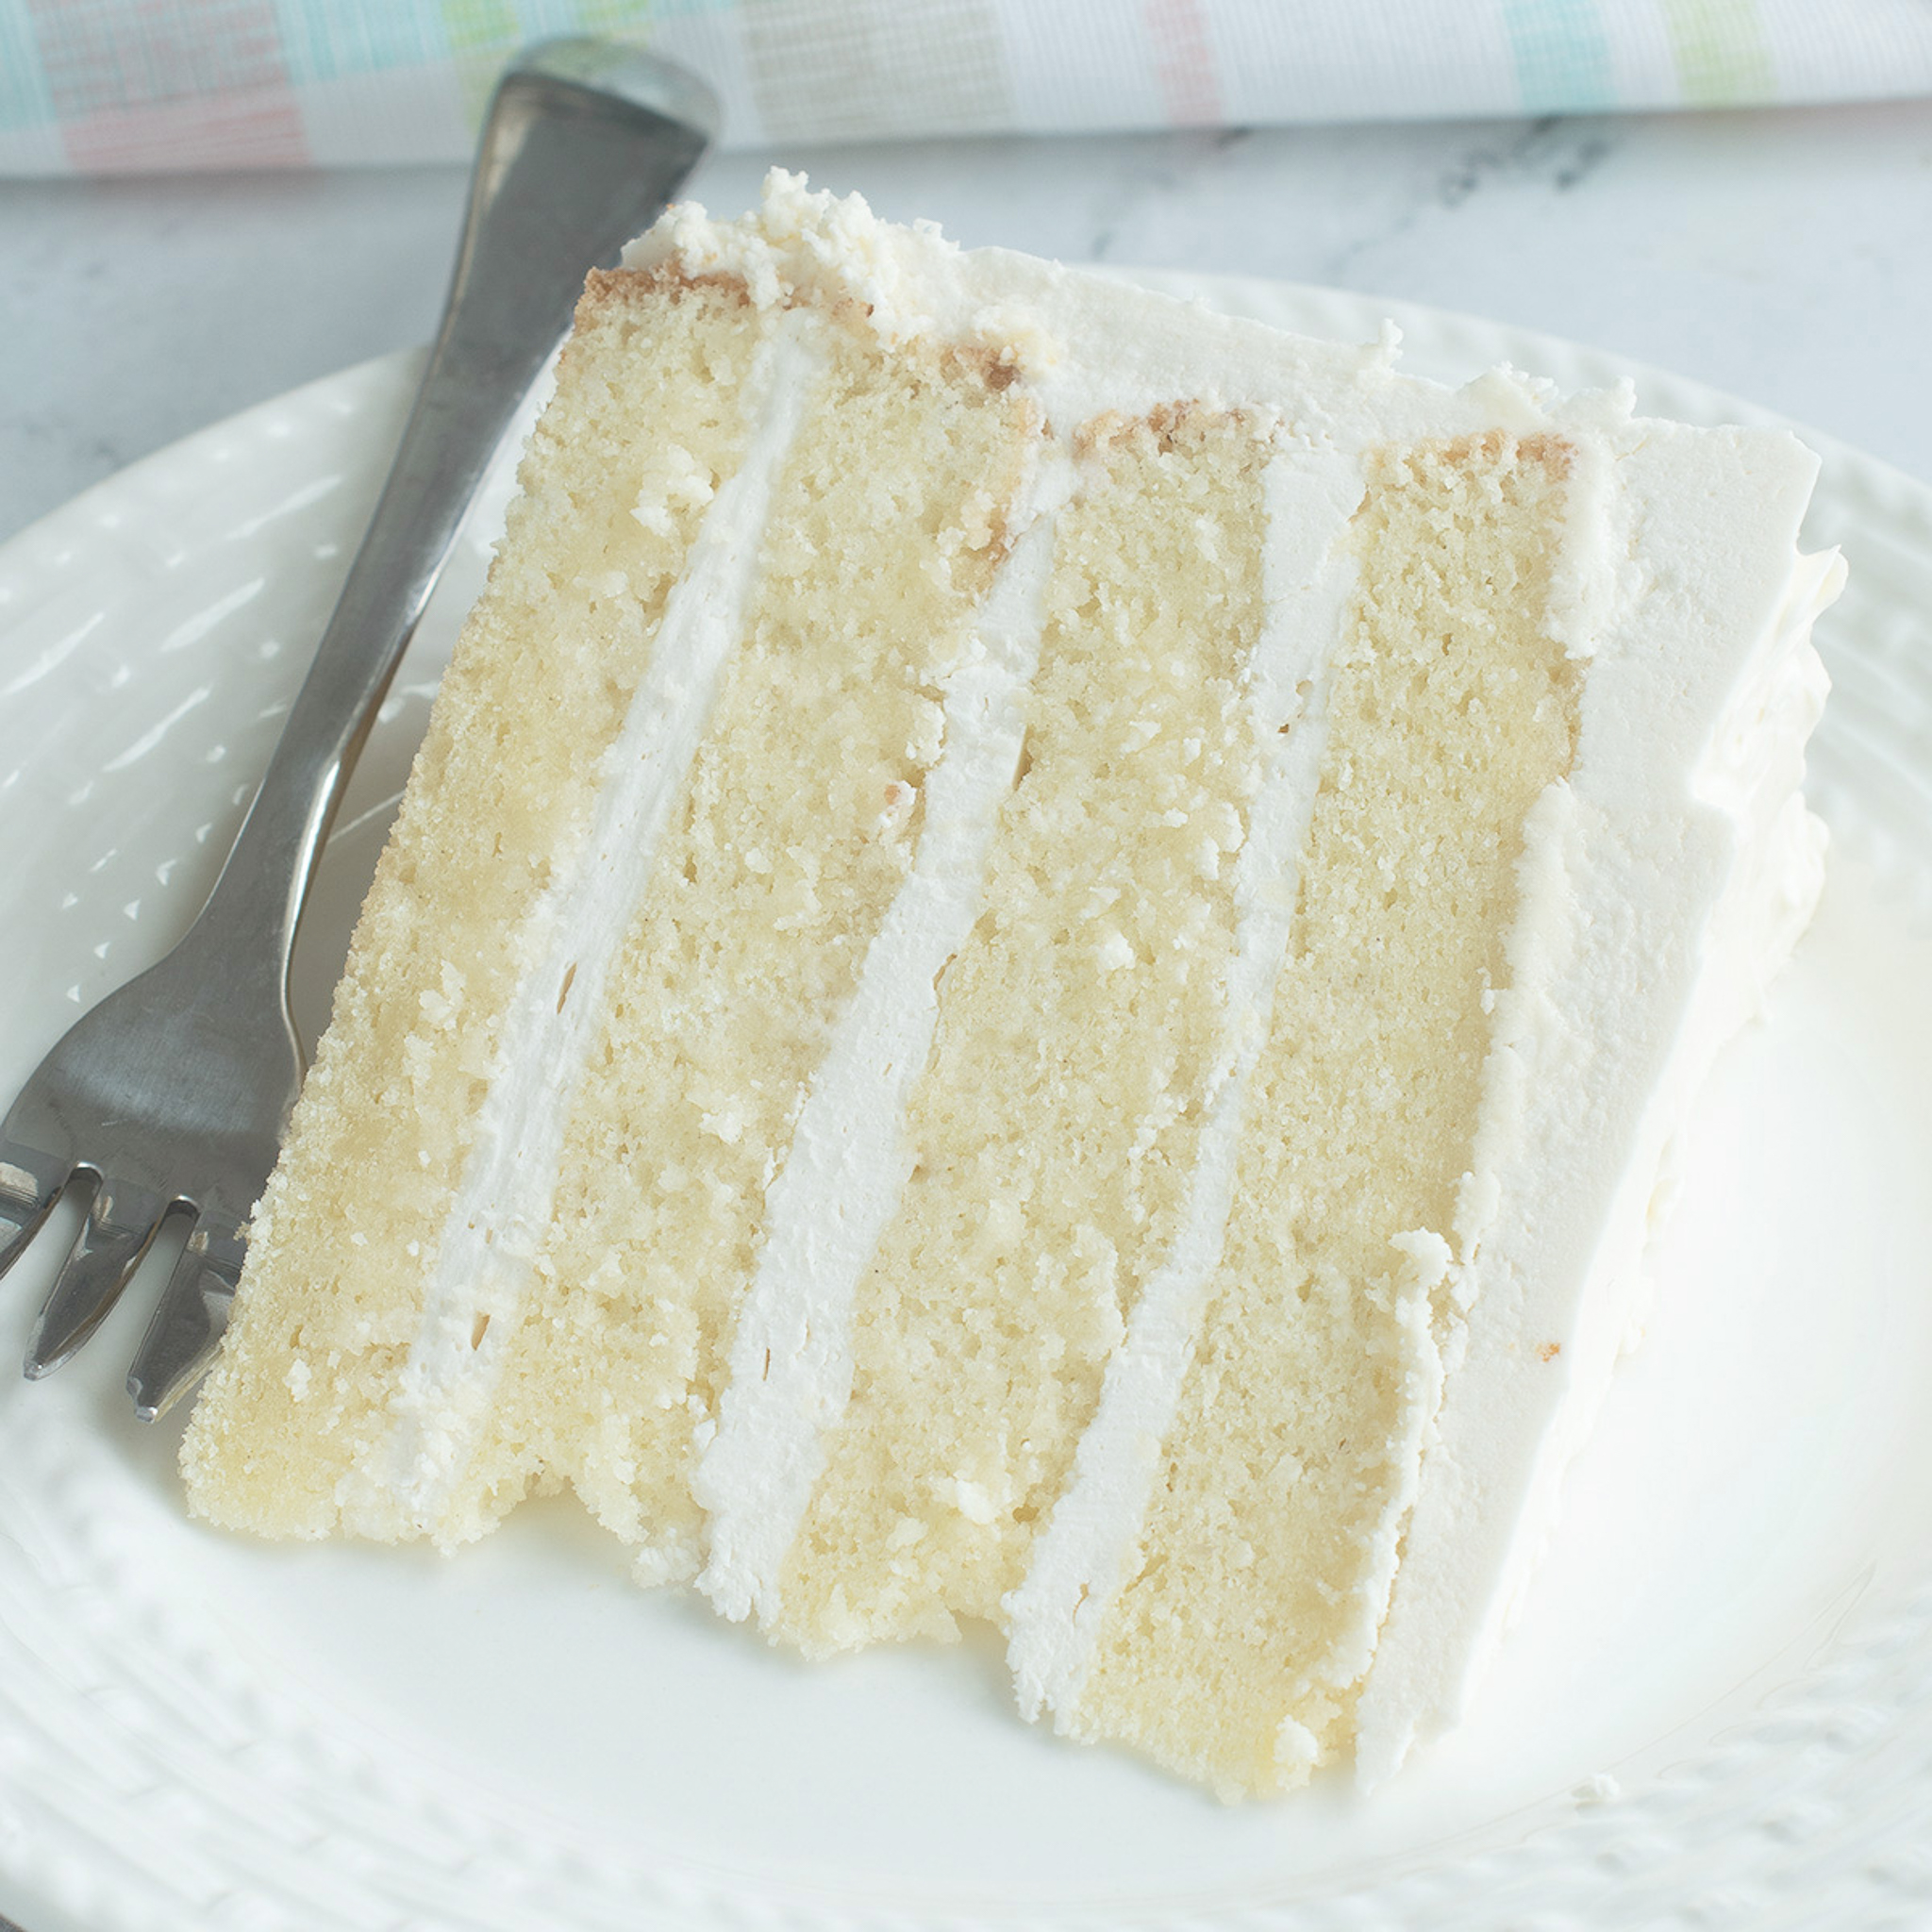
Well the cake turned out very moist and light and tastes really nice, not as dense as some other traditional pound cakes I made, but I noticed the bottom of the cake had a dense appearance, like the middle cake in the picture above; if you look closely you will notice a thin dense layer at the base which is exactly what my cake had,slightly thicke than yours though. It’s as if some fat had settled at the base or some portion of the batter was not properly mixed (but I made sure my scraping and mixing was thorough though). I just can’t place it. What do you think is the problem, that is, if it is a problem.
And well, my cake didn’t crack; my pound cakes never seem to crack well; sometimes all I get is a feeble attempt at a crack.
Hi Ev, the process you describe is exactly reverse creaming. The cake in the middle (in my photo) was made using reverse creaming method. My preferred method is to use reverse creaming but also whip the whites and fold them in at the end. That is the method used for the cake at the right. I do sometimes see that slightly dense bottom like you mentioned. I’m not sure exactly what causes that. Maybe the batter at the bottom melts and settles a bit before it bakes. But usually I find that it’s not noticeable when I eat the cake. I bake this recipe as a layer cake, not in a loaf pan. Here’s my Pound Cake recipe that also uses the reverse creaming method.
What are you referring to exactly when you say leavening?
“Into the bowl of a stand mixer put 1 cup of the sugar, sift in the flour, leavening and salt.
Mix with the paddle on low speed to distribute the leavening”
Hi Becky. The leavening is the baking powder and baking soda.
The flavor is very good. Not overly sweet, just perfect with vanilla. Love the sour cream. This was my first time trying the reverse creaming method with folding in the whipped egg whites. My cakes took longer to bake, about 35 minutes at 325*. And I used three 6” pans (the dark nonstick Wilton ones). They did fall flat and the middle bottom (when cut in half) was not quite baked. I tried to read most of the reviews, but I didn’t see anything about not filling them too much.
I wonder if that’s why mine fell flat. Smaller pans, filled at the half way mark. They rose nicely in the oven, but once I took out to rest, they fell.
I will try again. Not filling up all the way. And perhaps bake at 350* for 25 minutes.
Hi Jesse. Thanks for the feedback and questions. As long as you don’t fill the cake pans more than 1/2 to 2/3 using a 6″ cake pan should not be a problem. If you filled the pans more than that it could cause a problem with how they bake. From what you’ve shared I can see few other things that could cause the cakes to not bake properly; I’ve never baked this recipe in a non-stick pan. I imagine that the slick interior of a non-stick pan could prevent the cake from rising properly. Did you butter/flour the pan? Did you set the oven to 325F with convection or without? The recipe says 325F convection or 350F regular (no convection). Baking at the lower temperature would make it take longer to bake. Since you say the middle of the cake was not quite baked that could cause the cake to fall once it’s out of the oven, and I also suspect that the non-stick surface didn’t help either. Did you use the “toothpick” test or “press the middle” test to check if it was done?
I did not butter/flour the pan. But I will this time since all I have are nonstick pans. I think I messed up by baking at 325* when I have a conventional oven. (dont know why I did it lower). I used the toothpick test. Came out clean. I will make your white cake version today with the right temperature. Will report back. Thanks for answering !
Great. I hope it works this time. I just made the vanilla cake again yesterday and it was perfect. I’ve made it, literally, thousands of times without fail. I would also suggest that in addition to the toothpick test try gently pressing on the middle of the cake. It should spring back. If it leaves a dent let the cake go a few more minutes. Let me know how it works out.
I’ve attempted both the white cake and the butter cake twice, and same results. Puffs up nicely in oven, but once I take it out, falls. What wonderful flavors though. Perhaps it really has something to do with dark nonstick pans.
When you say they “puff up and fall” do you mean the cake is humped in the oven and then becomes level while cooling? Or you do you mean totally falls and becomes concave in the middle. I just made the vanilla cake again last week and it had a slight hump when it came out of the oven and then became level when cool. I prefer a level cake since that means less trimming before I assemble. If you could email me a picture of the cake that would be great!
I didn’t think to take photos before I scrapped it. But it puffs up, nice and golden brown. Passes the toothpick and poke test. Then falls deeply once cooled. I like leveled cakes too, easier to ice, but when I split cake in half, the bottom middle is not baked. Not raw, just under baked by maybe 8 minutes. But if I cook it longer, then the sides and top get almost burnt. Even with covering tops with foil.
Hmmm, all I can think is that is has something to do with the pans or your oven, especially since the cakes don’t seem to be baking evenly. I have never had this type of problem with this cake, so I’m kind of at a loss. I wish I could give you an answer.
Hi Eileen! I LOVE this cake recipe!! Is there a way that I can make it without the yolks and still have a super moist cake? I want the cake to be super white like a wedding cake. I tried substituting 1/4 cup of oil for the yolks and the cake didn’t rise properly. Also I didn’t have sour cream, so I tried 1 cup of yogurt + 1 tsp of baking soda (I found on the web).
Hi Ceeny, Replacing the sour cream with yogurt is fine. Just use equal proportions of yogurt to replace sour cream. Adding a teaspoon of baking soda will make the cake rise too fast, then collapse. So I’m not surprised the cake didn’t rise properly. A teaspoon of baking soda is quite a lot, enough to rise 4 cups of flour! Not sure where you found that substitution on the web, but maybe it’s not the most reliable source. Replacing the yolks with oil will not work, as you found out. Oil is a fat which tenderizes the cake. Yolks, while they do add some fat, also contribute to the structure of the cake. Yolks also have emulsifiers in them, which help distribute the liquid in the batter. To make the cake whiter, use 6 egg whites and no yolks. Add 3 of the whites with the sour cream, and whip the other three whites and fold in, as described in the recipe. You can also replace some of the butter with vegetable shortening. Vegetable shortening has emulsifiers like yolks. The original recipe uses 9 ounces of butter. Try using 6 ounces of butter and 3 ounces of vegetable shortening. This will also help whiten the cake. The “Eggs in Cake Batter” class in the Baking School link has more information about how to switch out eggs and yolks in cake batter.
Awesome! Thank you so much for the explanations and your recommendations! I will try again and let you know. 🙂
Great!
I made your suggested adjustments and my cakes came out soooooo much better! They still took about 1 1/2 hours to bake. And they still collapsed, only slightly, in the center and were a bit dense. I measured my pans and they are actually only 7-1/4 inches! Would that be part of my problem? Should I put less batter in the pans or cook at a different temperature? My pans are aluminum and I don’t have a convection oven.
Would fresh baking powder make a big difference? Mine is probably a year old.. Also, my climate is hot and humid (indoors is normally around 80-85 degrees). Would my baking powder go bad faster in that climate?
I’d still like to get my cakes whiter. My butter here is a bit yellow. Would it taste bad if I just used all shortening? Should I leave out the vanilla? Btw I LOVE your cake batter classes! I love that you do so much detailed testing! You are amazing!!
Hi Ceeny. The cake pan size would make a difference. I generally fill the pans 1/2 to 2/3 full. The weather shouldn’t matter. My commercial kitchen would often be extremely hot on baking days with no adverse affects on the cakes. The cakes can be baked with our without convection. Aluminum cake pans are exactly what I use. I don’t think the baking powder is the issue. The oven temperature should be 350°F or 175°C. Have you checked your oven temperature with a oven thermometer? I just recently realized my home oven was running 50°-100° too hot. Maybe your oven calibration is off and the temp is too low. My cakes generally bake in about 20-25 minutes. Thanks to your questions I am currently developing a “white cake” recipe. I hope to post it next week. I’m trying versions with both butter and shortening and with different ways of adding the egg whites. Thanks for your questions! I love the input and the questions often spark ideas for new recipes.
Ah, I wasn’t sure if the oven is better to be hotter or cooler since my pans were so full. I do have an oven thermometer. The temperature would drop down to 325 or even 300 when I opened the oven door. I thought it would be okay at a lower temperature. I’ll keep an eye on it and make sure it stays closer to 350 now. I’m so excited that you’re doing a “white cake” recipe! I can’t wait to try it!! 😀
Hello! I made the recipe many times and every time I take it out of the oven the cake is lowered and reduced from the sides 1 “.The temperature is correct, do not replace any ingredient.I made the recipe as is.
If shrinking from 15 “to 13”
Hi Daian, the cake will shrink a little bit as it cools. Make sure you just bake the cake until it is set in the center. If you bake it a little too long it will pull back from the sides of the pan. You might be over baking a bit. To test if the cake is done press the center of the cake. If it springs back, it’s baked. If it leaves a dent let it bake a bit longer. You can also use the “toothpick” test. Poke a toothpick in the center of the cake and if it comes out with just a few crumbs but no raw dough the cake is ready.
Baking the batter in a larger pan, like 15″, is a little more tricky. Personally, even for wedding cakes I never baked anything larger than 14″ since it’s hard not to over-bake the edges in a very large pan.
Let me know if you have any other questions.