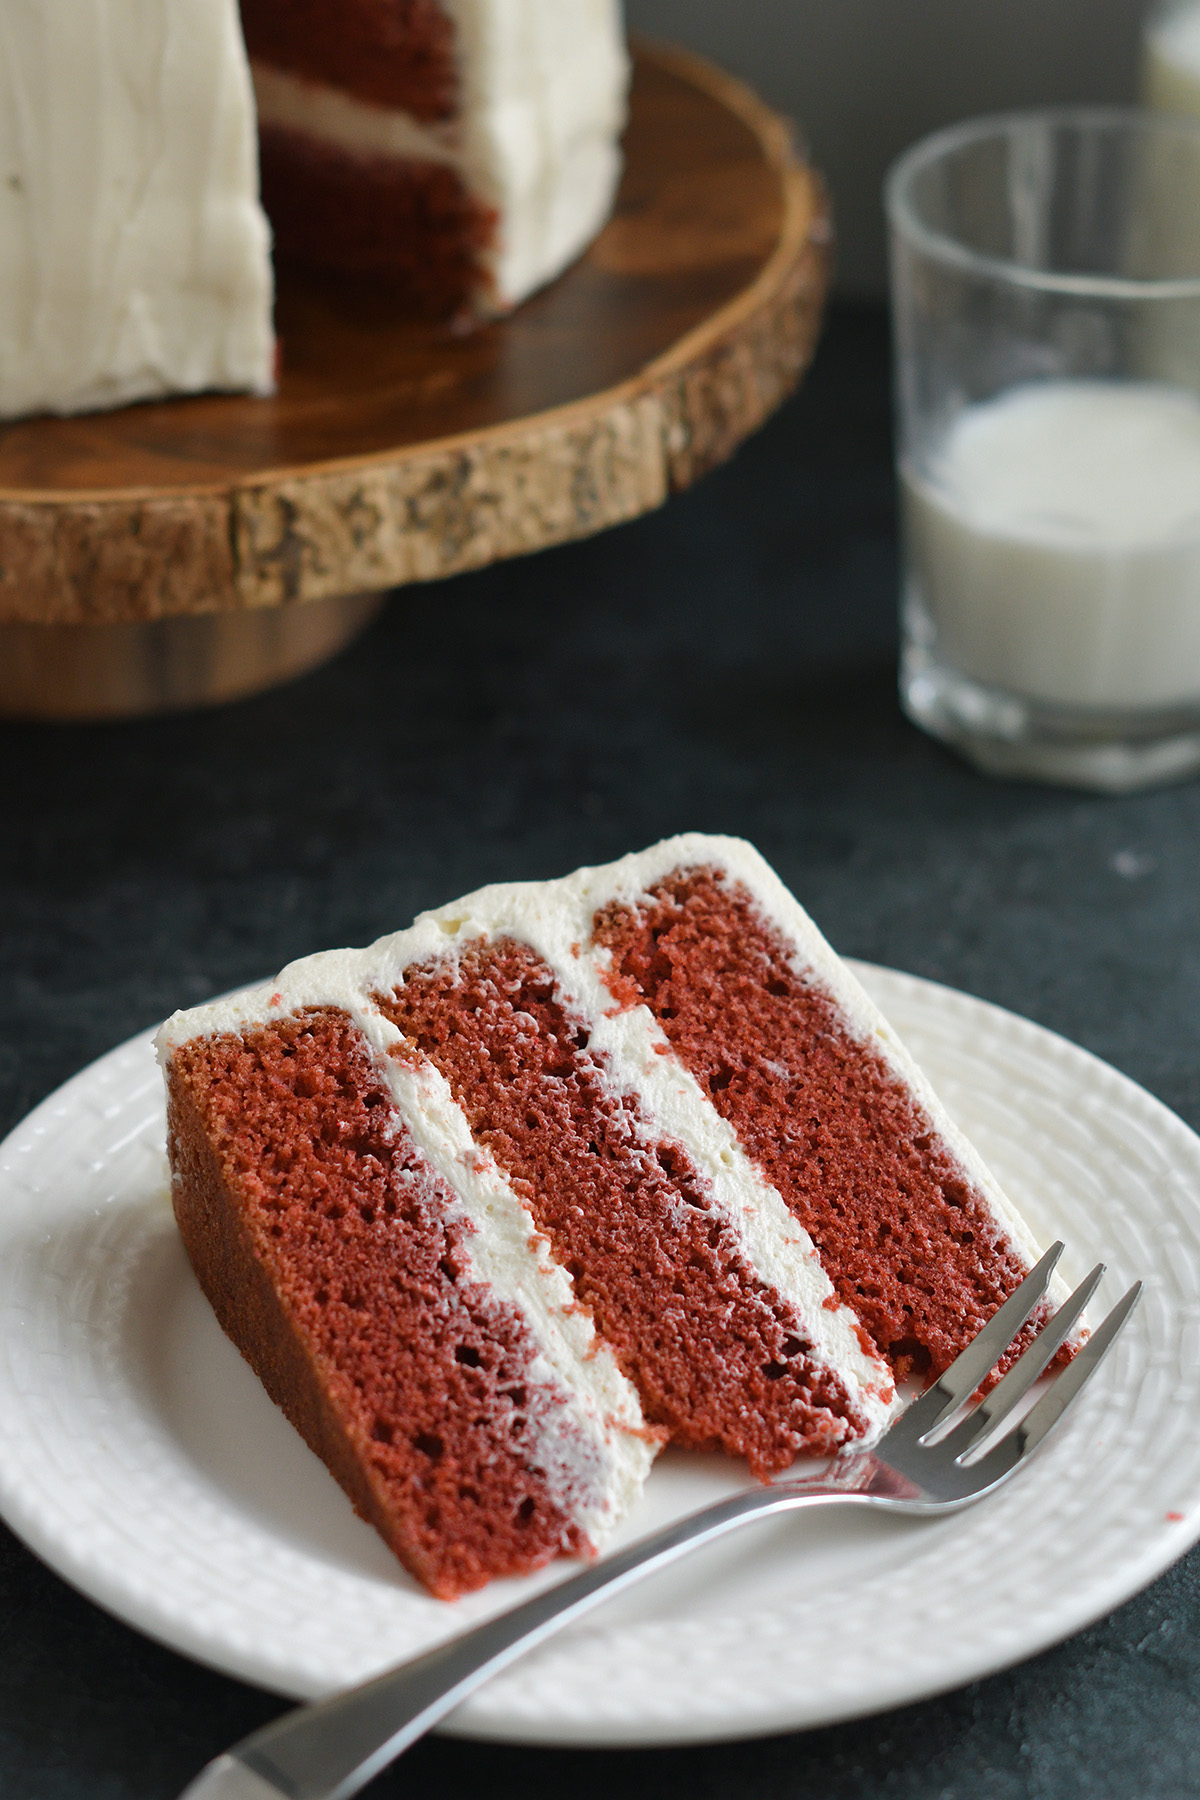
Red Velvet Cake or Cupcakes
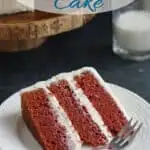
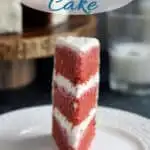
Red Velvet Cake has been around at least since the 1920s but has enjoyed a renewed popularity over the last few years. This cake is soft and has a special flavor from buttermilk, cocoa and vinegar.
About Red Velvet Cake:
What makes a cake a Red Velvet Cake? Can you just add red food coloring to any cake recipe and call it “red velvet”.
Of course you can do that if you want to, but red velvet cake is not just a red-tinted cake. Red Velvet cake has wonderful and specific flavor and texture.
Traditionally, a red velvet cake recipe should include buttermilk, vinegar and cocoa. In the old recipes, a reaction between those ingredients and baking soda would create a light reddish brown color, hence the name of the cake.
I use a dutch-processed cocoa in my recipe. With less acid (from “dutching) the reaction is not quite the same as the old style cakes. I add food coloring to get the deep red color. Some folks use beets to tint the cake.
There are a million recipes to choose from, but I like the balance and texture of my recipe. It has just enough oil for moisture without the cake becoming gummy, and enough cocoa to give a slight chocolatey edge to the cake without turning it into a chocolate cake.
Ingredient Notes
- All Purpose Flour – I usually use low protein cake flour for my cake recipes. Because red velvet cake has a very high moisture content I use medium protein all purpose flour to enable the cake to maintain a stable crumb as it rises in the oven.
- Cocoa Powder – I prefer to use “dutch process” cocoa powder for it’s deep color and flavor. Dutching is a process to alkalize cocoa. This recipe will also work with “natural” cocoa.
- Baking Soda – Baking soda reacts with the acidic buttermilk and vinegar and creates carbon dioxide to leaven the cake.
- Buttermilk – The acidity in buttermilk contributes to the classic “red velvet” flavor.
- Vinegar – The acidic vinegar contributes to the classic “red velvet” flavor.
- Red Food Coloring – If you don’t like to use artificial color the red coloring can be left out with no effect on the flavor of the cake. I recommend gel color as you can get a much deeper color than with liquid color.
The Process
Here’s what the recipe process looks like at each stage. Refer to the recipe card below for measurements and exact instructions.
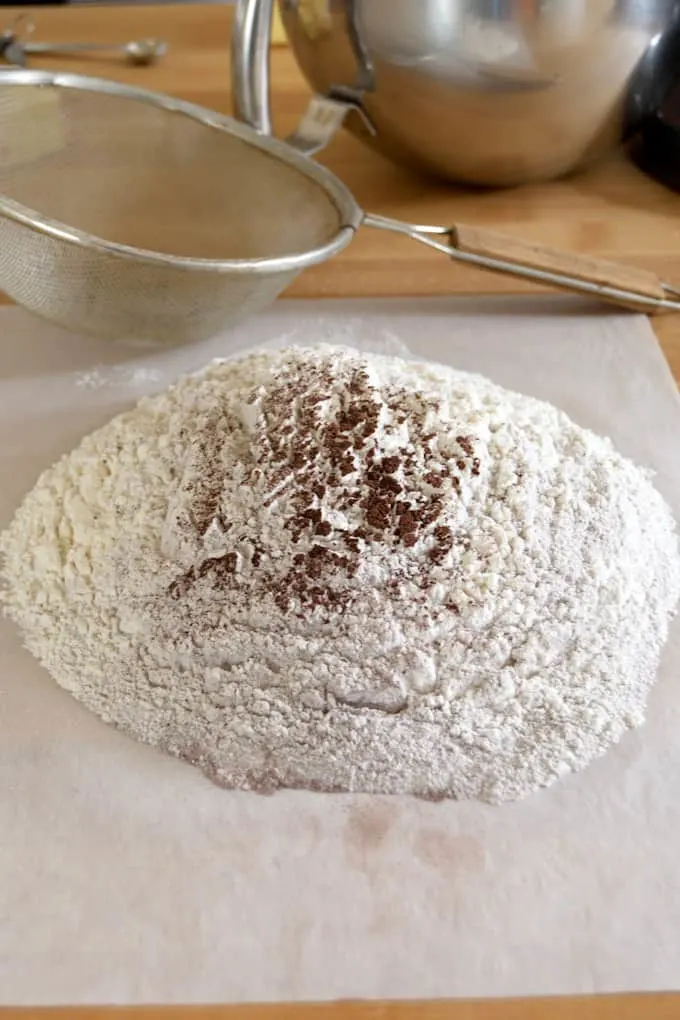
- Sift the dry ingredients onto a sheet of parchment paper. The paper makes it easy to add the ingredients to the batter.
- Combine the wet ingredients in a mixing bowl.
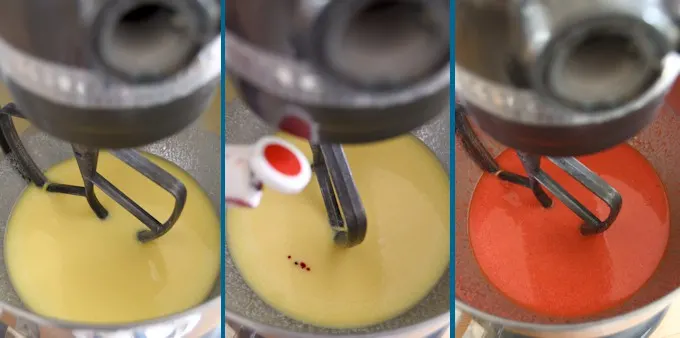
- Run the mixer for 1-2 minutes to emulsify the wet ingredients,
- Add the food coloring a few drops at a time.
- Add coloring to make the mixture slightly more red than you want the final cake to be. The color will mute when the dry ingredients are added.
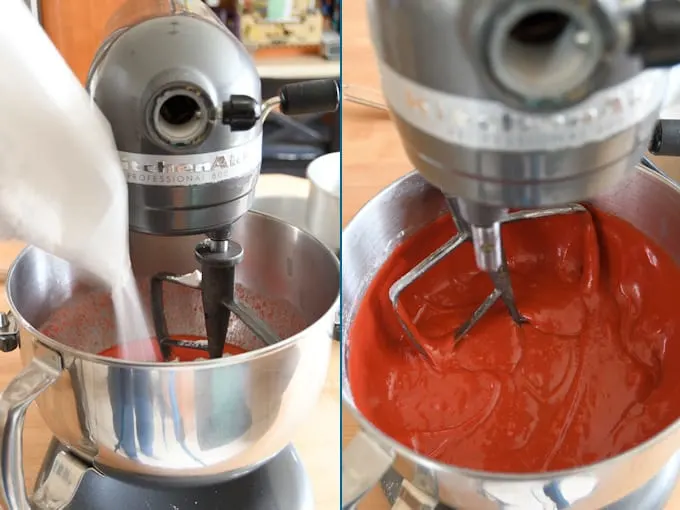
- Use the parchment to pour the dry ingredients into the batter.
- Mix just until combined.
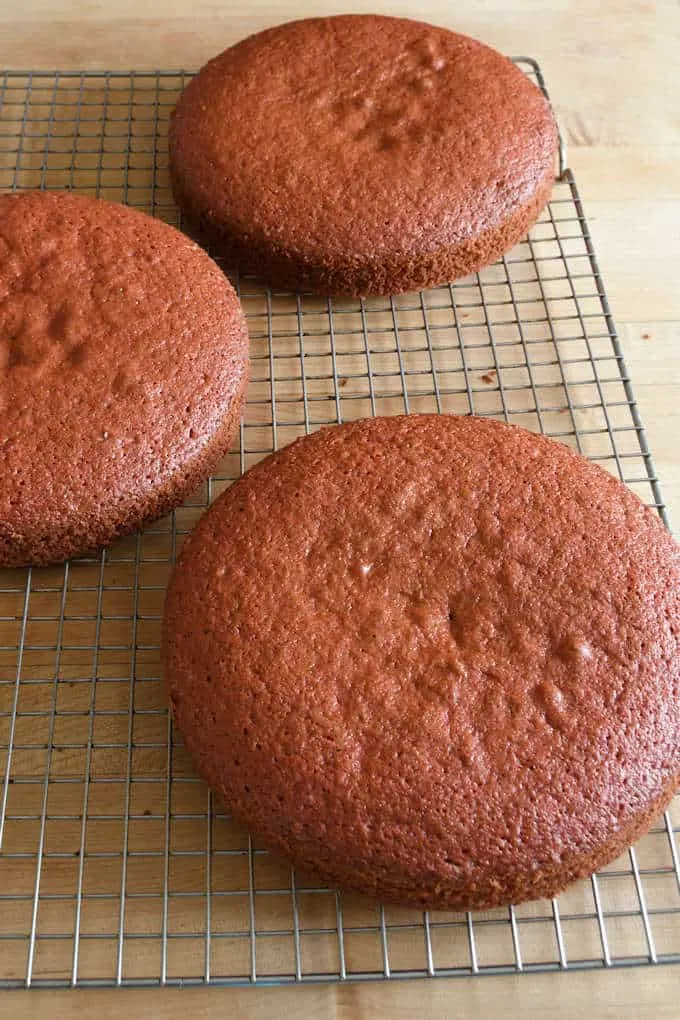
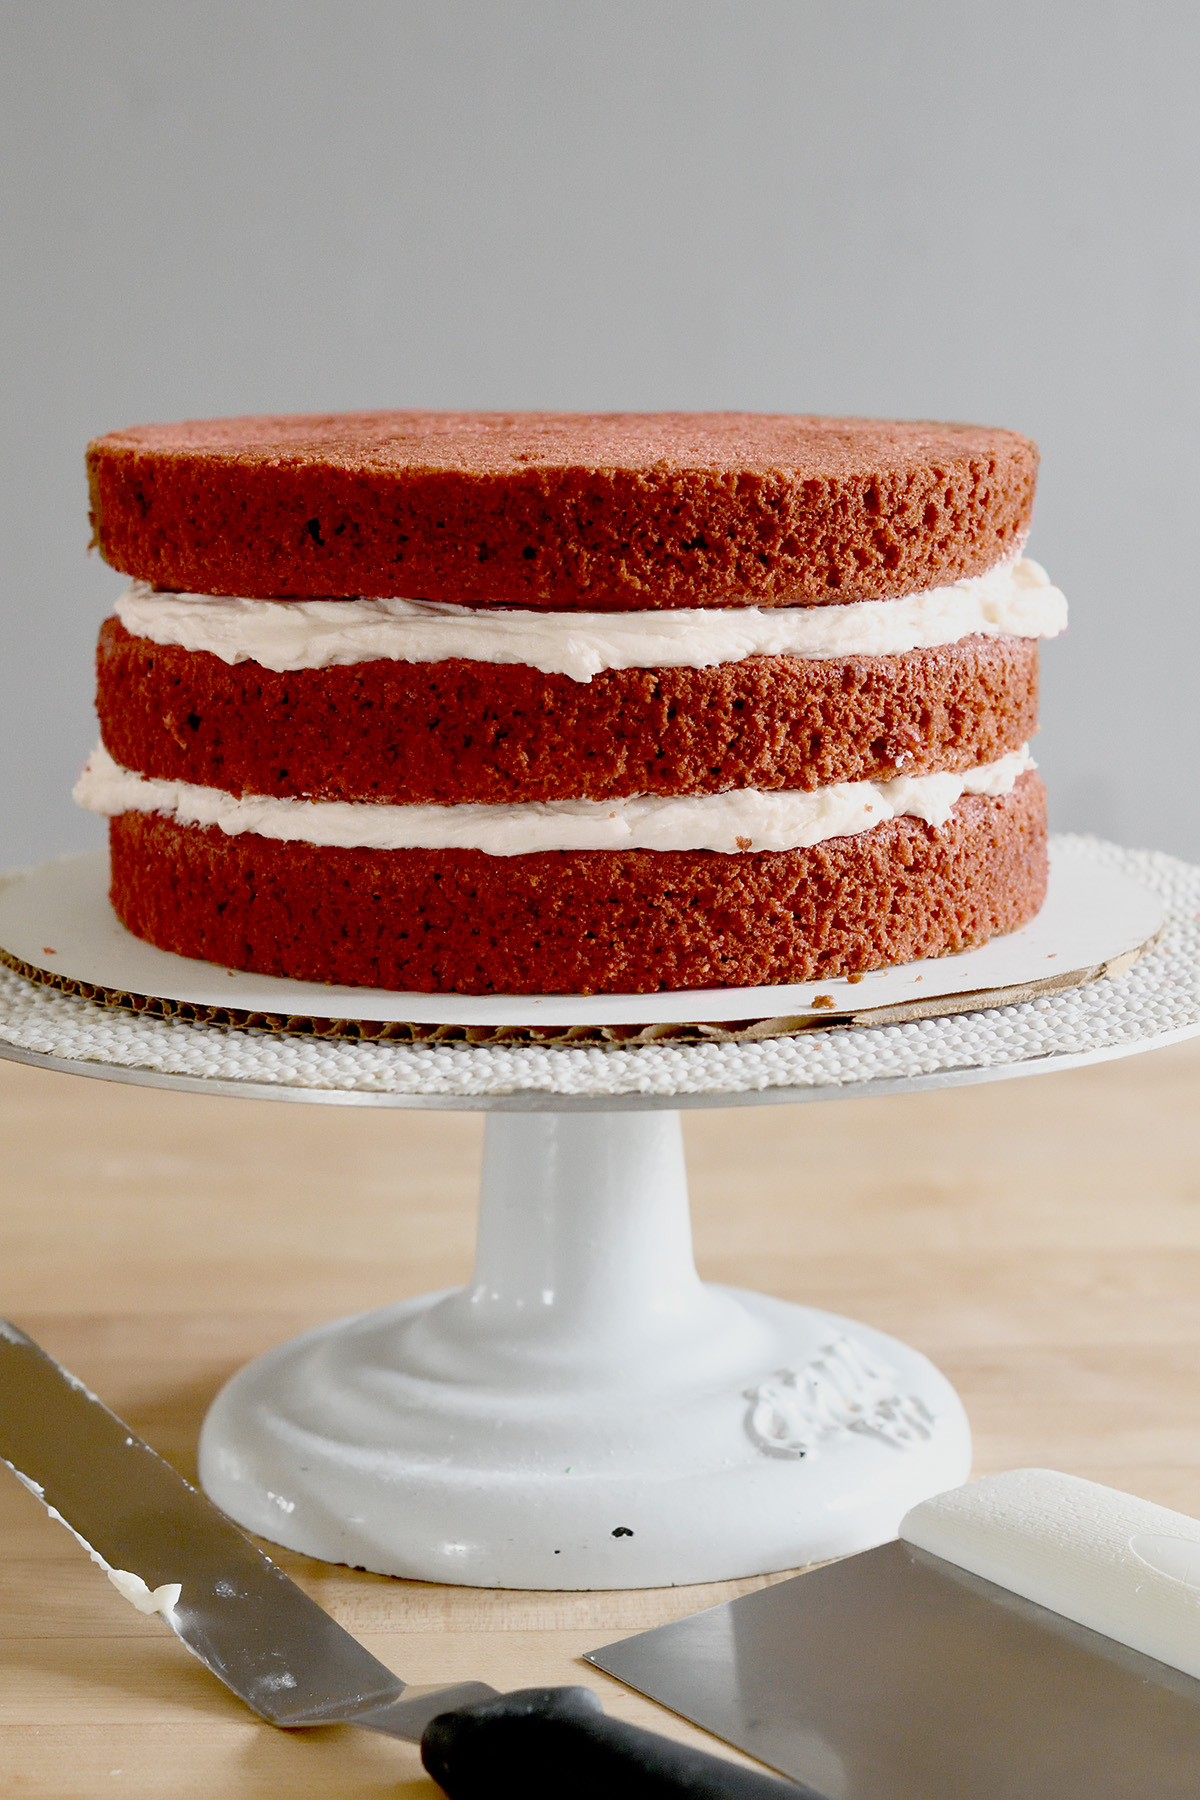
- Cool the layers completely before filling and frosting.
- I always trim off the top crust to level the layers and to help the frosting stick to the cake (plus the trimmings are a nice snack!).
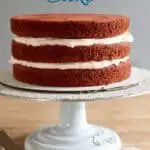
- Fill and ice the cake with Cream Cheese Frosting or Ermine Frosting.
FAQs about Red Velvet Cake:
For this recipe it is the food coloring that makes the cake red. Some recipes use beets for a red color. The original recipes relied on a reaction between the vinegar and cocoa powder for a slight reddish color.
My favorite for Red Velvet Cake is Ermine Frosting. Cream Cheese Frosting is another traditional filling that is also delicious.
Yes. This recipe will make 24 standard size cupcakes, which take about 20 minutes to bake.
If you frost the cake with a perishable frosting it should be refrigerated. The unfrosted cake can be stored at room temperature.
The cake itself does not need refrigeration, but if the icing is perishable the cake should be refrigerated.
Yes, either frosted or not, the cake can be frozen. To work ahead you can bake the cake layers and freeze them for up to 3 months.
More Cake Recipes
Red Velvet Cake
Ingredients
- 15 oz all purpose flour (3 cups, see note)
- 16 oz granulated sugar (2 cups)
- 1 tablespoon cocoa powder
- 1 ½ teaspoons baking soda
- 1 teaspoon table salt
- 9 oz vegetable oil (1 ¼ cups)
- 8 oz buttermilk (1 cup)
- 3 large eggs (room temperature)
- 1 ½ teaspoons vanilla extract
- 1 ½ teaspoons white vinegar
- red gel food coloring
Instructions
- Preheat the oven to 350 °F. Line three 8” cake pans with parchment paper or butter and flour the bottom of pans only. (See note)
- Over a sheet of parchment paper or into a bowl, sift together 15 oz all purpose flour, 16 oz granulated sugar, 1 tablespoon cocoa powder, 1 ½ teaspoons baking soda and 1 teaspoon table salt. Set aside.
- In a mixer bowl, combine 9 oz vegetable oil, 8 oz buttermilk and 3 large eggs. Mix on medium speed for 2 minutes to emulsify the ingredients. Add 1 ½ teaspoons vanilla extract and 1 ½ teaspoons white vinegar. With the mixer running, add red gel food coloring. If using gel color, use a few drops. If using liquid coloring you may need the whole bottle. Tint to your preferred color.
- Add the sifted dry ingredients to the wet ingredients and mix until completely combined.
- Divide the batter evenly between the pans. Bake until the middle of the cake springs back when lightly pressed, about 30 minutes.
- Cool the cakes in the pans for 10 minutes. Turn the cakes out onto a cooling rack and cool completely before filling and icing. Fill and frost with Ermine Frosting or Cream Cheese Frosting.
Would you like to save this recipe?


As an Amazon Associate and member of other affiliate programs, I earn from qualifying purchases.

Another great cake, thank you for sharing the recipe. The cake was very good, but my two of my layers came about a little crunchy around the edges and a little sunken in the middle. The third was a little crunchy but it was not sunken. Can you give me a clue to what I might be doing wrong.? This seems to be an on going issue for me. I have two identical tins and one taller tin. The taller tin layer was the one that was not sunken. All tins are made of aluminum. My first guess is that I might be over baking them. Thank you!
Hi Jennifer, it sounds like the cakes in the shorter pans are baking a little too fast. That could be why the sides are overbaked and the middle underbaked (sunken). Do you have an oven thermometer to ensure that your temp is accurate? I know that mine tends to run about 25F hot so I rely on my oven thermometer to monitor the temp. If it does seem to be baking at the right temperature perhaps you need to reduce the temp by 25F when using the shorter pans. Personally, all of my cake pans are 3″ tall. This way I can fill them no more than 2/3 full and still have room for the cake to rise within the pan. Also, you don’t need to grease the sides of the pan. Either just use a round of parchment at the bottom or butter and flour just the bottom of the pan. Greasing the sides could make the sides of the cake “crunchy”. Finally, another option would be to use “cake strips”. They are wrapped around the sides of the pan to promote even baking by creating a heat shield on the sides of the pan. Cakes will bake flatter when you use cake strips. https://amzn.to/3HMGJgK (As an Amazon associate I earn commission on sales.)