Homemade Hot Dog Buns


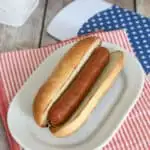
Homemade Hot Dogs Buns are super soft with just a hint of sweetness. Start the dough in the afternoon and have fresh hot dog buns ready by the time you fire up the grill for dinner.
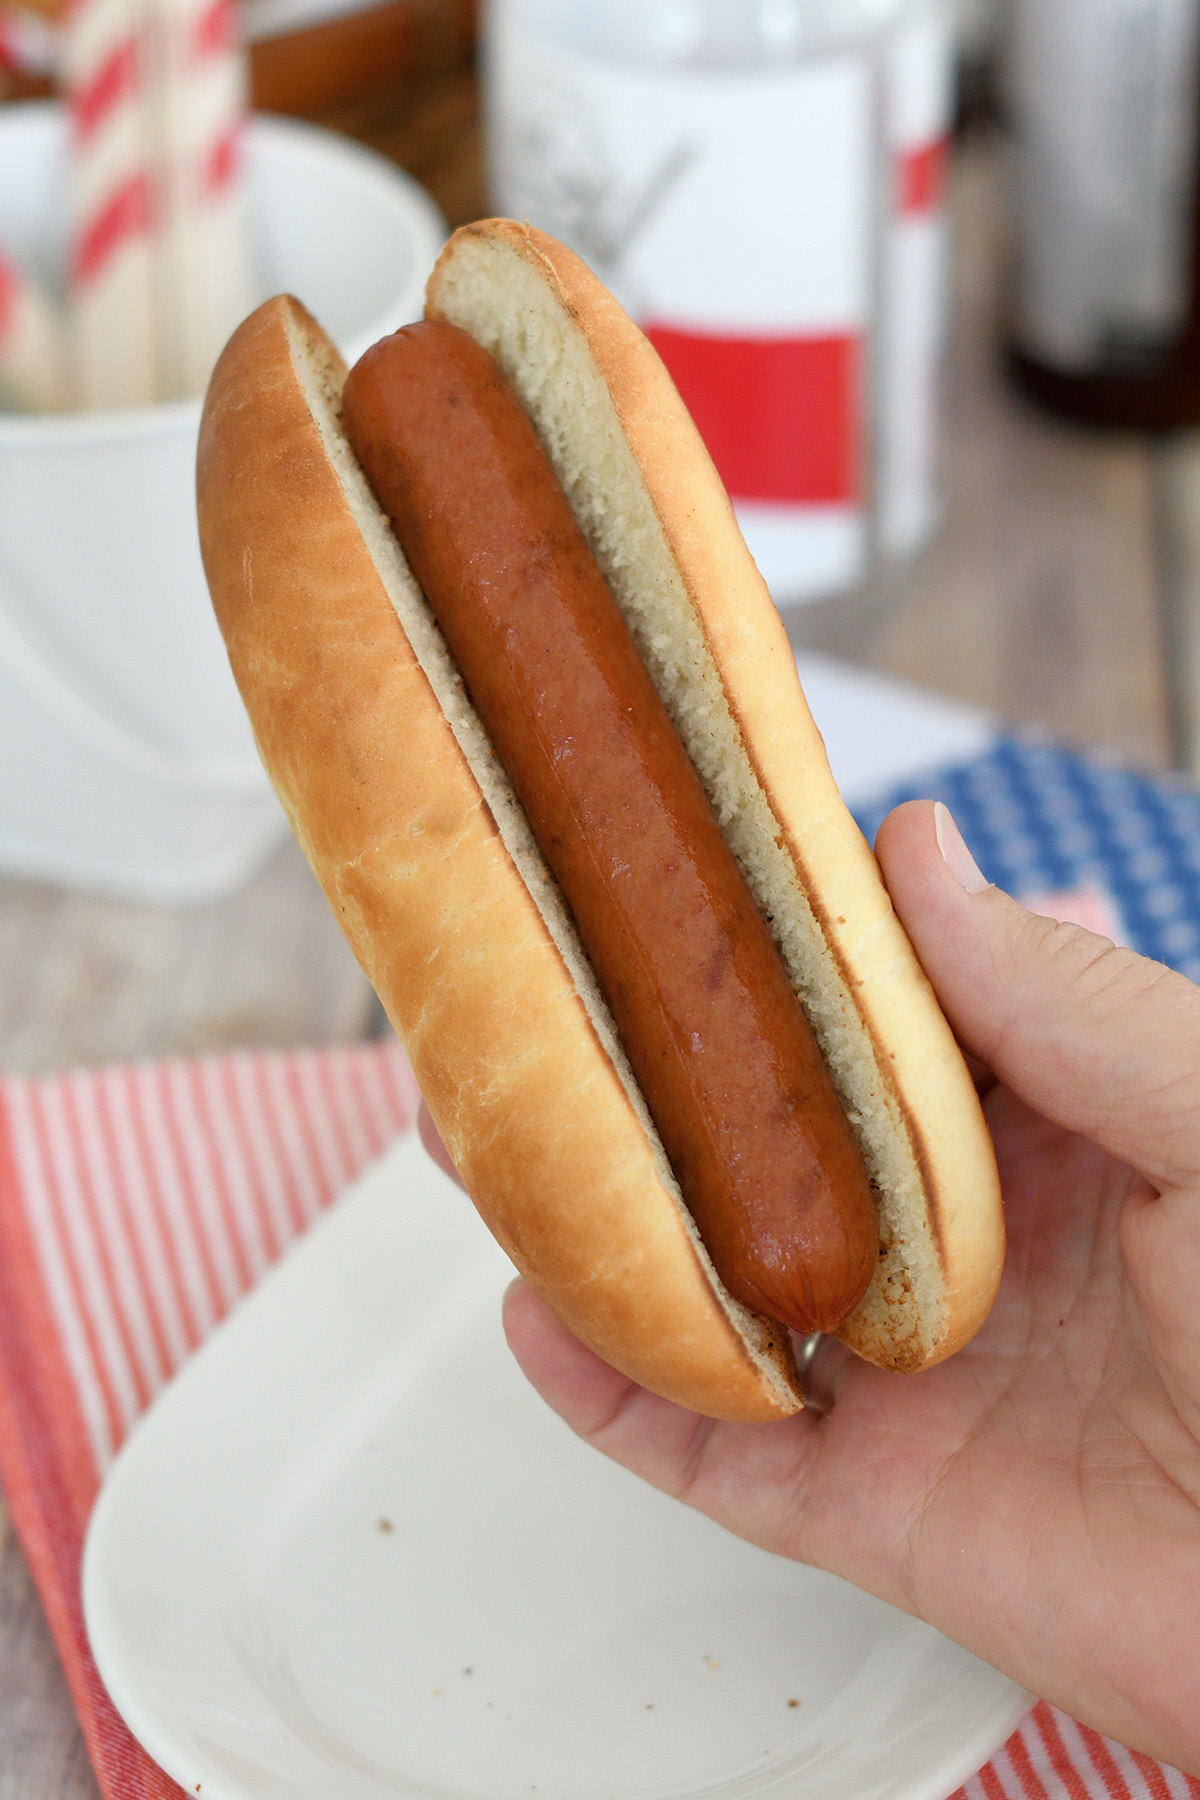
Most of us just buy packaged hot dog buns without even thinking about making our own. But I can tell you that this easy recipe will ruin store-bought buns for you.
But don’t worry, they’re really very easy to make with no deep bread-baking knowledge required.
If you love baking bread and want to understand the process a little better, take a look at comprehensive Bread Baking Guide. It covers the basics of mixing, kneading, proofing, and baking so you can get perfect results every time.
Table of contents
Ingredients
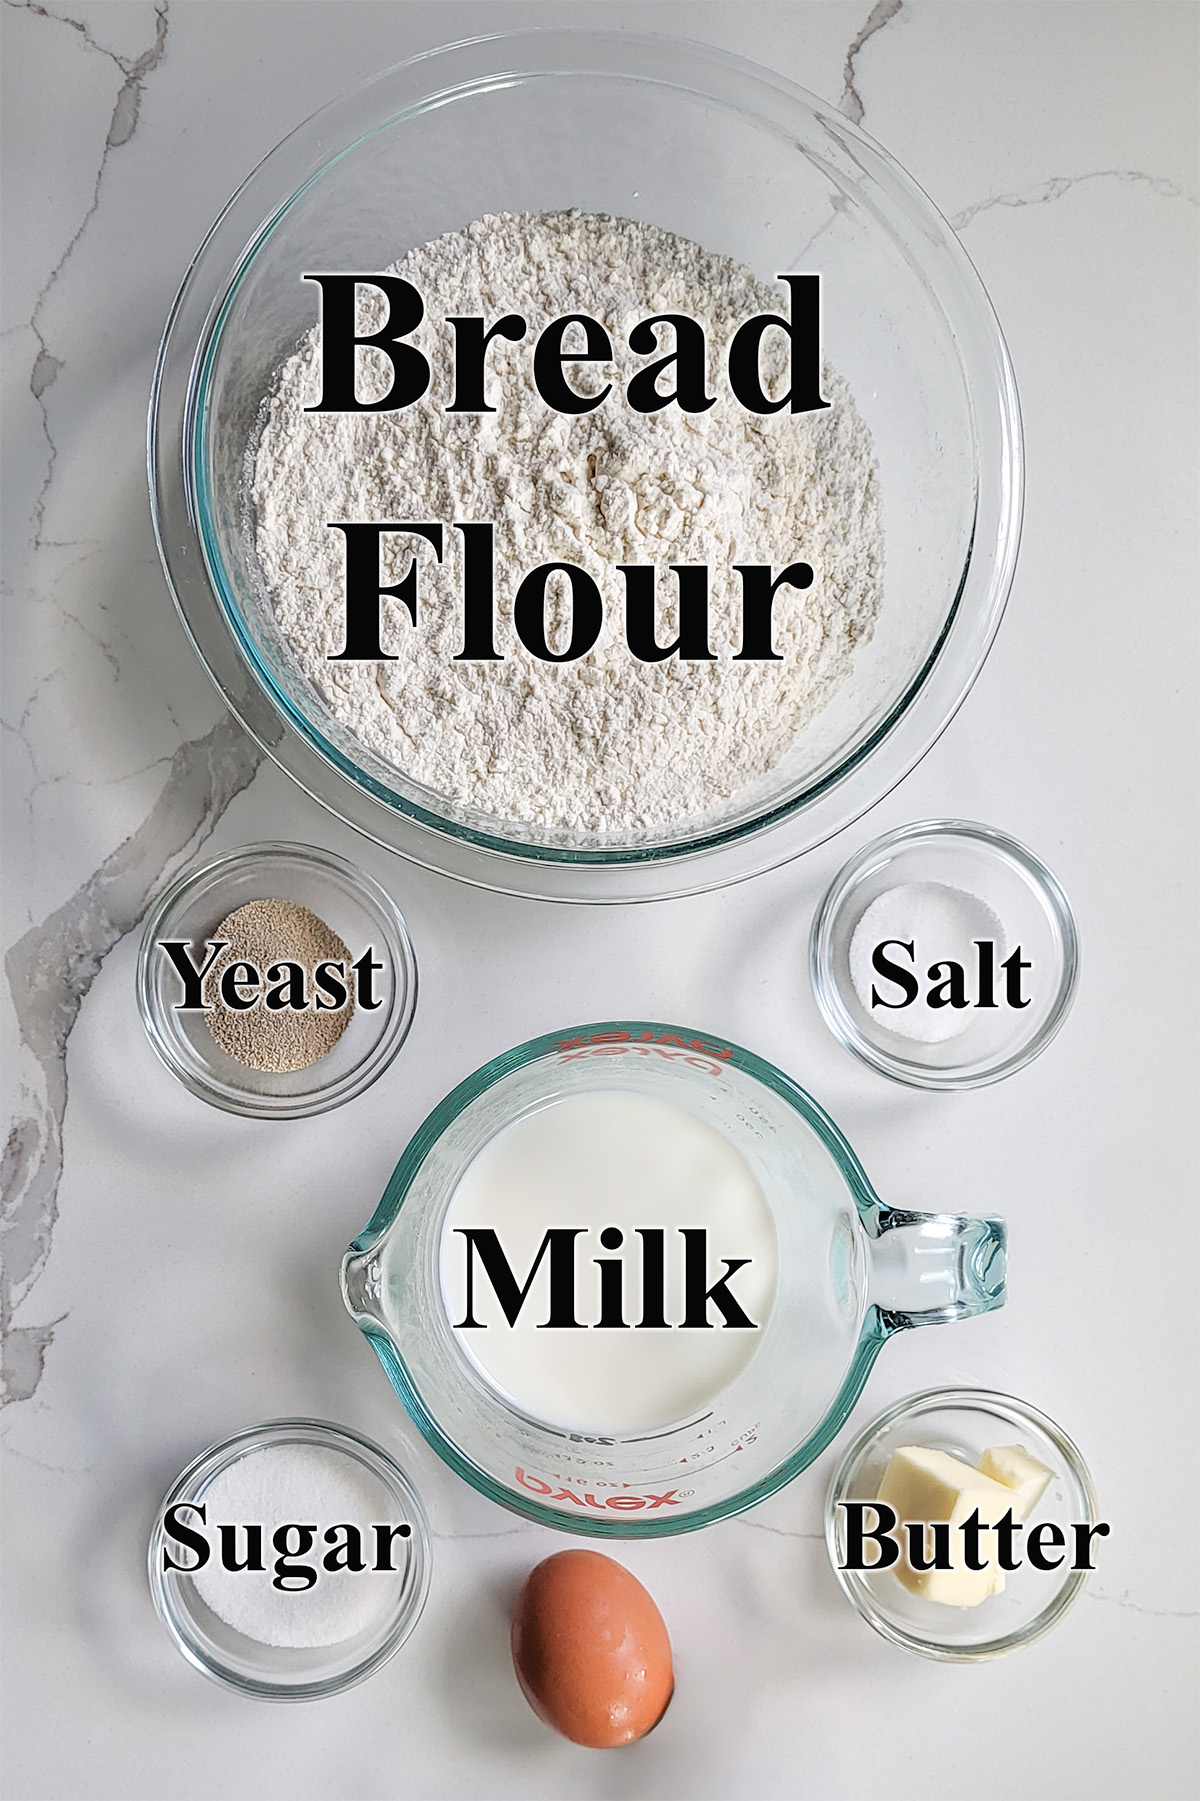
Ingredient Notes
- Bread Flour – High protein bread flour promotes great gluten development in the dough. The stretchy dough rises high in the oven and the buns keep their oblong shape.
- Yeast – I prefer instant yeast to rapid rise yeast for a slightly slower rise. A slower rise gives more time for flavor to develop.
- Milk – Scalding alters a protein in milk which can interfere with gluten development. Don’t skip the scalding step. The milk, along with butter and a smidge of sugar, tenderizes the dough for a soft crumb.
Process Photos for making Homemade Hot Dog Buns
Here’s what the recipe process looks like at each stage. Refer to the recipe card below for measurements and exact instructions.
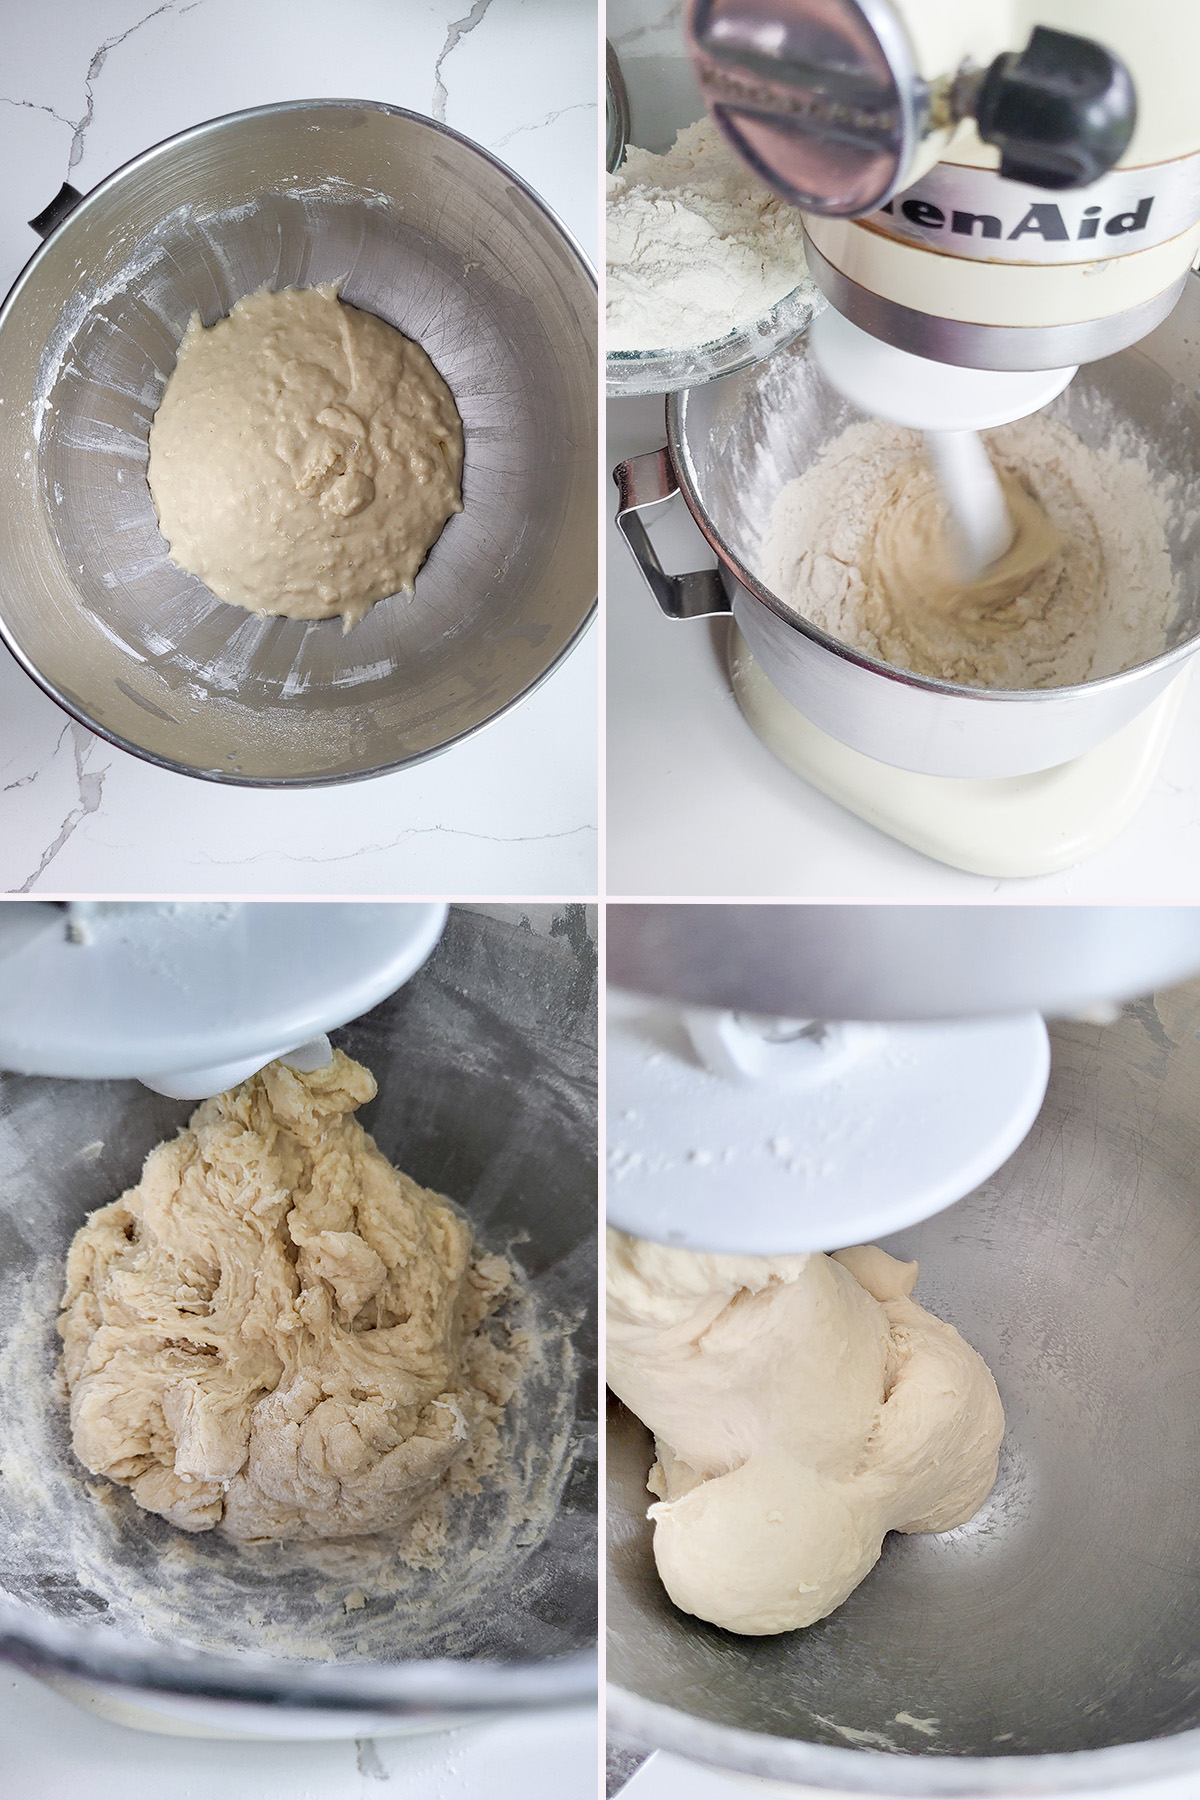
- Combine the milk, butter, sugar, salt, egg and yeast in a mixer bowl with 1 cup of the flour.
- With the mixer running on low speed, add the remaining flour and mix to combine.
- The dough will start out quite shaggy and sticky. Knead for 5 minutes.
- After 5 minutes the dough should cling to the hook and clear the sides of the bowl. This can also be done by hand.

- Put the dough into a lightly oiled bowl and set aside to rise for 1 – 1 1/2 hours.
- When the dough is doubled in volume, turn it out onto a lightly floured surface.
- Divide the dough into 12 equal pieces. You can either do this by eye or weigh the dough and divide by 12.
- Roll each piece of dough under your cupped hand to form a tight ball then roll each ball into a cigar shape.
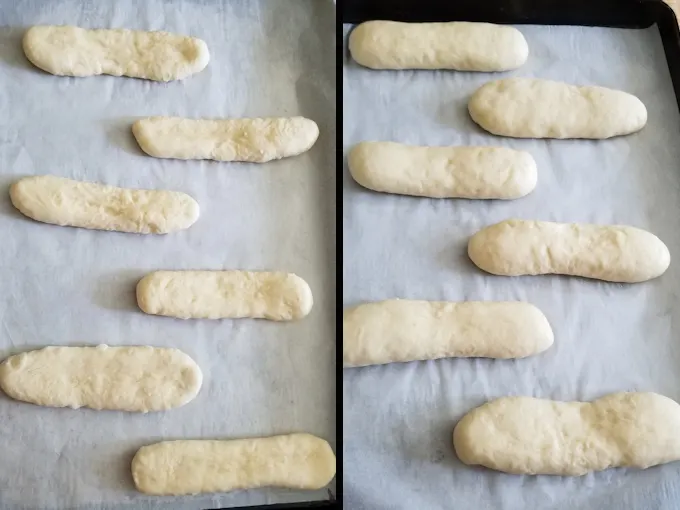
- Transfer the buns to a parchment lined baking sheet. Flatten each piece of dough to 1/2″ thick and 2″ wide oblong.
- Set aside to rise until doubled in height.
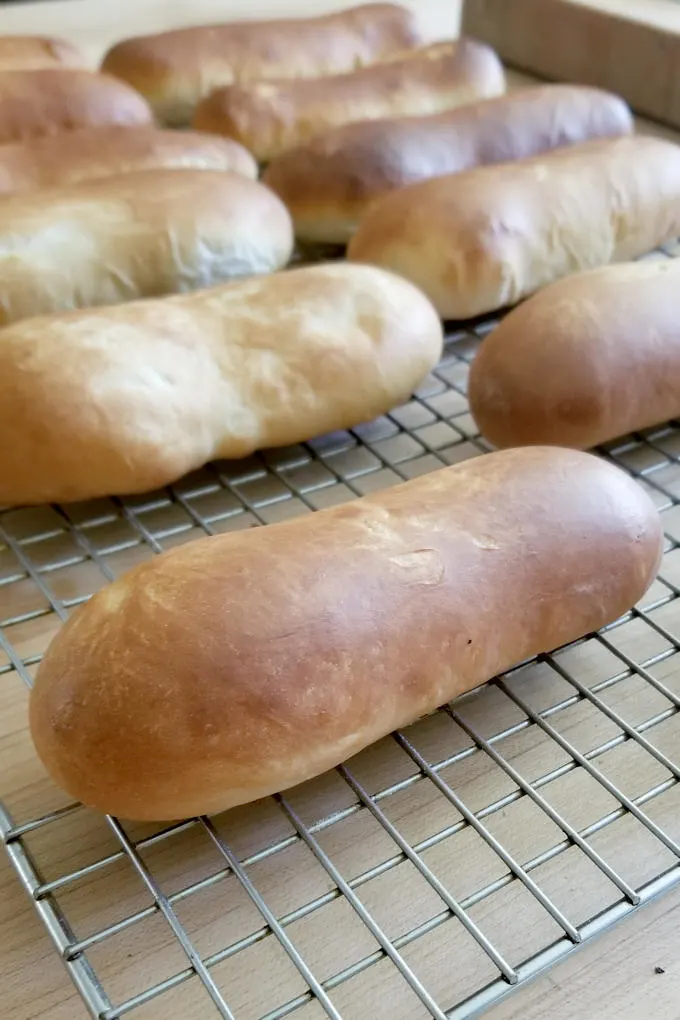
- Bake until golden brown.
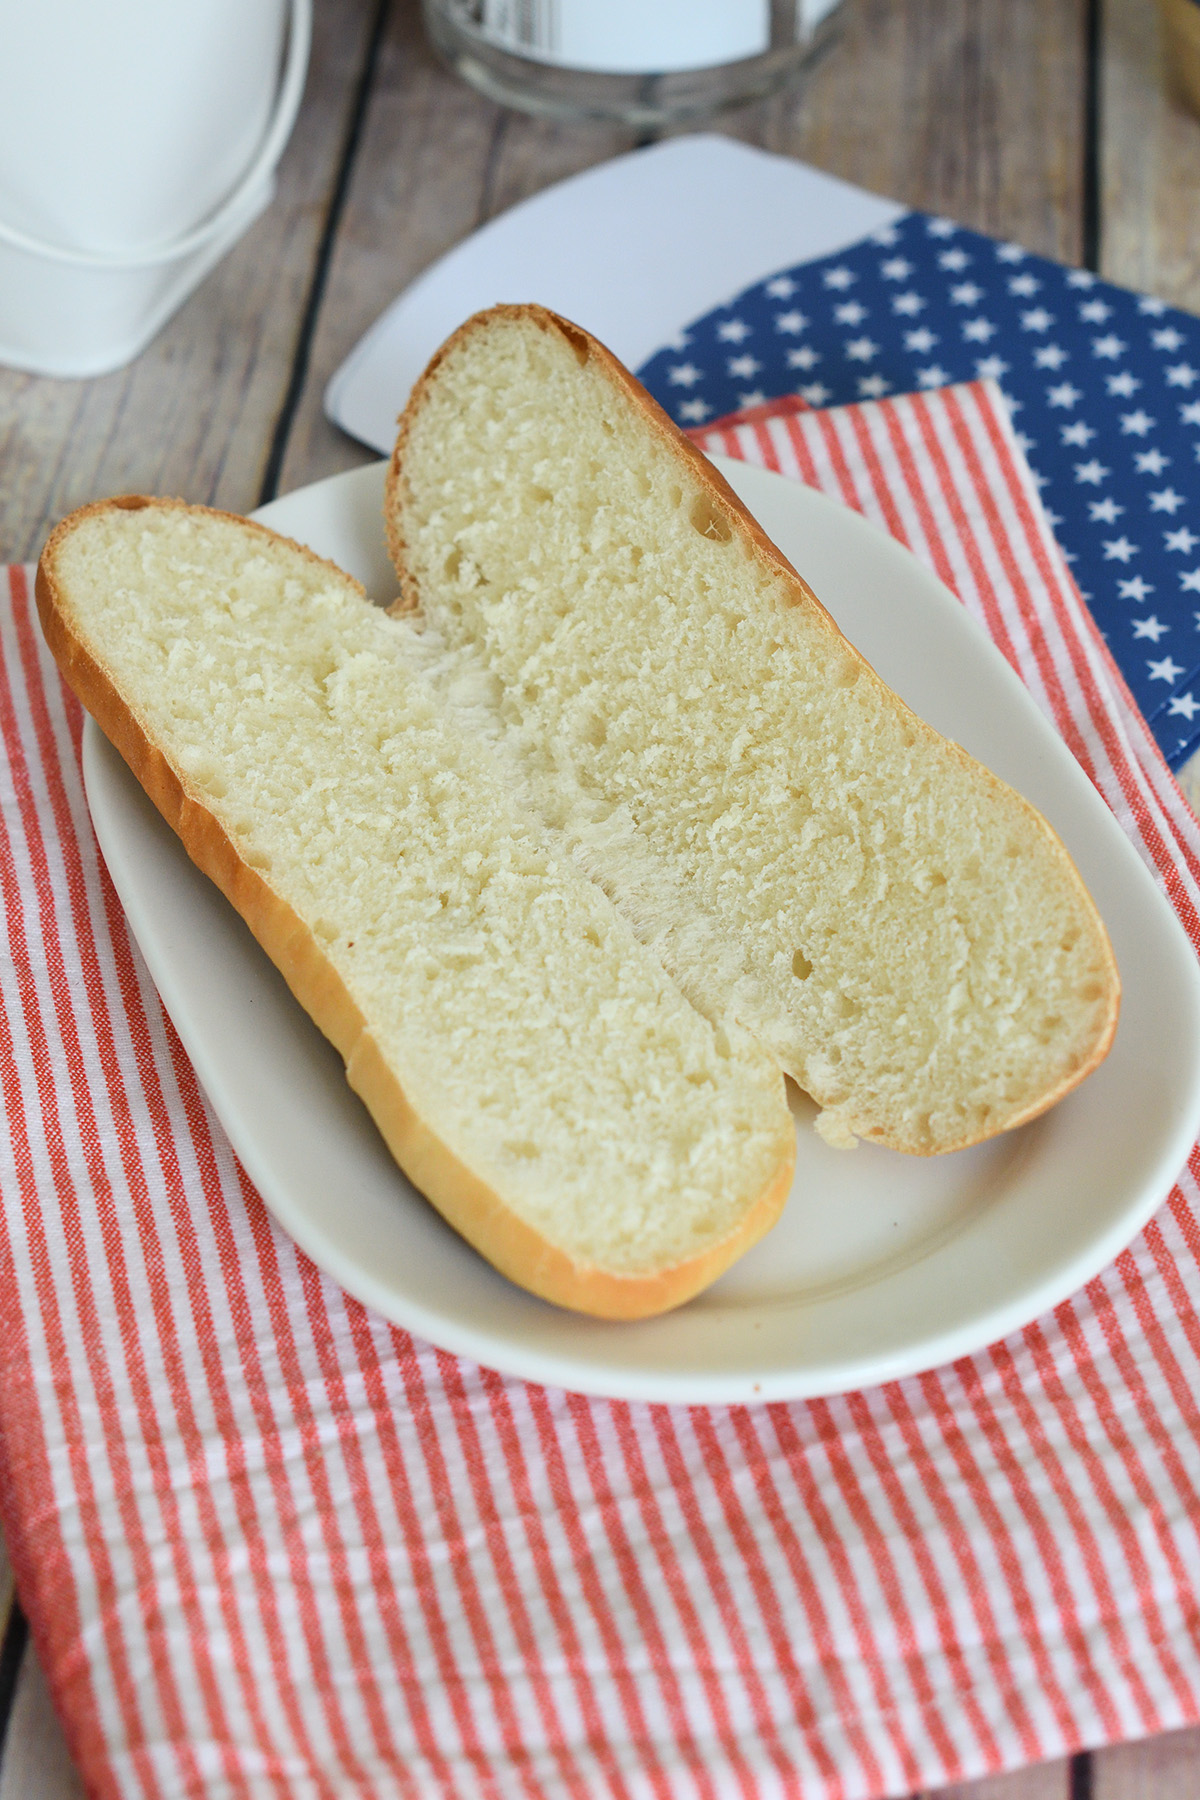
- Cool the buns on a wire rack before slicing.
Work Ahead & Storage
- To work ahead, the dough can be stored in an air tight container in the refrigerator for up to 2 days. You can shape the dough right after it comes out the refrigerator.
- The rolls are best the day they are baked. Extra rolls can be frozen for for up to 3 months.
If you love this recipe as much as I do, I’d really appreciate a star rating and a quick comment. Ratings and comments help my recipes show in search results. Thanks!
Hot Dog Buns
Ingredients
- 8 oz whole milk (1 cup)
- 1 oz unsalted butter
- 1 oz granulated sugar (2 tablespoons)
- 1 ½ teaspoons table salt
- 1 large egg (room temperature)
- 2 ¼ teaspoons dry yeast
- 15 oz bread flour (3 cups, see note)
- 2 oz whole milk (for brushing buns)
Instructions
- In a microwave proof measuring cup or bowl, scald 8 oz whole milk. Add 1 oz unsalted butter to the milk and allow it to melt. Set the milk/butter aside to cool to about 100F.
- Combine the milk/butter with 1 oz granulated sugar, 1 ½ teaspoons table salt and 1 large egg in a mixer bowl. Sprinkle 2 ¼ teaspoons dry yeast over the mixture. Mix on low speed to combine the ingredients. Add 1 cup (5oz) of the flour.
- If using a stand mixer use the dough hook. With the mixer running, add the remaining flour. Knead the dough for 5 minutes until it gathers on the hook and clears the sides of the bowl. If mixing by hand add as much flour as you can by hand then knead on a floured surface.
- Set the dough into a lightly oiled bowl, turning once to coat the surface of the dough. Cover with plastic wrap and set aside to rise until doubled in volume (1 – 1½ hours).
- Line two baking sheets with parchment paper or a silicone baking mat.
- Turn the dough out onto a lightly floured surface. Divide the dough into 12 equal portions. Roll each portion to a tight ball. Starting with the first piece of dough you rolled, roll the dough to form a 6" long cigar shape. Set it on the baking sheet. Continue with the remaining dough, placing 6 rolls onto each baking sheet. Use the palm of your hand to flatten each roll to about 1/2" thick and 2" wide oval. If at any point the dough is too difficult to work with give it a 10 minute rest and then continue.
- Cover the pans and set aside in a warm place to rise until almost doubled in height and it nicely puffed (about 1 hour). Meanwhile, preheat the oven to 400 °F.
- Brush the tops of the buns with milk. Bake until the buns are golden brown and feel light when lifted off the sheet pan, about 10-13 minutes. Allow to cool completely before slicing.
Would you like to save this recipe?


As an Amazon Associate and member of other affiliate programs, I earn from qualifying purchases.

Is Type 00 flour the same as bread flour?