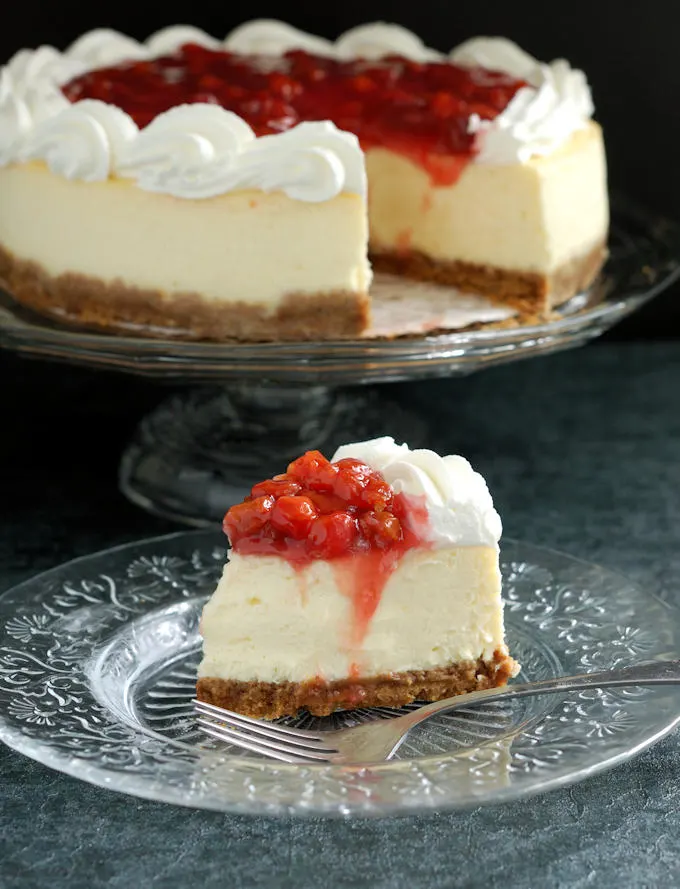
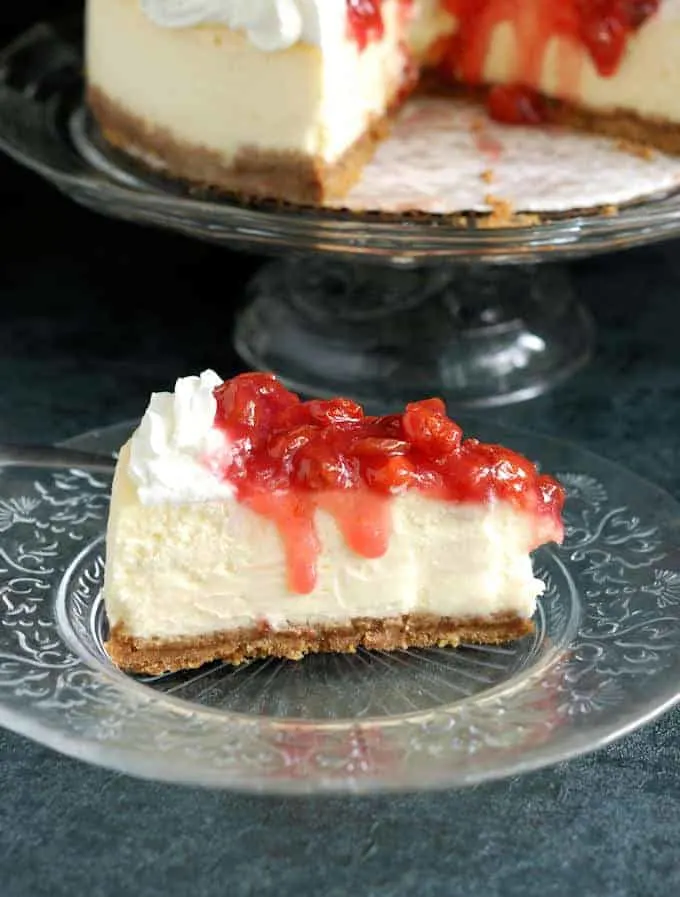
New York Cheesecake
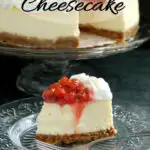
New York Cheesecake is super-creamy, soft, and has a lovely tang, thanks to a generous helping of sour cream in the batter. Sour Cherry Topping is the perfect bright accent for the rich and creamy cake. The crunchy graham cracker crust adds texture and ties the entire dessert together for a perfect slice of heaven.

First thing I want to say about this New York Cheesecake is that it’s not a cake at all. All baked cheesecakes are custards and should be treated as such. (“No-Bake” cheesecakes are something entirely different.)
The key to a smooth and creamy custard, as opposed to a curdled and watery custard, is even and slow cooking.
The way to ensure that your cheesecake bakes evenly and slowly is to submerge the pan in a water bath. Since the temperature of the water cannot go above the boiling point of 212°F, the cake will will bake at an even and low temperature. Your cheesecake will be consistently creamy from stem to stern.
Having just said that, if you want to make a cheesecake that breaks all the cheesecake rules check out this recipe for San Sebastian Cheesecake. Anyway, back to the classic version….
Ingredients
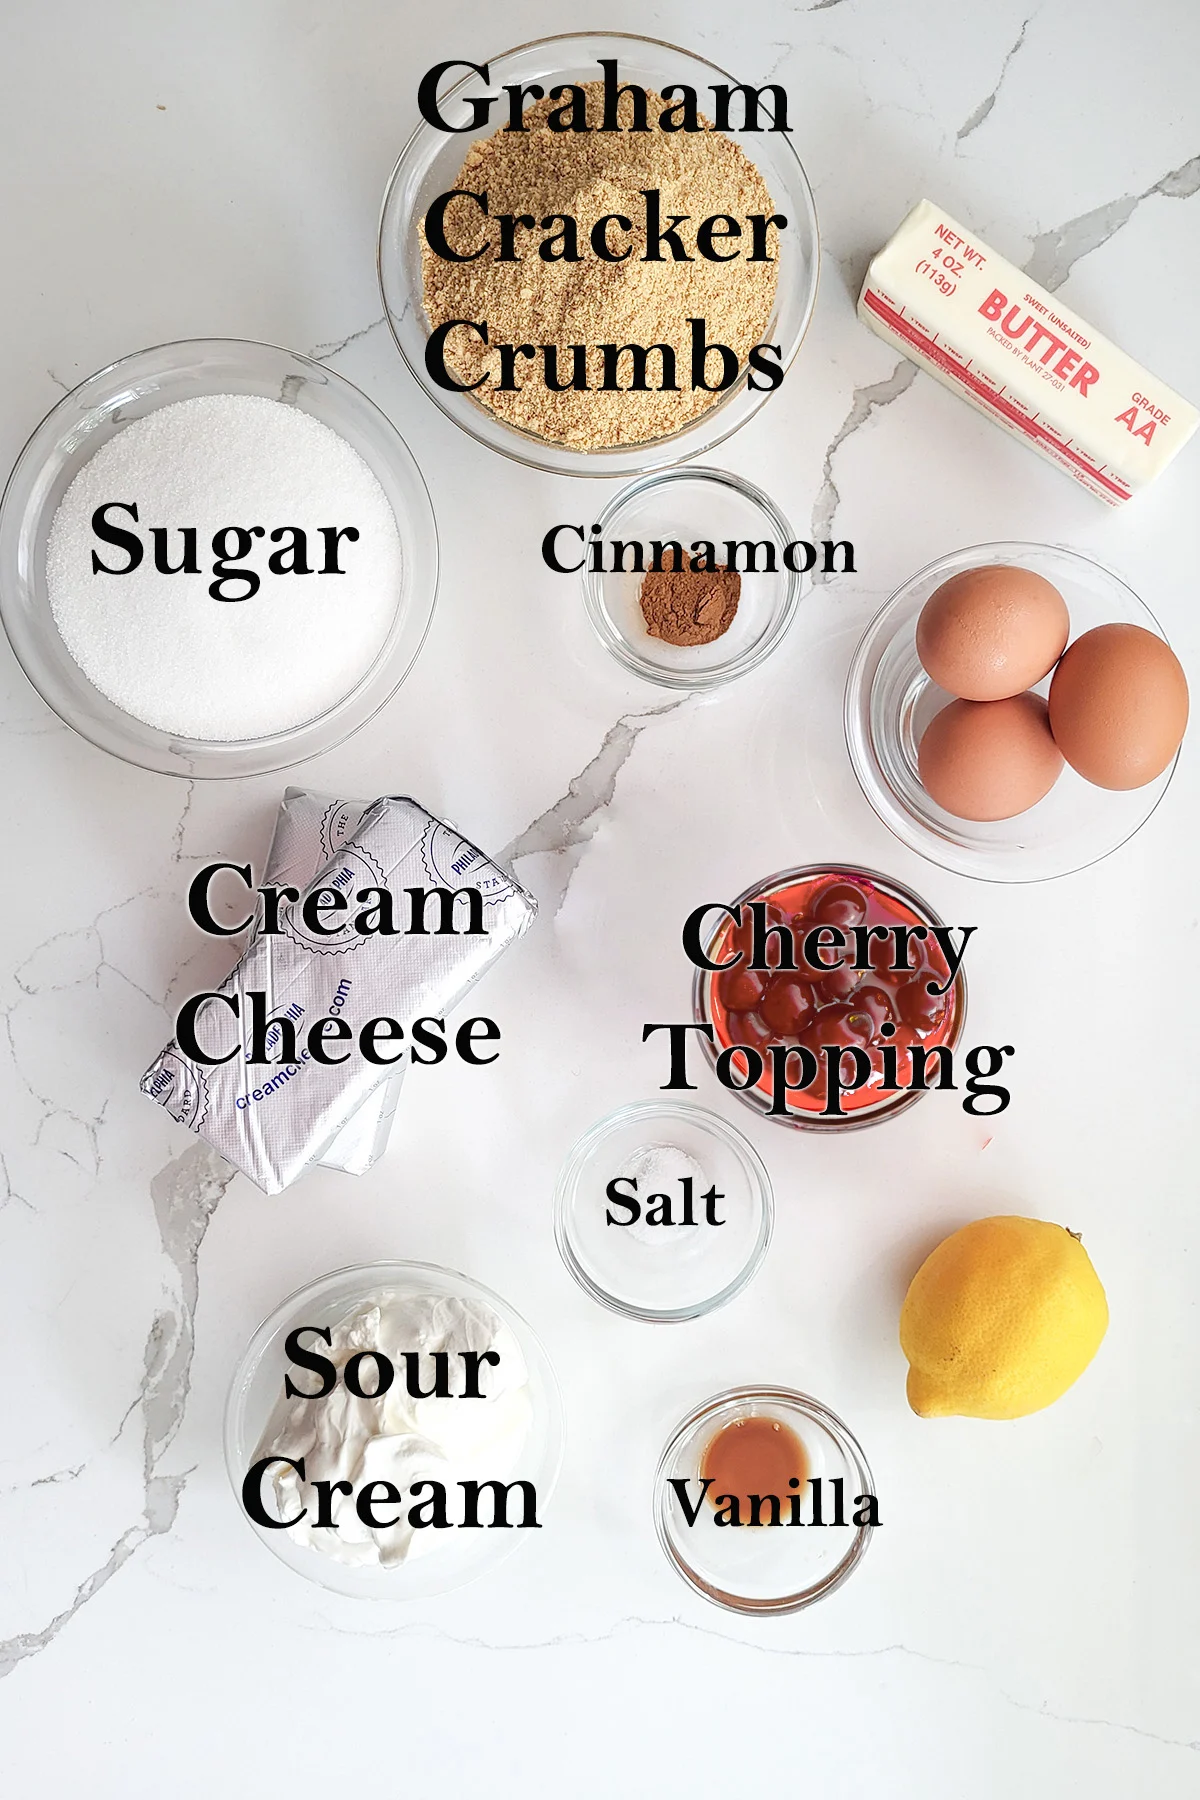
Ingredient Notes
- Cherry Topping – I love to make my own Sour Cherry Topping for this cake. If you don’t have access to sour cherries you can certainly use pre-made cherry pie filling.
- Cream Cheese – Use only full-fat cream cheese for this recipe.
- Sour Cream – Adds a tangy note to the flavor of the cake.
- Lemon juice – Sparks the flavor of the peaches.
How to make New York Cheesecake
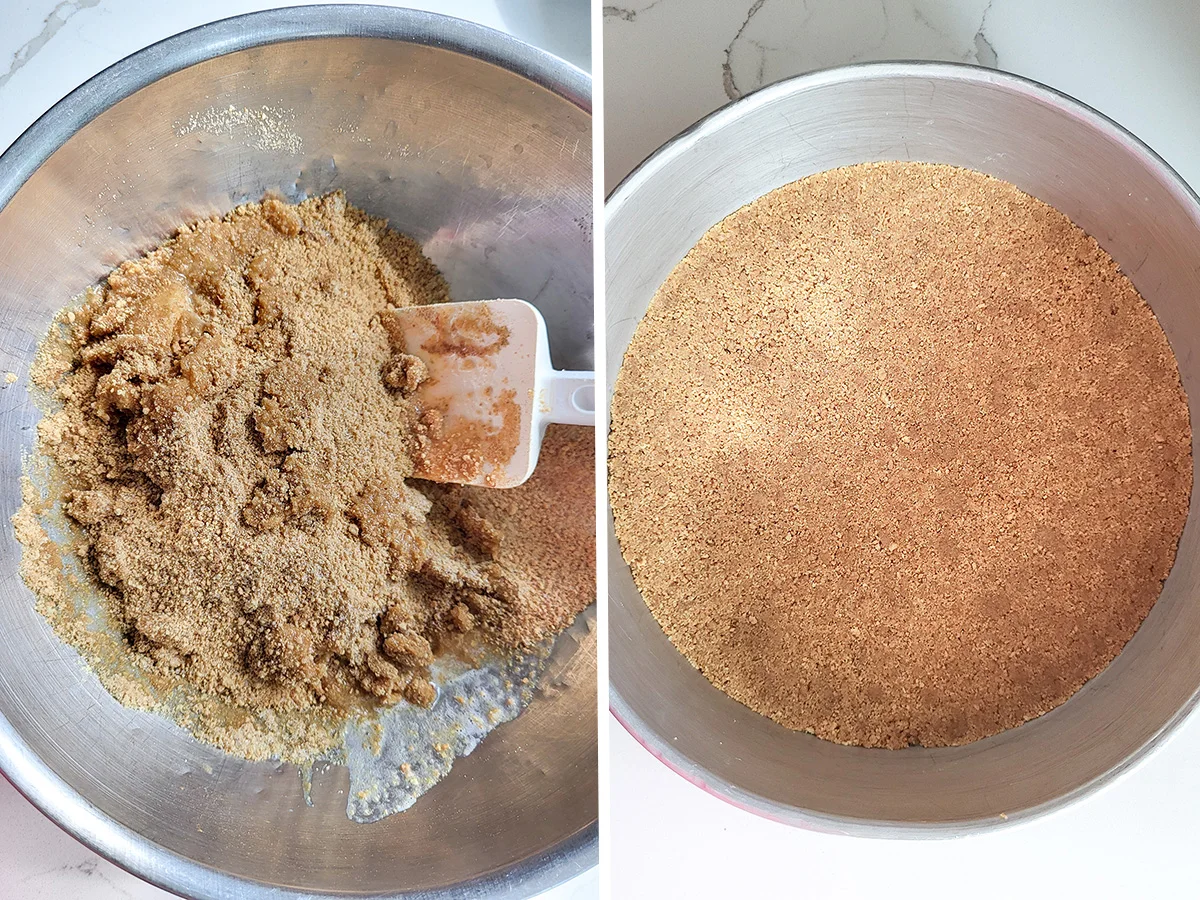
- Toss the melted butter with the graham cracker crumbs.
- Press the crumbs into the prepared pan and bake until golden and fragrant.
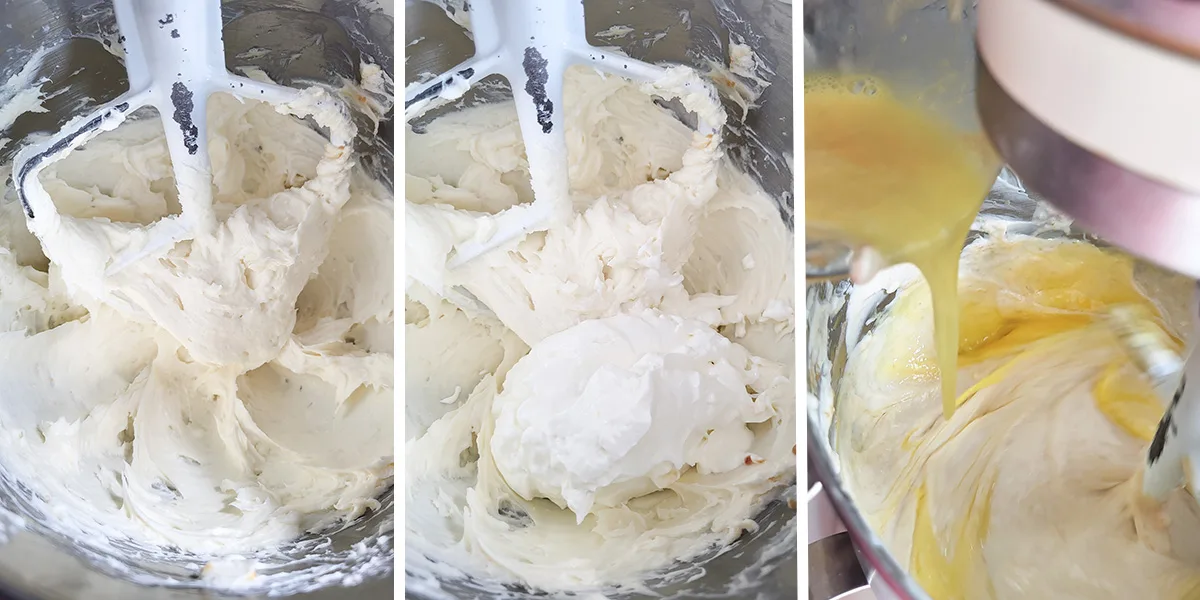
- Mix the cream cheese and sugar until smooth.
- Add the sour cream.
- Add the eggs.
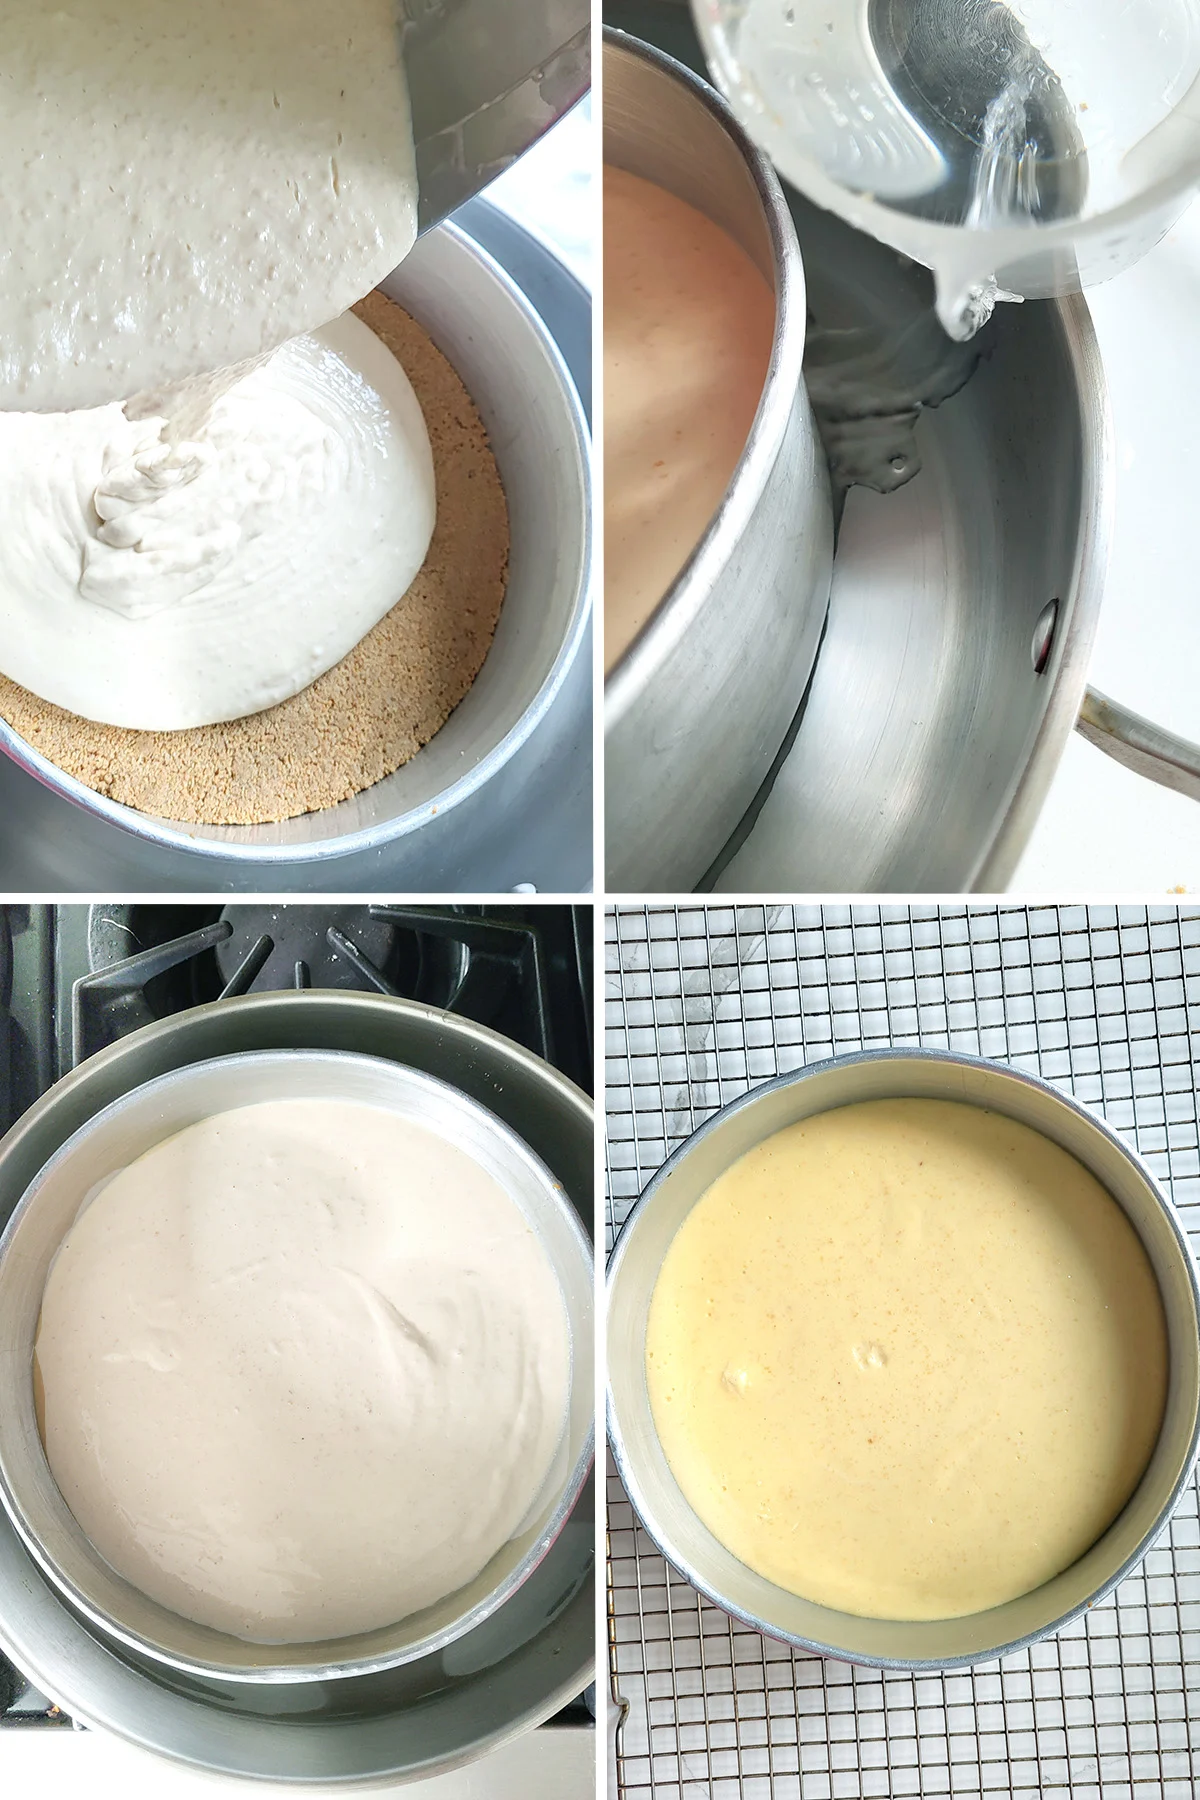
- Pour the cheesecake batter over the baked crust.
- Set the pan into a larger pan and pour water to come half way up the pan.
- Bake the cake, cool to room temperature, then refrigerate until very cold.
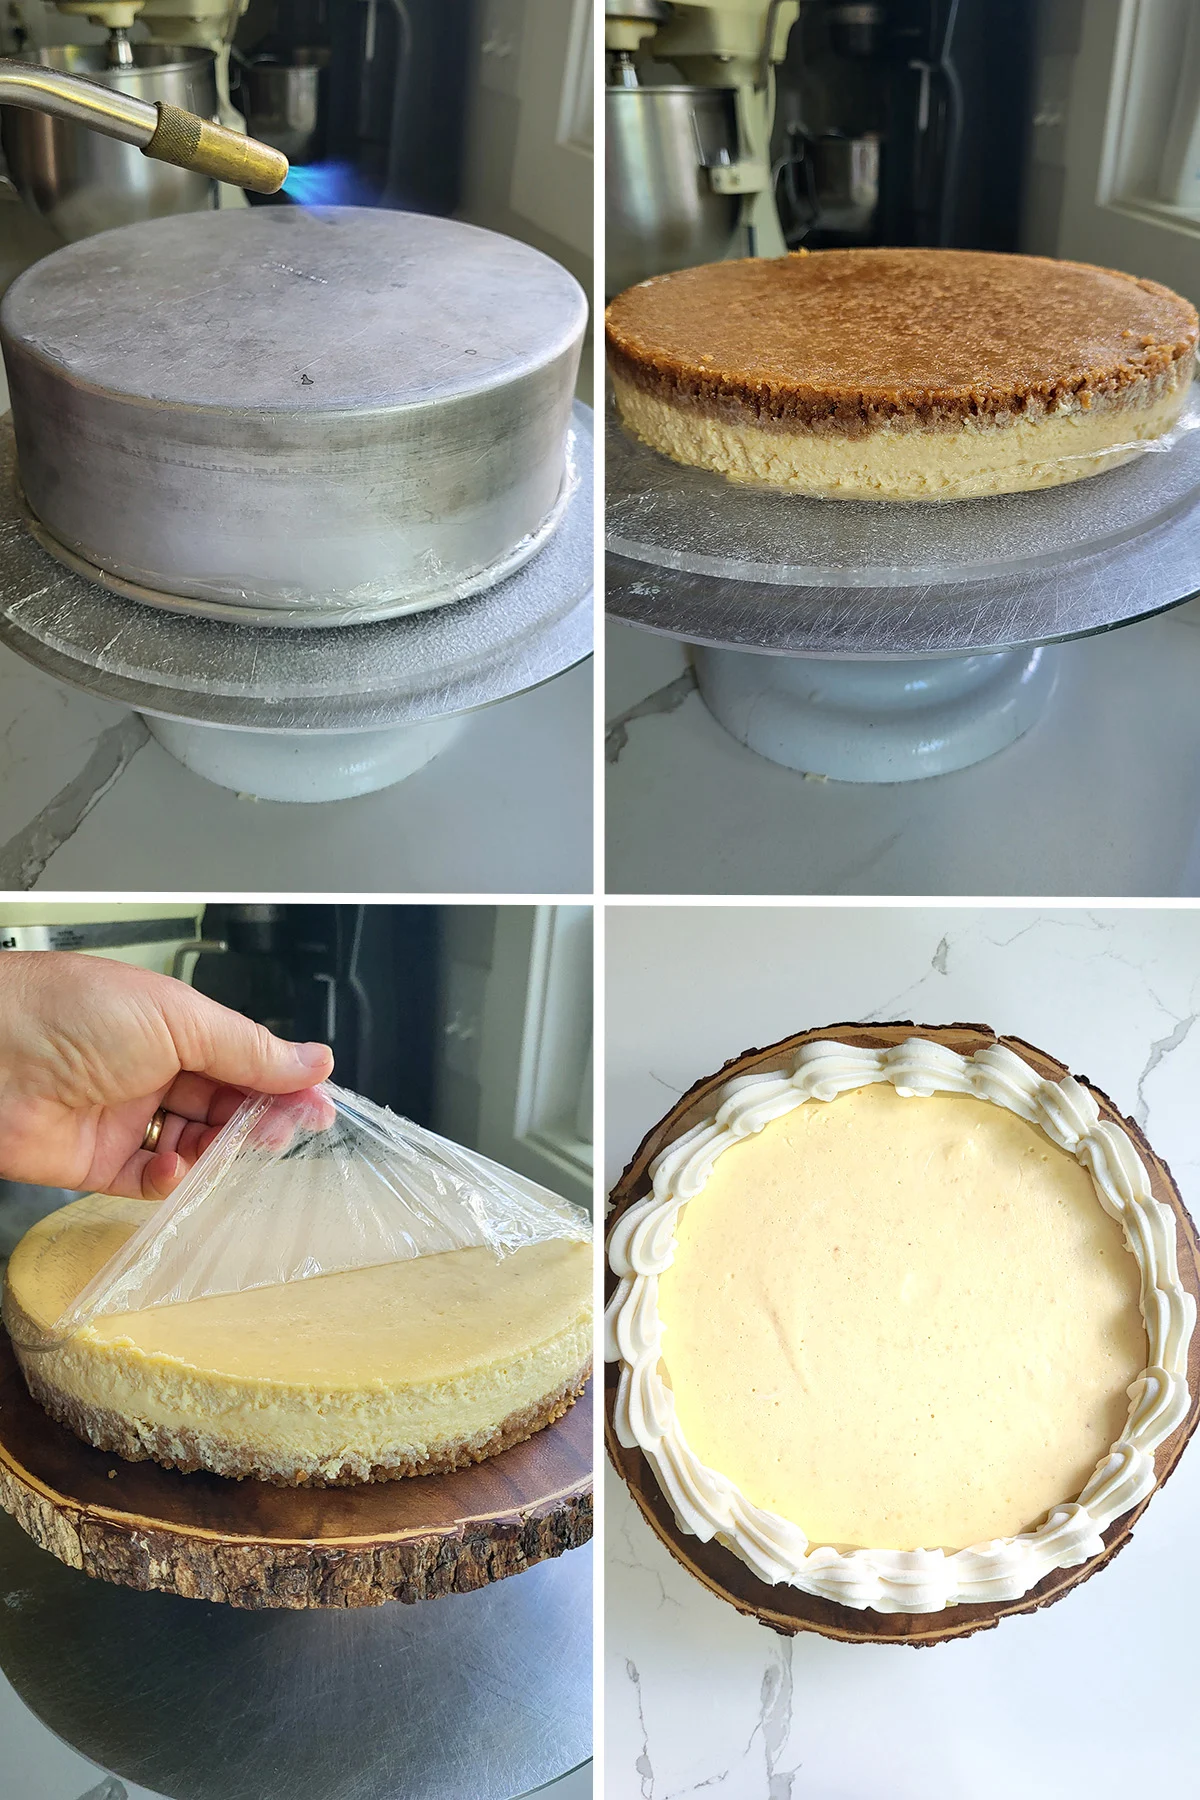
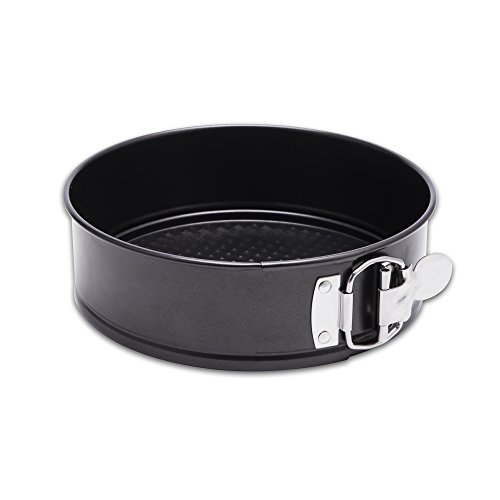
- Use a blow torch or a bowl of very hot water to release the cake if you used a regular cake pan. If you used a springform pan, scrape the sides of the pan to separate the cake then release sides of the pan.
- Flip the cake right side up onto a serving tray. If you used a springform pan, lift the cake off the bottom of the pan and slide it onto the serving tray.
- Pipe a border of cream cheese frosting and refrigerate the cake while you make the cherry topping.
More About Cheesecake
Visit this page to see an entire list of all my cheesecake recipes, as well as a wealth of tips and information for making no-fail cheesecakes every time.
If you love this recipe as much as I do, I’d really appreciate a star rating and a quick comment. Ratings and comments help my recipes show in search results. Thanks!
New York Cheesecake with Cherry Topping
Video
Ingredients
For the Crust
- 6 oz graham cracker crumbs (1 ½ cups)
- 1 teaspoon cinnamon
- 2 oz granulated sugar (¼ cup)
- 3 oz unsalted butter (melted)
For the Batter
- 24 oz cream cheese (room temperature)
- 12 oz granulated sugar (1 ½ cups)
- 1 tablespoon vanilla extract
- 1 teaspoon finely grated lemon zest
- 1 tablespoon fresh lemon juice
- 16 oz sour cream (2 cups, room temperature)
- 4 large eggs (room temperature)
- 2 large yolks (room temperature)
Cherry Topping (see note)
- 16 oz sour cherries (pitted (or frozen or canned with their juice))
- 16 oz granulated sugar (2 cups)
- 1 ¼ oz corn starch (¼ cup)
- ¼ teaspoon salt
Cream
- 4 oz heavy cream (½ cup)
- 2 tablespoons confectioner’s sugar
Instructions
- Preheat the oven to 350 °F. Line the bottom of a 9"x3" round cake pan with a parchment paper round or use a springform pan lined with parchment. Wrap the outside of the springform pan with aluminum foil.
Make the Crust
- Combine 6 oz graham cracker crumbs, 1 teaspoon cinnamon, 2 oz granulated sugar. Add 3 oz unsalted butter (melted) and toss to combine. Press the crumbs into the bottom of the prepared pan. Bake until fragrant and lightly browned, about 10 minutes, set aside to cool. Reduce oven to 325 °F
Make the Batter
- Combine 24 oz cream cheese and 12 oz granulated sugar and mix on low speed until well combined with no lumps of cream cheese. Scrape the bowl and mixer attachment to make sure there are no lumps of cream cheese. Add 1 tablespoon vanilla extract, 1 teaspoon finely grated lemon zest and 1 tablespoon fresh lemon juice and mix to combine. Add 16 oz sour cream and mix to combine.
- Whisk together 4 large eggs and 2 large yolks. With the mixer running on low speed add the eggs in 3 batches, scrape the bowl and paddle attachment between additions. Pour batter into the pan. Set the pan into a larger pan and pour warm water into the larger pan until it comes ½ way up the sides of the cake pan.
- Bake in the water bath until the cheesecake is mostly set, about 1 hour and 15 minutes. The center of the cheesecake will still jiggle a bit. Set the pan on a cooling rack. Run a thin paring knife around the sides of the cake and cool to room temperature. Refrigerate several hours or overnight until completely cool and firm.
Make the topping
- Combine 16 oz sour cherries and their juice, 16 oz granulated sugar, 1 ¼ oz corn starch and ¼ teaspoon salt in a small saucepan.
- Cook over medium heat until the juice begins to boil. Cook until the juice begin thickens. Transfer the topping to a bowl, cover with plastic wrap and cool to room temperature. Chill until ready to assemble the cake.
Assemble the cake
- If you used a springform pan, run a paring knife around the cake to separate it from the pan, release the spring and remove the pan. If you used a regular cake pan, dip the bottom of the pan in a bowl of very hot water, run a knife or spatula around the sides of the cake and flip it out onto a flat plate or cake circle, then flip right side up onto the serving platter. Alternately, if you have a propane torch you can flip the pan over and run the torch over the bottom and sides of the pan to loosen the cake.
- Whip the cream with the confectioner's sugar until full peak. Scoop the cream into a piping bag with a star tip and pipe a border of whipped cream around the top of the cake.
- Scoop the cherry filling onto the top of the cake, spreading the filling to the whipped cream border. Refrigerate until serving.
Would you like to save this recipe?


As an Amazon Associate and member of other affiliate programs, I earn from qualifying purchases.
Hi Eileen
Where is the link to the video.
Hi Jackie, if you’re working on a desktop computer the video will show at the top of the page then follow along in the sidebar as you scroll. There is an ad that shows before the video. If you’re working on a mobile device the video will show just before the recipe card.
I used to own a bakery, so I enjoy reading your posts. I am having trouble finding the videos that go along with the article. It says there is a video in the post, but I must not know how to get to it. Can you tell me what to do?
Thanks for your help.
Debby
Hi Debby…If you’re on a desktop computer the video will be at the top of the post and will follow on the sidebar as you scroll through the post. If you’re on a mobile device the video will be right above the recipe card. There is a short ad before the video.
Oh Eileen, when you cut into this with a fork I think I actually opened my mouth to taste it, I was so engrossed in its perfection. I do not know if I am brave enough to try a cake pan instead of springform but I am going to give it a lot of thought.
Hi Mary Ellen! Thanks. The cake is quite tasty and the regular cake pan is not scary. Ask Kath, she’s done it a million times.