
White Cake Recipe
I developed this white cake to solve one problem: many white cakes are rubbery or bland. Reverse creaming coats the flour in fat, limiting gluten formation so the cake is tender. Whipping the whites changes their structure and helps keep the crumb soft and open. The layers freeze well, so you can bake ahead for a birthday or a wedding cake project without doing everything in one day.
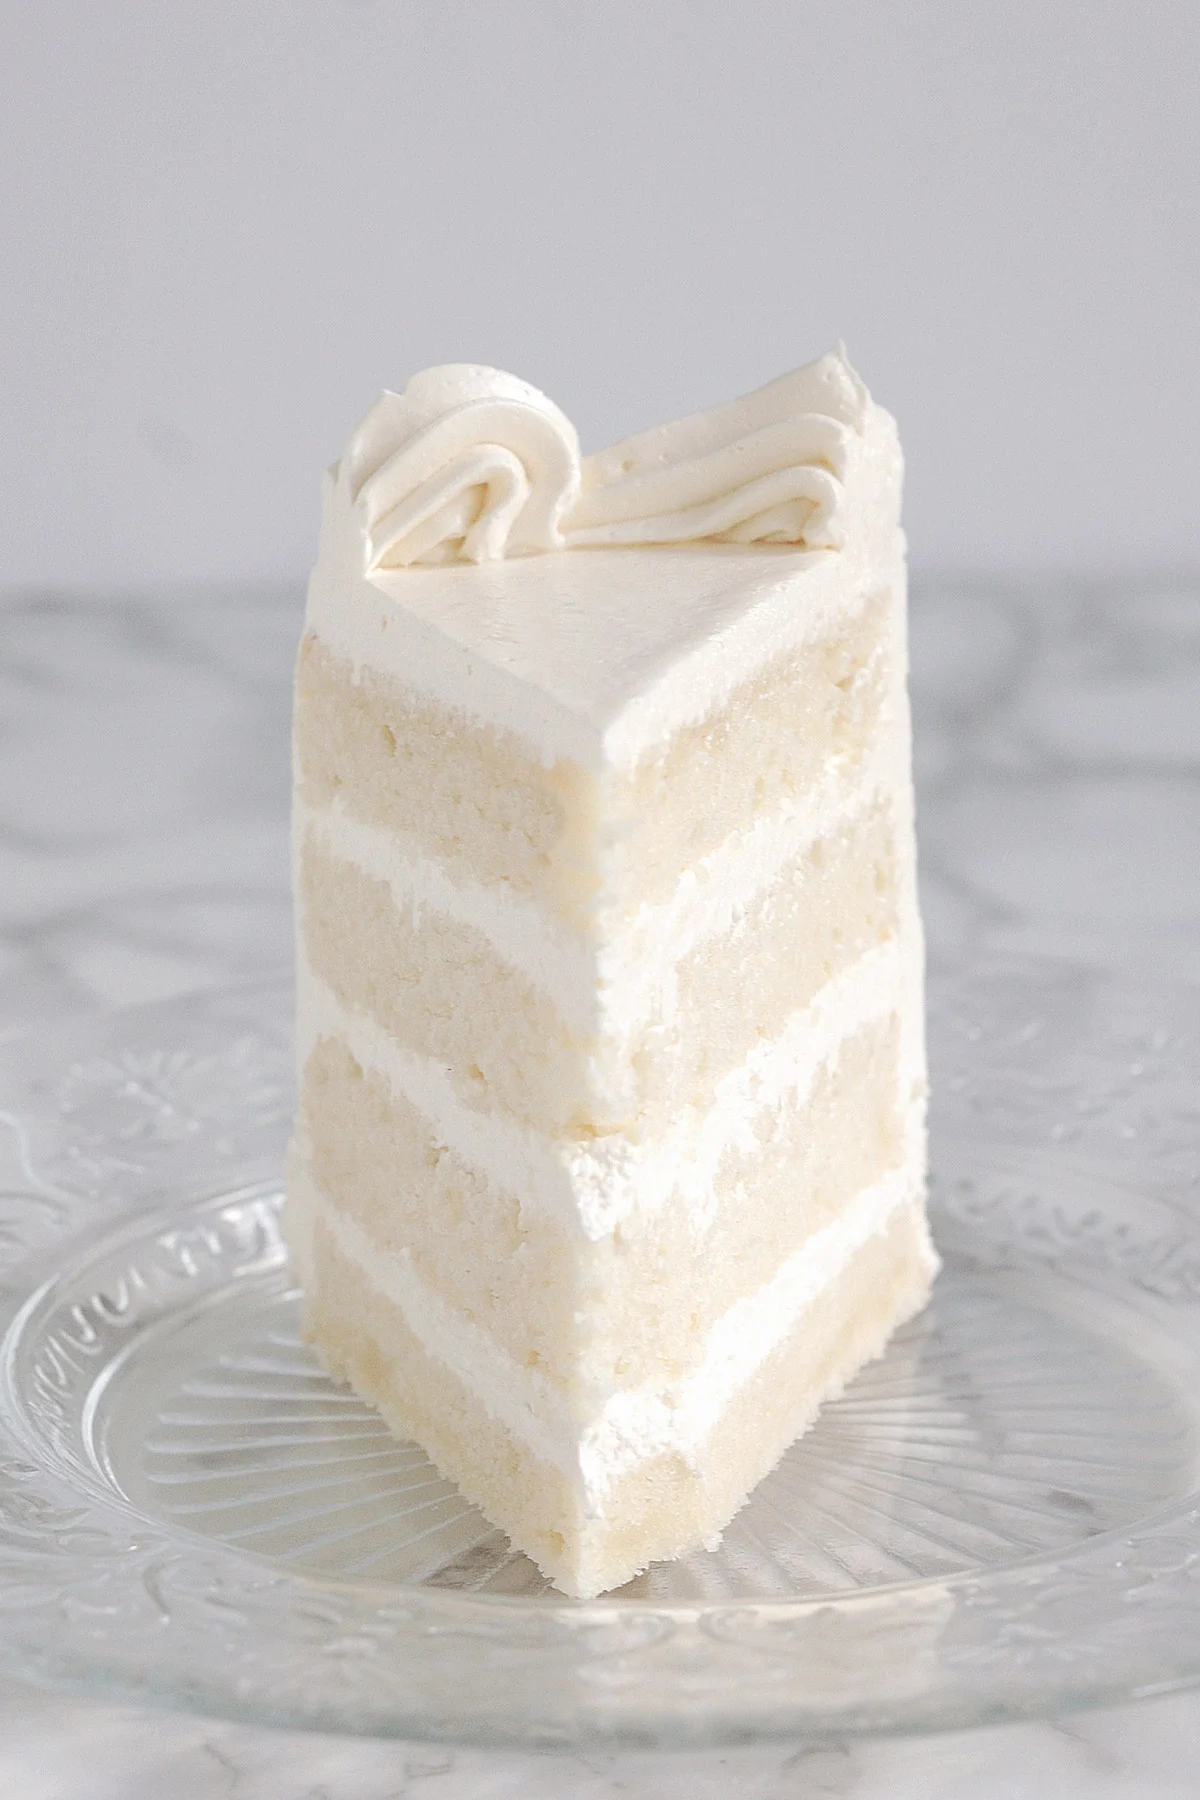
Table of contents
Why This White Cake Recipe Works
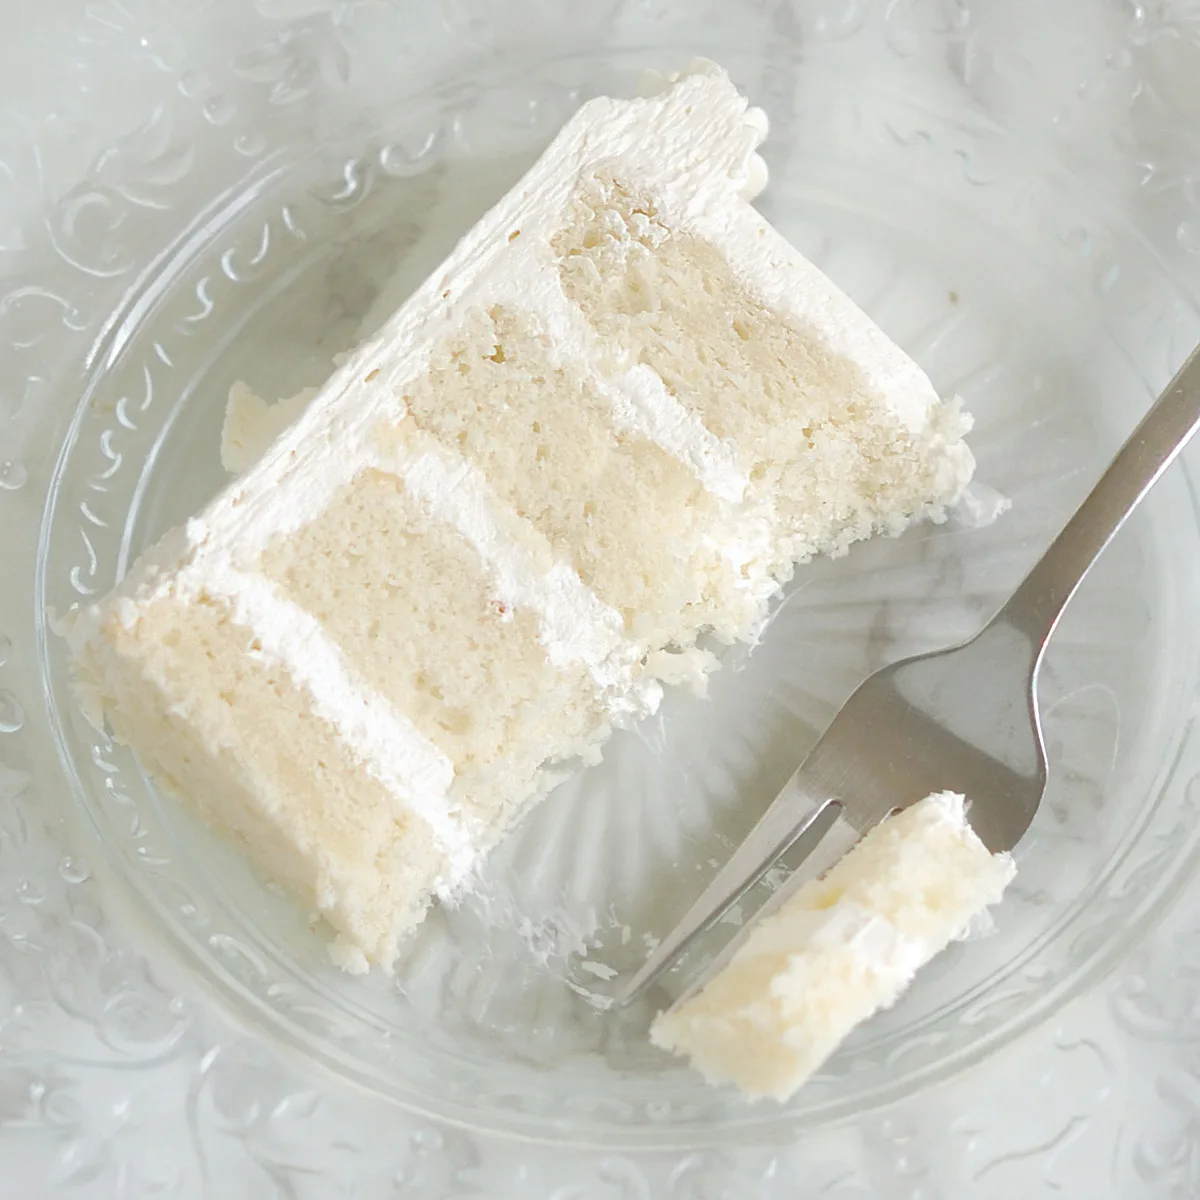
Making a good white cake is trickier than it seems. But it is possible to make great white cake from scratch with a well balanced and carefully written recipe. The balance of ingredients in this recipe, along with the mixing technique produces a white cake that is soft and velvety.
There are three important factors that really set this recipe apart:
✓ Extensive Recipe Testing
First and foremost, this is a well-tested recipe. I did 5 rounds of testing to land on exactly the right mix of ingredients and technique to make a velvety soft white cake. Professional bakers use the “Baker’s Percentage” to balance the ingredients in a recipe. With this knowledge I created a white cake that could be stacked into a towering wedding cake or used as the base for an array of lovely layer cakes.
✓ Egg Whites
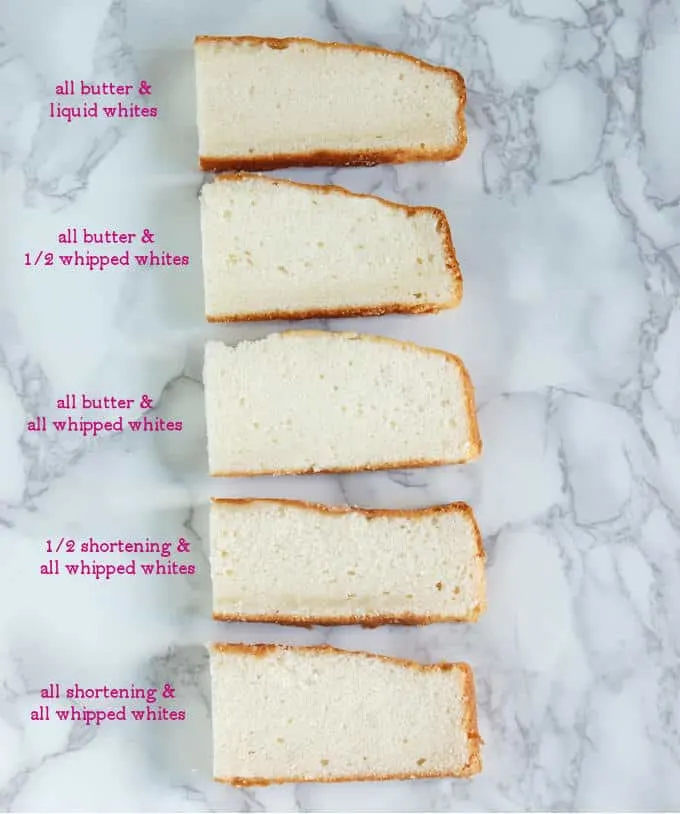
The main difference between a White Cake and a vanilla/yellow cake is the absence of yolks in the batter. Egg whites are full of protein, which helps create the structure of a cake. But too much structure can make a cake rubbery or tough, which is most often the problem with cakes made with only egg whites. But I didn’t just replace the yolks with more egg whites. I tested three different methods for adding the whites to the batter. My science backed method of whipping the whites before adding them to the batter makes a softer and fluffier cake.
✓ Reverse Creaming Method
Mixing technique can make a BIG difference in a cake’s texture. Traditional cake recipes cream butter and sugar together first, then add the dry ingredients. This recipe uses reverse creaming instead — the butter is mixed directly into the dry ingredients before any liquid is added, coating the flour in fat. The result is a finer, more velvety crumb with less risk of the tunnels or dense streaks that can show up in a traditionally creamed cake.
Ingredients
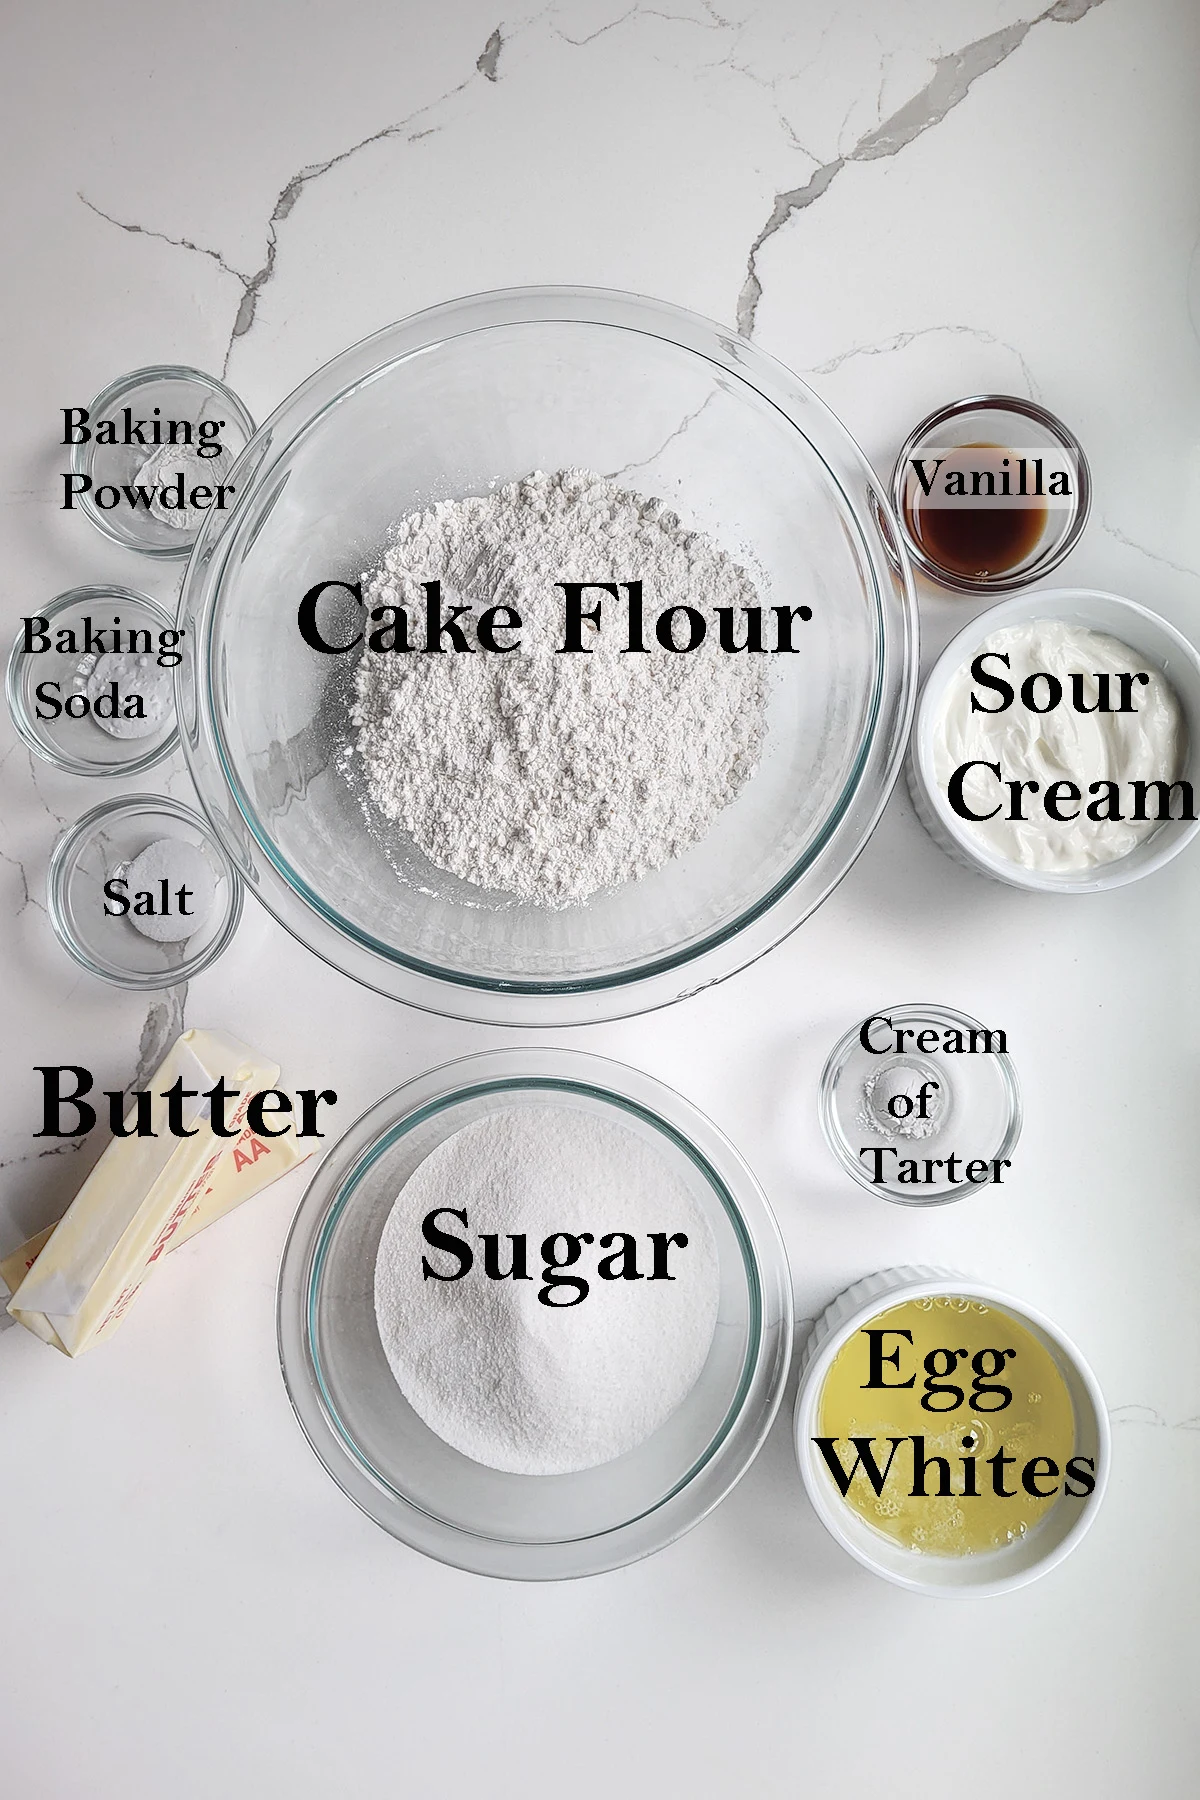
- Cake Flour – Has a lower protein content than all purpose flour so it makes a softer cake. I prefer bleached cake flour. Bleached cake flour is acidic which tenderizes the cake and allows the batter to absorb more liquid for a moister cake.
- Although you will definitely get the best results with cake flour, in a pinch, for every cup of cake flour use ¾ cup of all-purpose flour mixed with 2 tablespoons of corn starch.
- Butter – For my recipe testing I made cakes using just butter, 1/2 butter and 1/2 shortening and all shortening. The cake was not noticeably whiter by substituting the butter with shortening and I definitely prefer the taste of the all butter cake, as did my taste-tester husband.
- I prefer unsalted butter so I can control the amount of salt in the recipe. If you use salted butter eliminate the salt listed in the ingredients. The butter must be room temperature for the best results. Room temperature butter is about 65F-70°F (21°C). The butter should be pliable but not soft and melty.
- Sour cream – Is used instead of milk as the “liquid” in this batter. Sour cream softens the cake and the added fat enriches the batter. Full-fat, unsweetened Greek yogurt would be the best substitute for sour cream.
- Vanilla extract – Use real vanilla extract for the best flavor. (Alternately, you can use almond extract to make White Almond Sour Cream cake.)
- Many white cake recipes recommend using “clear vanilla”. I don’t recommend that since it’s not made with real vanilla beans.
- Egg whites – Do not use pasteurized egg whites as they may not whip up properly.
- Cream of tartar – This acidic ingredient stabilizes the whipped egg whites and acidifies the batter for a softer crumb.
Process Photos
Here’s what the recipe process looks like at each stage. Refer to the recipe card below for measurements and exact instructions.
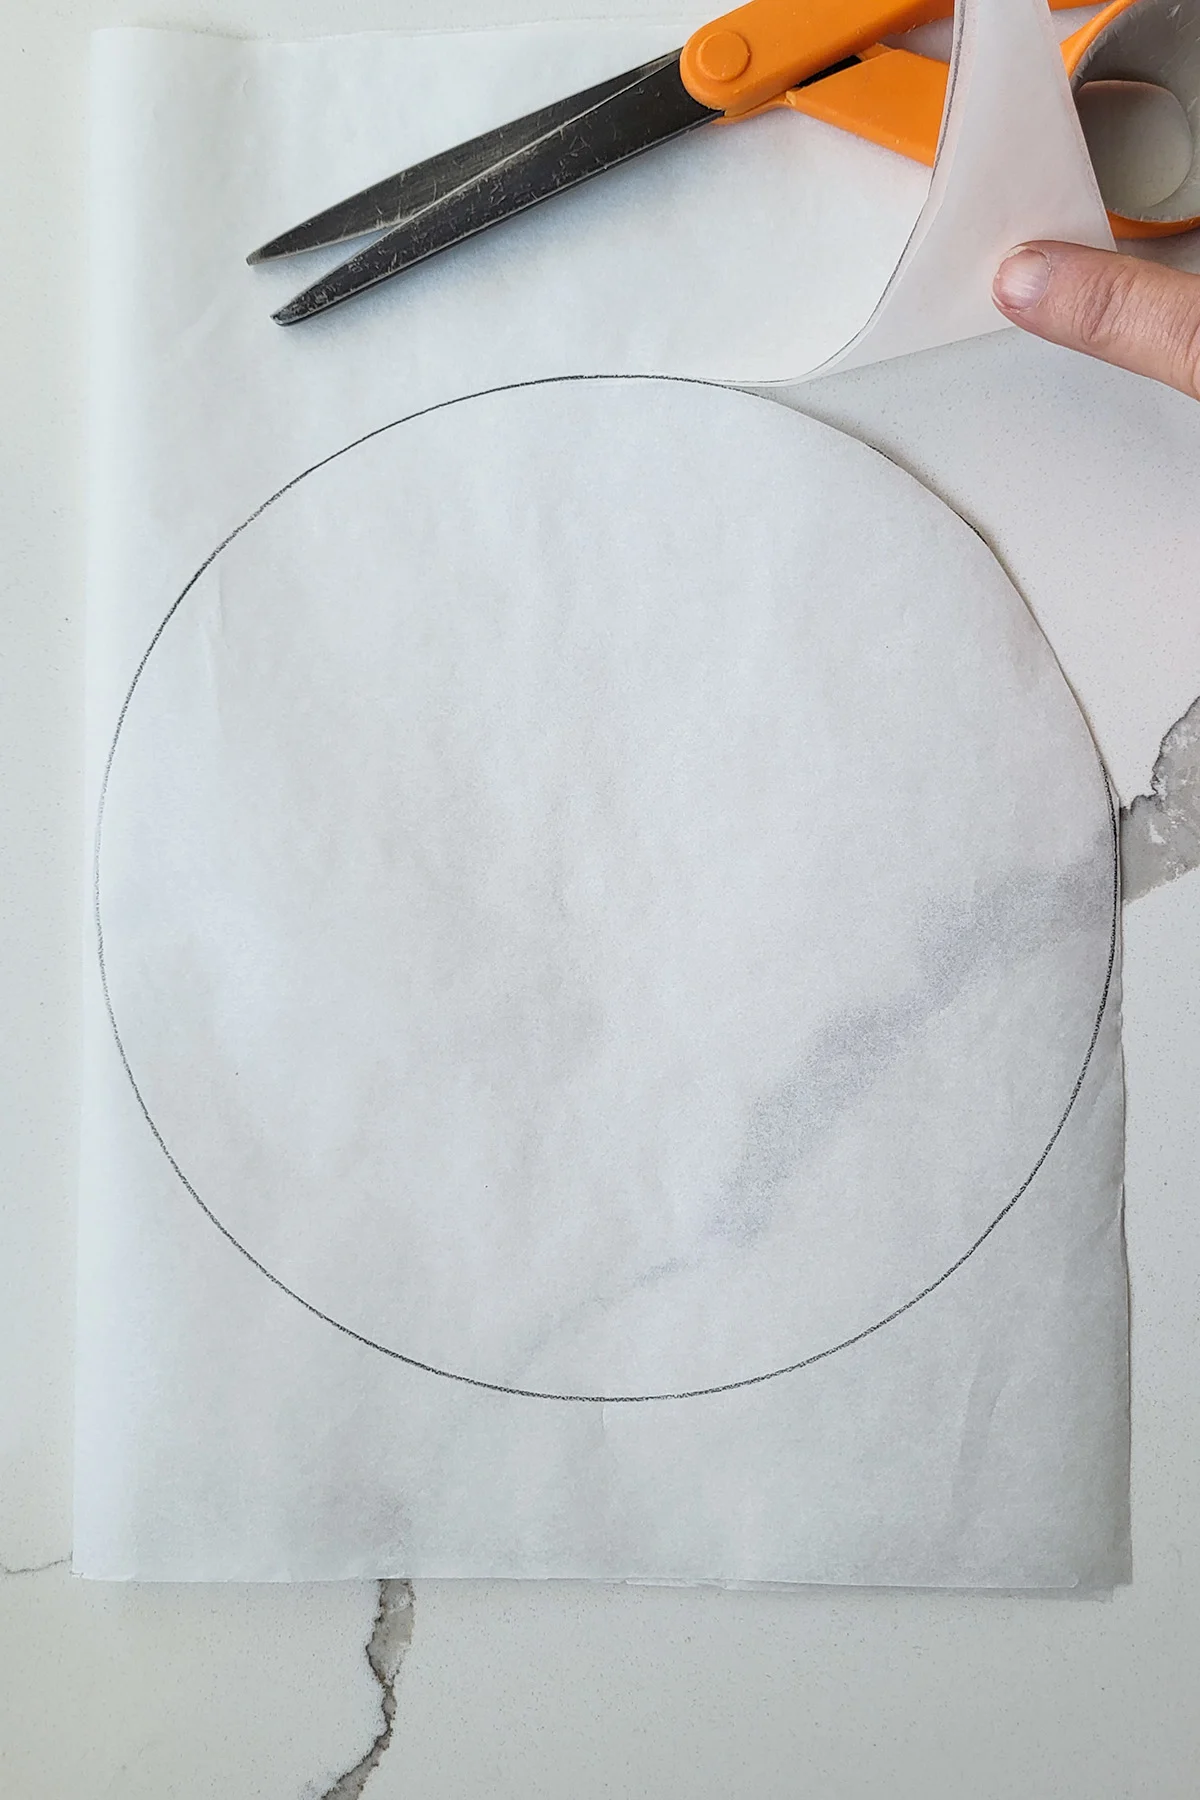
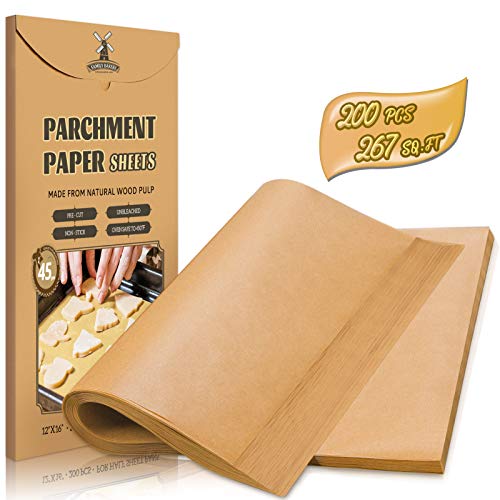
- Draw an 8″ circle on parchment paper using your cake pan as a guide. Cut out two circles and use them to line your cake pans.
- If you don’t have parchment paper butter and flour the bottom of the cake pan only, not the sides.
My Easy Pan Prep Method
After baking thousands of cakes in my career I have learned that the best way to prep a cake pan is the simplest. Just line the bottom of the pan with a round of parchment paper.
By leaving the sides of the pan without any grease, the cake batter slightly grips the pan as it bakes. This encourages straight, tall sides on the cake and a thinner and more delicate crust. But don’t worry, since the bottom doesn’t stick it’s very quick to release the cake from the pan.
Even better, pan cleanup is much easier!
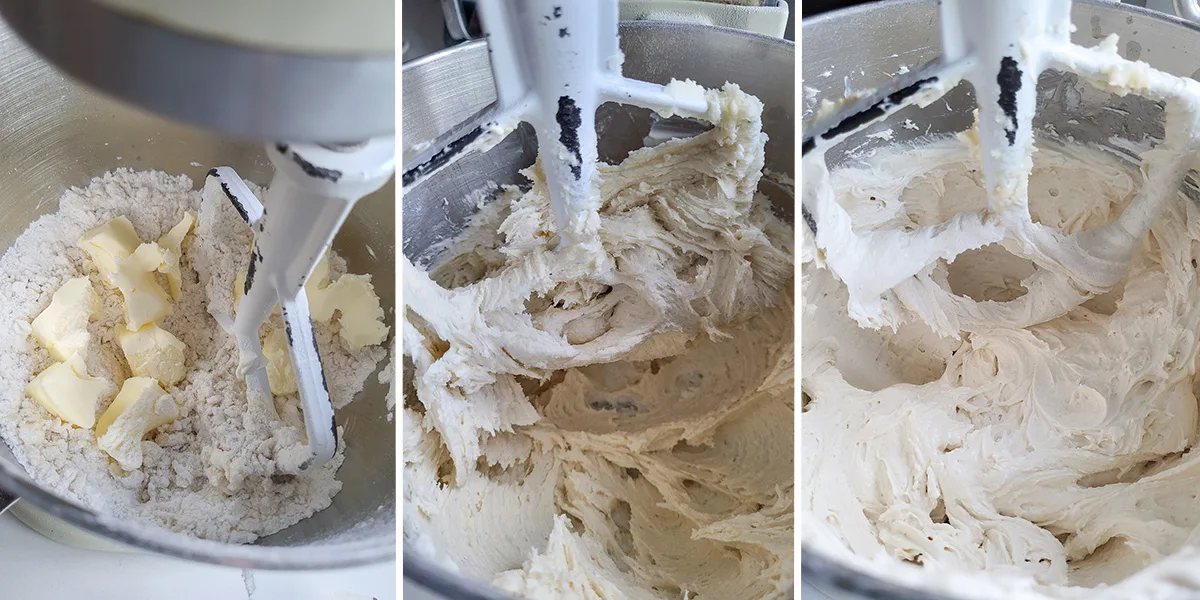
- Mix the dry ingredients on low speed and add the butter and half the sour cream — this is the reverse creaming step — mix until it forms a thick paste. Add the reserved sour cream and vanilla.
- Mix the batter on high speed until it is light and aerated. Scrape the bowl and beater.
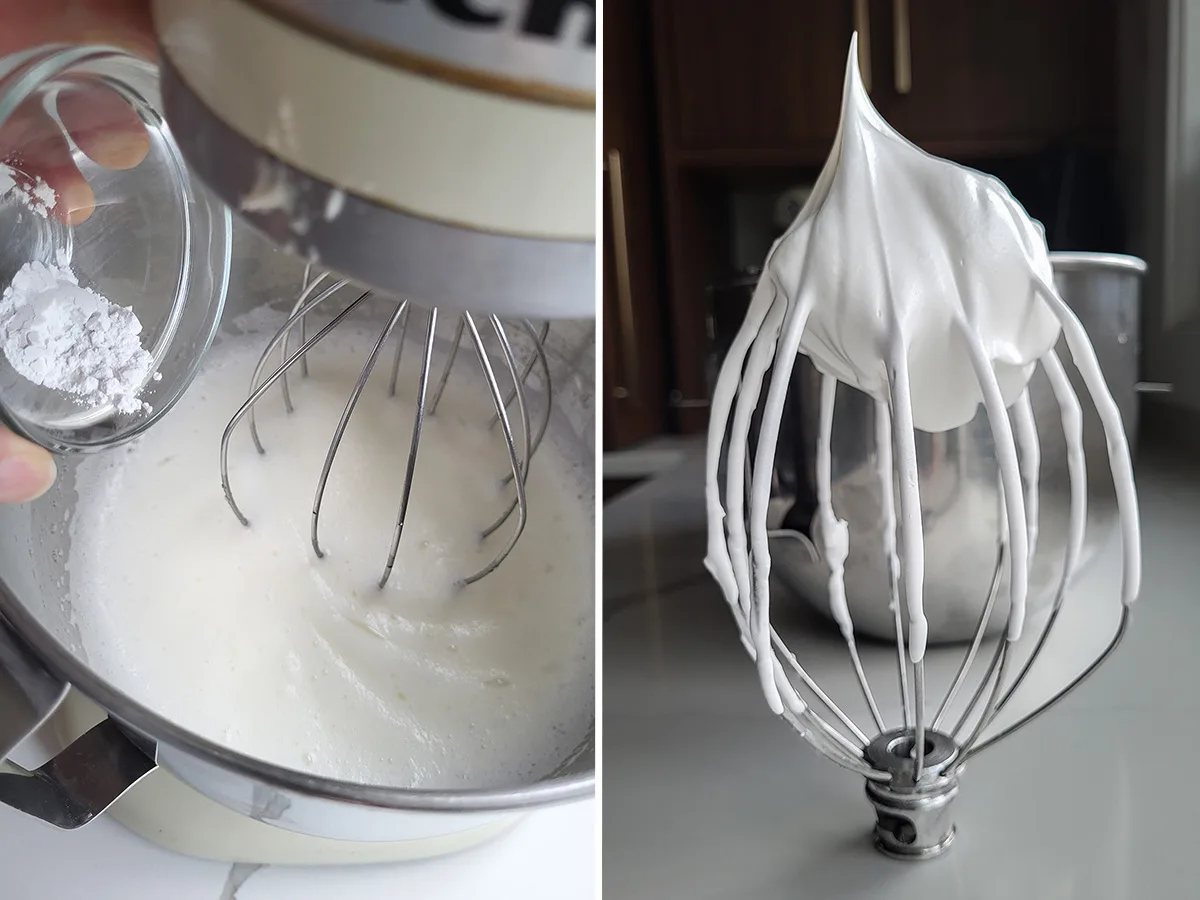
- In a separate bowl, whisk the egg whites with the cream of tartar until foamy.
- Add the sugar and whisk to soft to medium peak.
Why Soft Peak?
Softer whipped whites are easy to incorporate into the batter so prevents over-folding. Overwhipping the whites can result in a drier and less stable meringue which may compromise the rise on the cake.
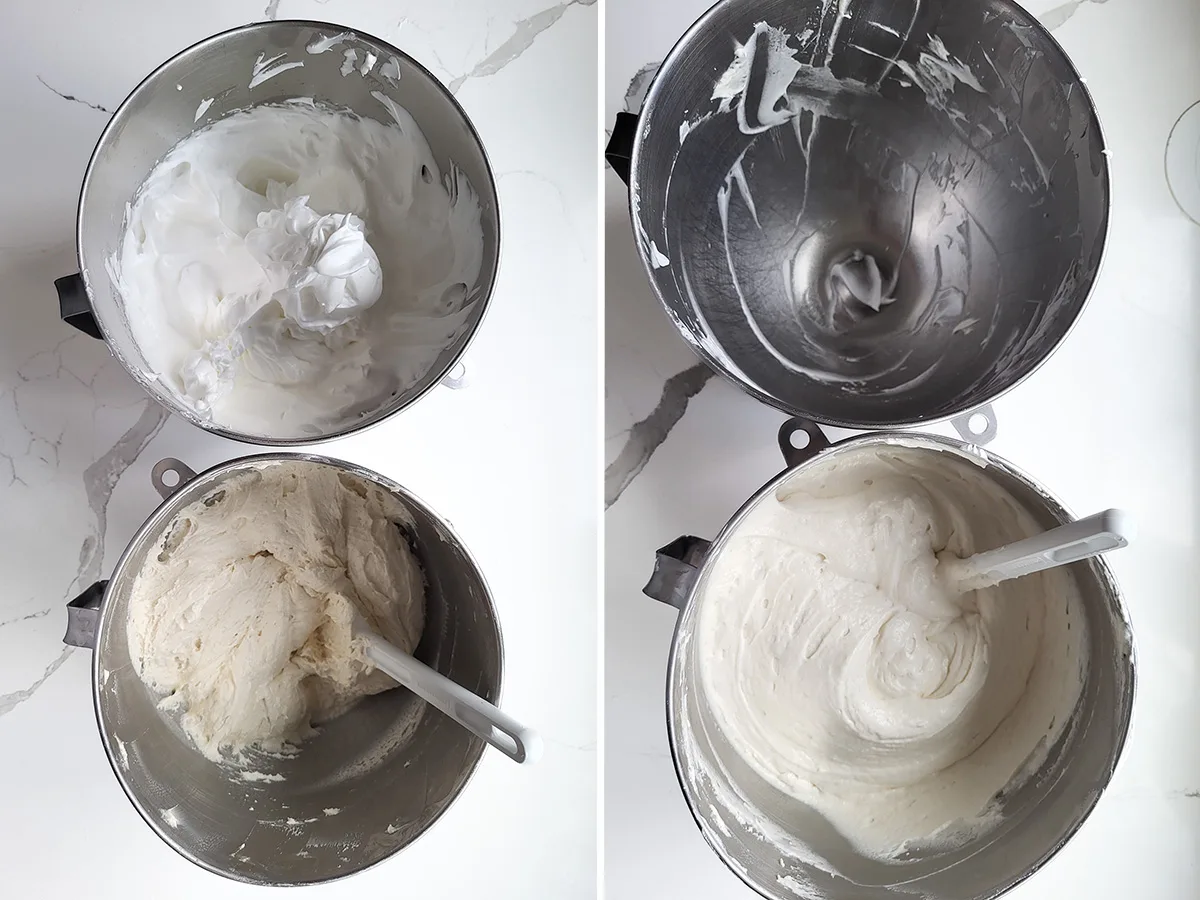
- Fold the egg whites into the batter in three batches.
- Fold just until there are no streaks of egg white.
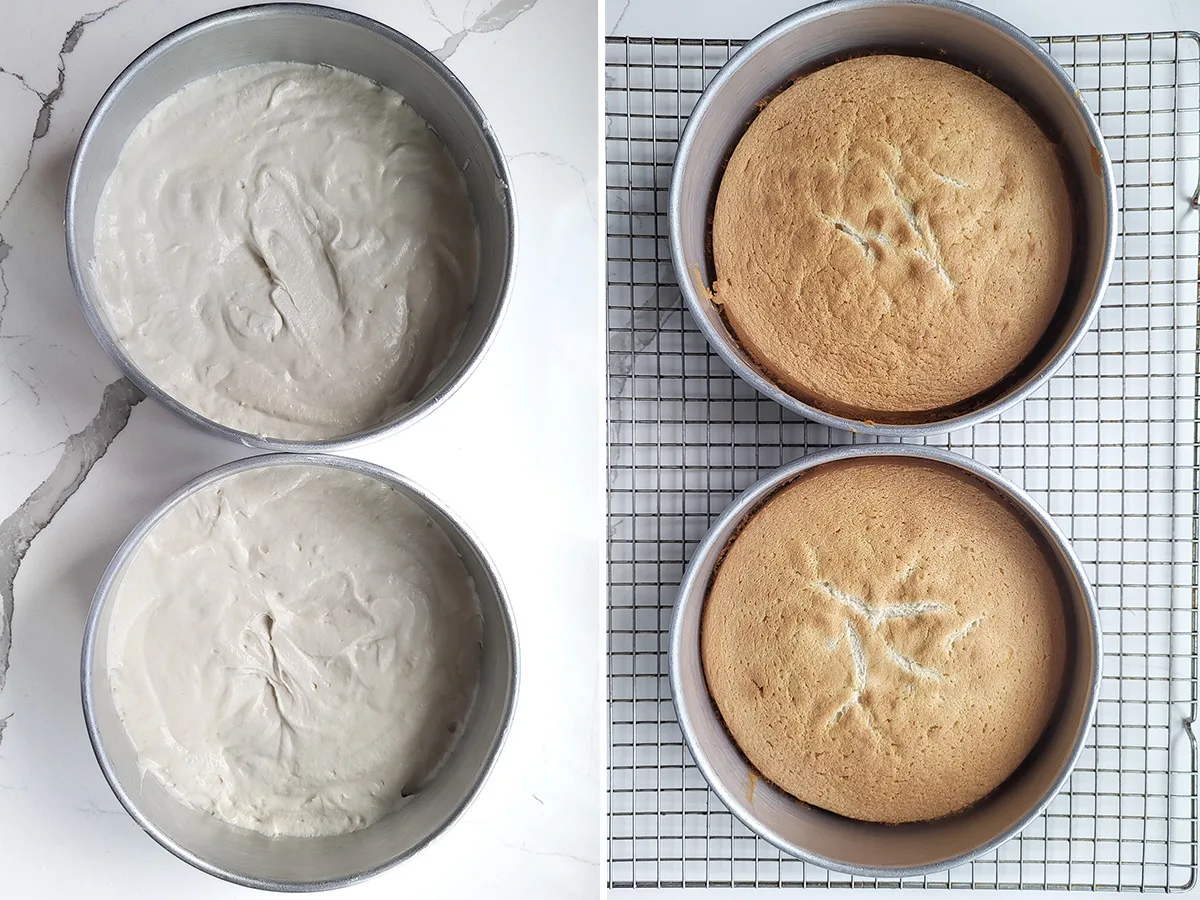
- Divide the batter between two cake pans.
- Bake until the center of the cake springs back when pressed. Do not overbake the cake. Remove it from the oven as soon as the cake springs back when the center is pressed.
- Allow the cake to cool completely before frosting.
What Frosting Should I Use for My White Cake?
I love to fill and ice Velvety Soft White Cake with snow-white Ermine Frosting. I also recommend Italian Meringue Buttercream, Swiss Meringue Buttercream, Seven Minute Frosting or American Buttercream frosting for this cake.
Variation: White Almond Sour Cream Cake
White Almond Sour Cream Cake is a favorite among wedding cake bakers — and it’s really this same recipe with one swap. Replace the vanilla extract with almond extract, or use a combination of both for a softer almond flavor. The sour cream and reverse creaming work exactly the same way, giving you the same soft, tender crumb.
More Cakes That Start With This Recipe
This white cake is also the base for two of my favorite layer cakes — Snow White Coconut Cake and Piña Colada Cake. Both start with these same layers, flavored with syrup and finished with different fillings and frostings.
Occasions for This Cake
- White cake is often traditional for wedding cakes. Make sure to use proper supports for stacking cake tiers.
- This recipe is also perfect for making birthday cakes. It’s wonderful as a simple white cake, but you can also fold in colorful sprinkles to make a funfetti cake.
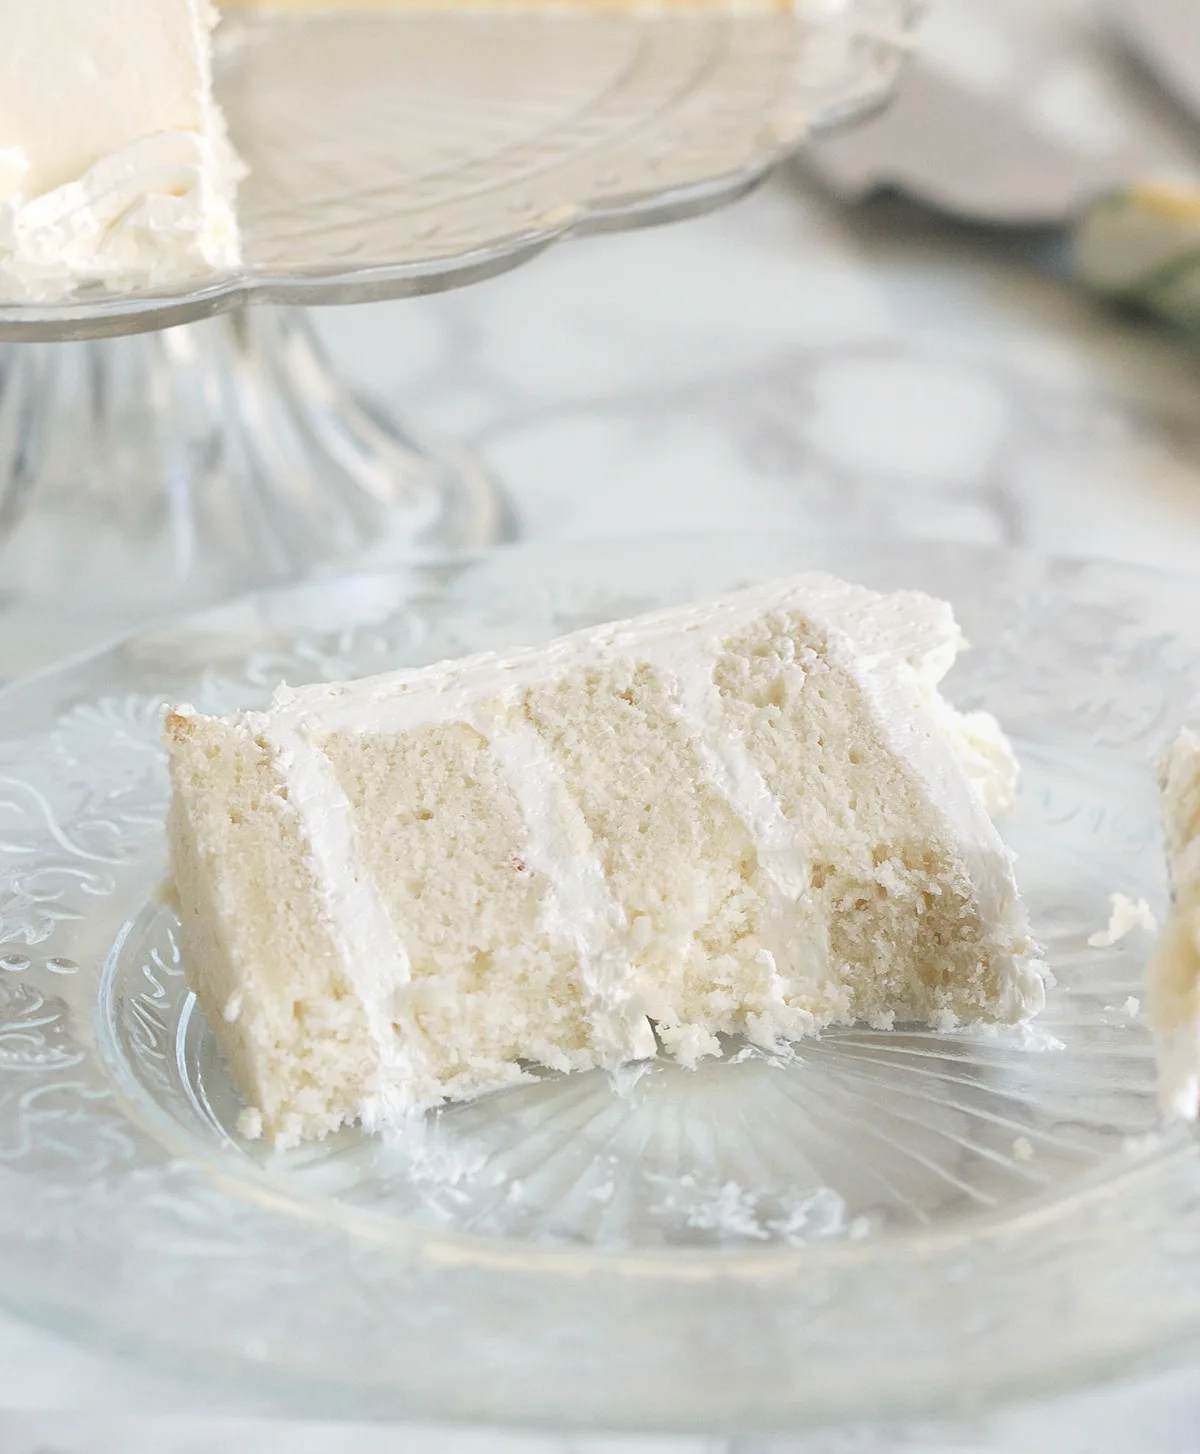
If you love this recipe as much as I do, I’d really appreciate a star rating and a quick comment. Ratings and comments help my recipes show in search results. Thanks!
White Cake Recipe
Video
Ingredients
- 9 ounces cake flour (2 cups, preferably bleached (see note))
- ¾ teaspoon baking powder
- ½ teaspoon baking soda
- ¾ teaspoon salt
- 12 ounces granulated sugar ( 1 ½ cups)
- 8 ounces sour cream (1 cup, room temperature)
- 8 ounces unsalted butter (room temperature (see note))
- 1 tablespoon vanilla extract
- 6 large egg whites (room temperature (see note))
- ½ teaspoon cream of tartar
Instructions
- Preheat the oven to 350 °F. Line two 8"x3" cake pans (don't use non-stick pans) with a circle of parchment paper or butter and flour the bottom of pans only. Do not butter and flour the sides of the pan.
- In a mixing bowl or the bowl of a stand mixer, sift 9 ounces cake flour, ¾ teaspoon baking powder, ½ teaspoon baking soda and ¾ teaspoon salt with 8 ounces granulated sugar. Mix on low speed for 30 seconds to distribute the leavening. With the mixer on low speed, add 4 ounces sour cream and toss in 8 ounces unsalted butter a tablespoon at a time. Mix until combined to a thick paste. (This is the reverse creaming step.)
- Scrape the sides and bottom of the bowl. With the mixer running on low speed, add 4 ounces sour cream and 1 tablespoon vanilla extract.
- Increase the speed to medium and beat about 2-3 minutes until the batter lightens in texture and becomes aerated. If you're using a hand mixer this may take an extra minute or two. Scrape the sides and bottom of the bowl to make sure there are no pockets of unmixed batter.
- In another bowl, 6 large egg whites with ½ teaspoon cream of tartar on medium high until foamy. Turn the mixer to medium low and slowly add 4 ounces granulated sugar. Turn the mixer to medium-high and whip the whites to soft-medium peak.
- Fold the whites into the base in 3 parts, folding just until there are no streaks of egg white. Divide the batter evenly between the 2 pans and spread to level.
- Bake 25-30 minutes until the center of the cake springs back when lightly pressed or a toothpick inserted into the middle of the cake comes out clean.
- Cool at least 20 minutes in the pan and then turn out onto a cooling rack. **The cake will "settle" a bit as it cools. That's fine.**
- Trim the brown edges off the cake, split each cake into two layers. Fill and ice with your favorite frosting.
Would you like to save this recipe?
Equipment



As an Amazon Associate and member of other affiliate programs, I earn from qualifying purchases.
Notes
Storage
- Un-iced, the cake can be kept at room temperature for 1-2 days. For longer storage wrap in two layers of plastic wrap and freeze for up to 3 months.
- If the cake has a perishable filling store it in the refrigerator for up to 3 days.
- Leftover slices of cake can be individually wrapped and frozen for up to 3 months.
Hi Eileen,
I’ve been looking for a white cake recipe to try for my daughter’s 2nd birthday, and stumbled upon your recipe and your wonderful site. (I’m definitely going to keep coming back!). I made a test cake today, and it turned out well!
However, I don’t have a stand mixer, only a hand-held one, and I’m not sure if that makes a difference when adding the butter. I tested each tbsp of butter with an instant-read thermometer to ensure it reached the minimum 65ºF. When I added it to the dry ingredients, the butter didn’t mix too well. It collected in clumps, and I’m not sure if this is something that would happen with a stand mixer as well.
Once I added the sour cream, everything seemed to smooth out. I watched the video again, and it only shows the butter/sour cream mixture once the sour cream was already added, so I want to be sure this is normal.
Like I said, I got great results! But I noticed my cake was a little shorter in height than what you mention yours is, so I wonder if I’m missing something that could make it that much better/even a little lighter.
Thanks so much!
Hi Daniella, yes, the butter may clump up a bit before adding the sour cream. Especially in cold weather when not only the butter, but the mixing bowl, flour, sugar are all cooler. Unfortunately, I thought I had the camera on when I put in the butter and the sour cream, but I had it turned off by mistake so didn’t catch that part for the video. Based on your feedback I changed the recipe to add 1/2 the sour cream with the butter to loosen up the batter a bit. That should make it easier to mix. After adding the butter and sour cream continue beating for a couple of minutes and you should see the batter lighten in color and become aerated. I say 3-4 minutes in the recipe, but you can give it an extra minute or two if you don’t think you’re getting enough volume. Also, just fold in the whipped whites until there are no streaks of white visible. If you keep folding after the whites are mixed in you’ll knock out more of the air. Good luck and let me know how it turns out. Happy New Year!
Thanks for getting back to me so quickly! Everything you said makes sense, and I’ll try adding half the sour cream first. And also not over-folding the egg whites (in my enthusiasm for no streaks, it’s definitely possible I over-folded). I have one additional question for you: I’m making this cake well in advance of the event, so I’ll need to freeze the layers. And I know the idea of freezing layers seems simple–but I’m unsure of a few things… What do you wrap the cake in? Just plastic wrap? Aluminum foil? Do you wrap when the cake has completely cooled or while it’s still warm? Do you let the cake defrost/thaw completely before decorating with icing? Happiest of New Years to you!
Hi Daniella, I always double wrap the cakes in plastic and then a layer of foil. I wrap them once they’re cooled. I defrost them in the plastic wrap before decorating.
Hello Eileen,
I am planning to make this cake using 6”x2.5” pans. Can you please suggest what adjustments I should make to baking temperature or duration?
Thank you,
Kurt
Hi Kurt, I can’t give an exact time since it will depend on your oven and how full the pans are. But I would start checking the cakes after about 20 minutes. Either use the “toothpick” test (a toothpick inserted in the middle comes out clean) or, as I prefer, lightly press in the middle of the cake. If it springs back (doesn’t leave a dent) it’s done.
Hi Eileen I was wondering what is the icing recipe and if it requires powdered sugar.
Hi Lily, I use my Italian Meringue Buttercream for all my layer cakes. It does not require powdered sugar.
I want to use this recipe tomake six thin layers of cake separately (each layer will be a different color) but I’m trying to figure out if I’ll need to double the recipe; how many people would you say this cake would serve?
Also, any tips for a rookie doing a 6 layer cake lol I’ve got my cake board, I’m going to use firm buttercream frosting to layer and giant straws through it to help stabilize
Hi Eliza, This recipe makes enough batter for two cakes. I split each cake into two layers for a total of 4 layers. Each cake is about 2.5 to 3″ tall when baked. So the layers end up being about 1 to 1 1/2″ tall. I suggest you make 1 1/2 times the recipe for a total of six layers since you want 6 different colors. Do you have 6 cake pans? I’ve made 6-layer cakes plenty of times and never used straws for support. Are you worried about the layers shifting?
Thank you I thought 1 and 1/2 too but wasn’t sure. Yes I am very worried about it shifting as I’ve never made a layer cake before and it’s for my sons birthday party and yes I went out and bought 6 cake pans just for this actually :p
What a good mom you are! What type of buttercream will you use the fill the cake? Will you be transporting it to another location?
Yes I’ll be transporting it
I was going to use a classic American buttercream recipe but halve the butter and add shortening so it’s firmer.
Well, once you have the layers stacked you can decide if you think it’s stable enough to transport without extra support. I think it should be, but use your own judgement.
It turned out perfectly and without straws for support, thank you so much!
I forgot the baking soda. Will the cakes still taste okay?
I think the taste will be fine, it probably just won’t rise as much as it should.