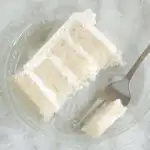
Best White Cake Recipe

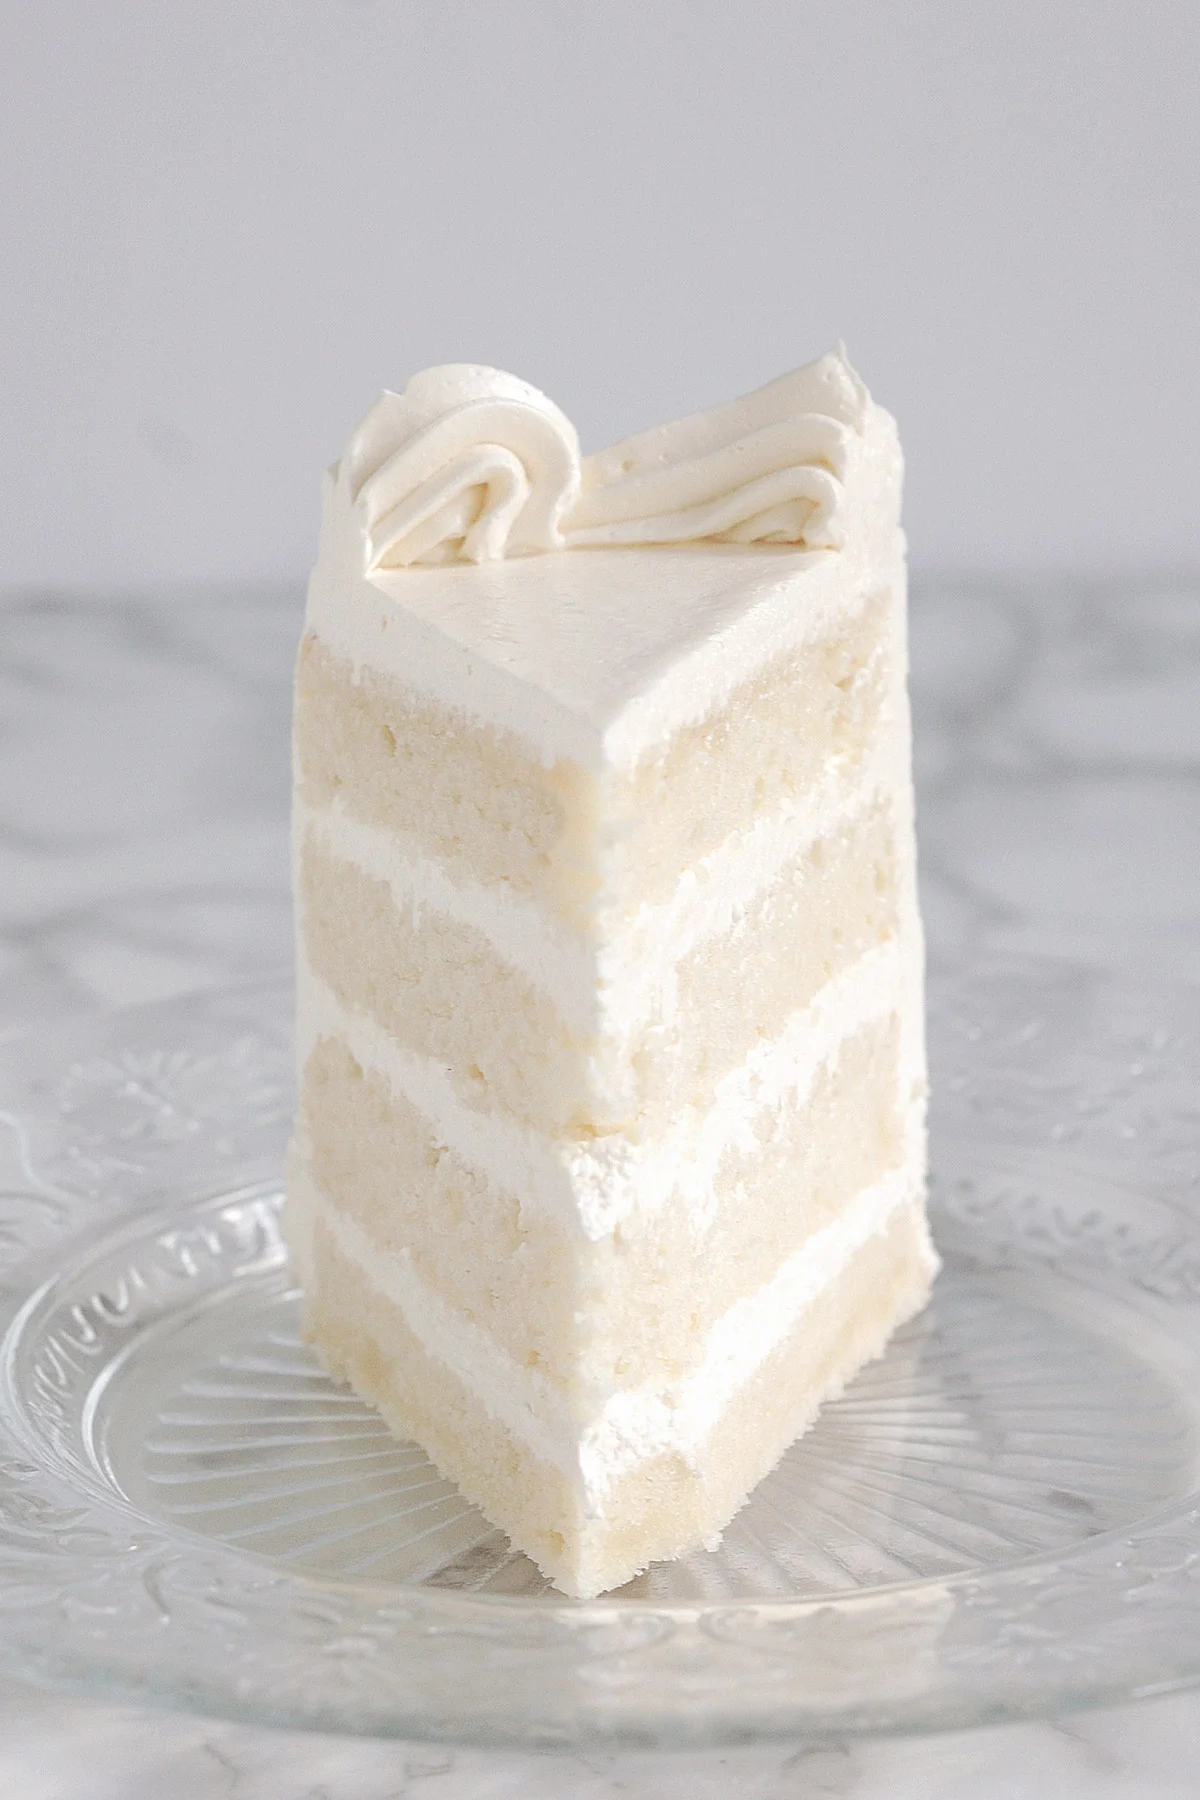
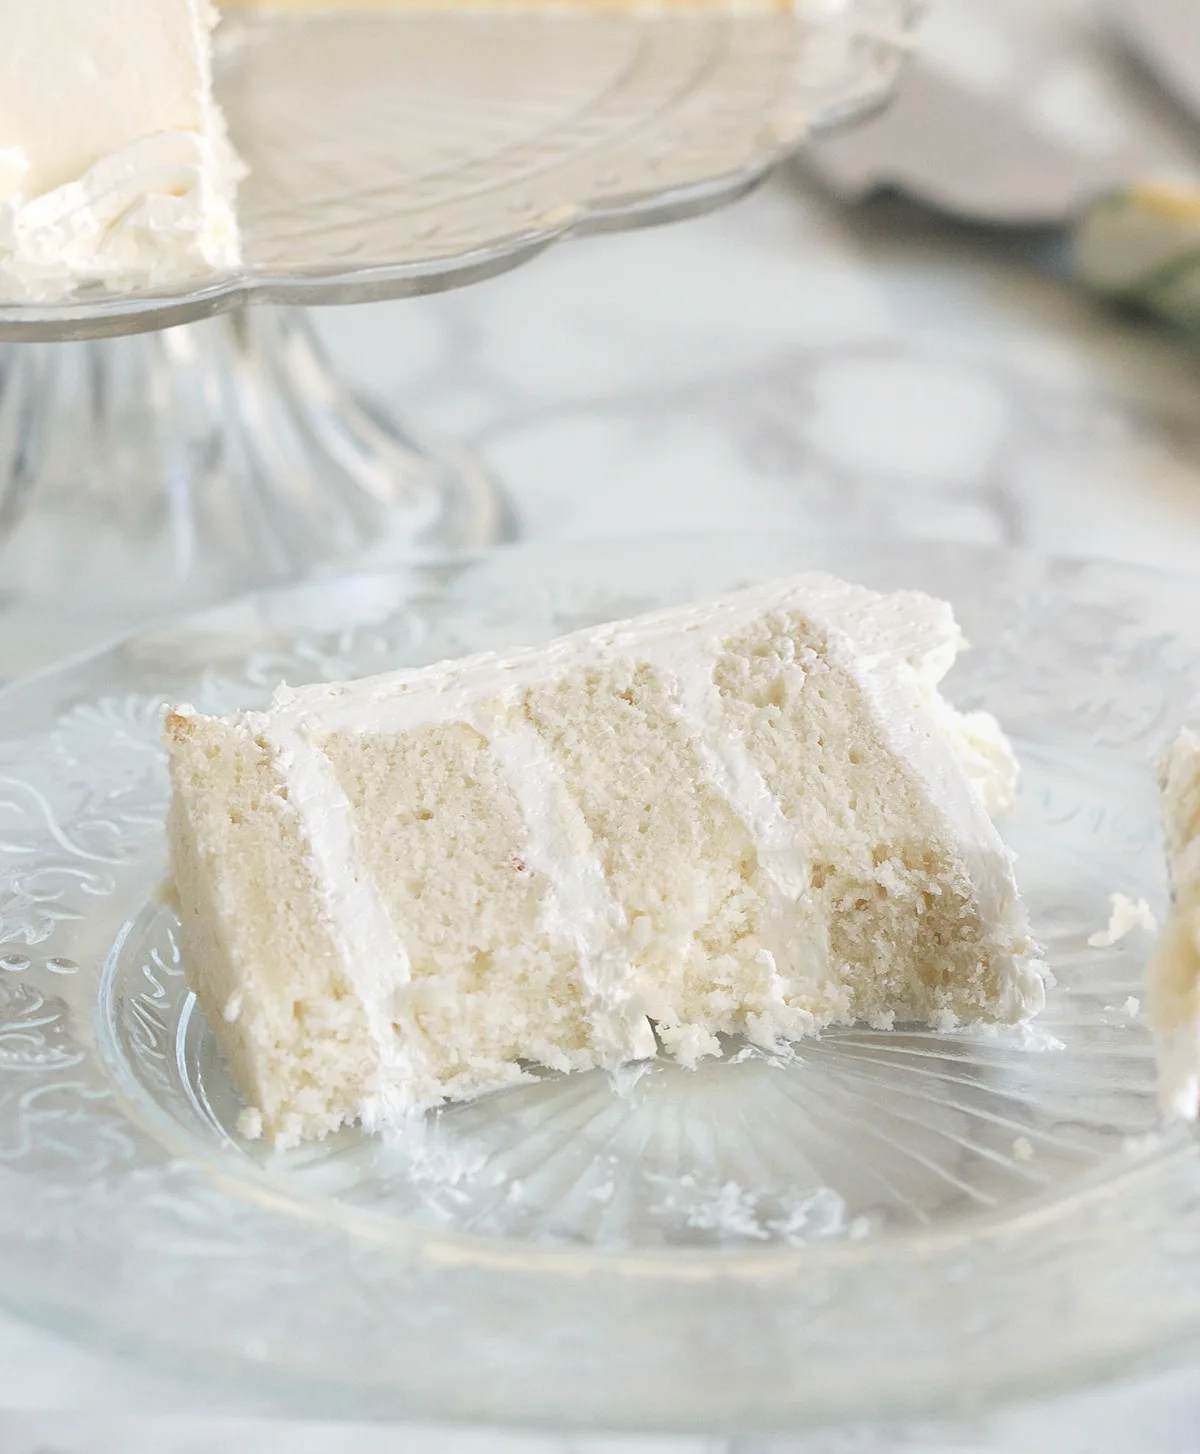
This White Cake recipe is soft and velvety with perfect vanilla flavor.
Have you ever taken a bite of a beautiful white cake only to be disappointed by it’s rubbery texture and bland taste? With the proper ingredients and mixing technique you can make the best White Cake at home, from scratch.
Science behind the recipe
If you’re into baking science and want to learn how I developed and tested this recipe you can visit this post where I explain in detail how I created the best White Cake recipe.
Ingredients
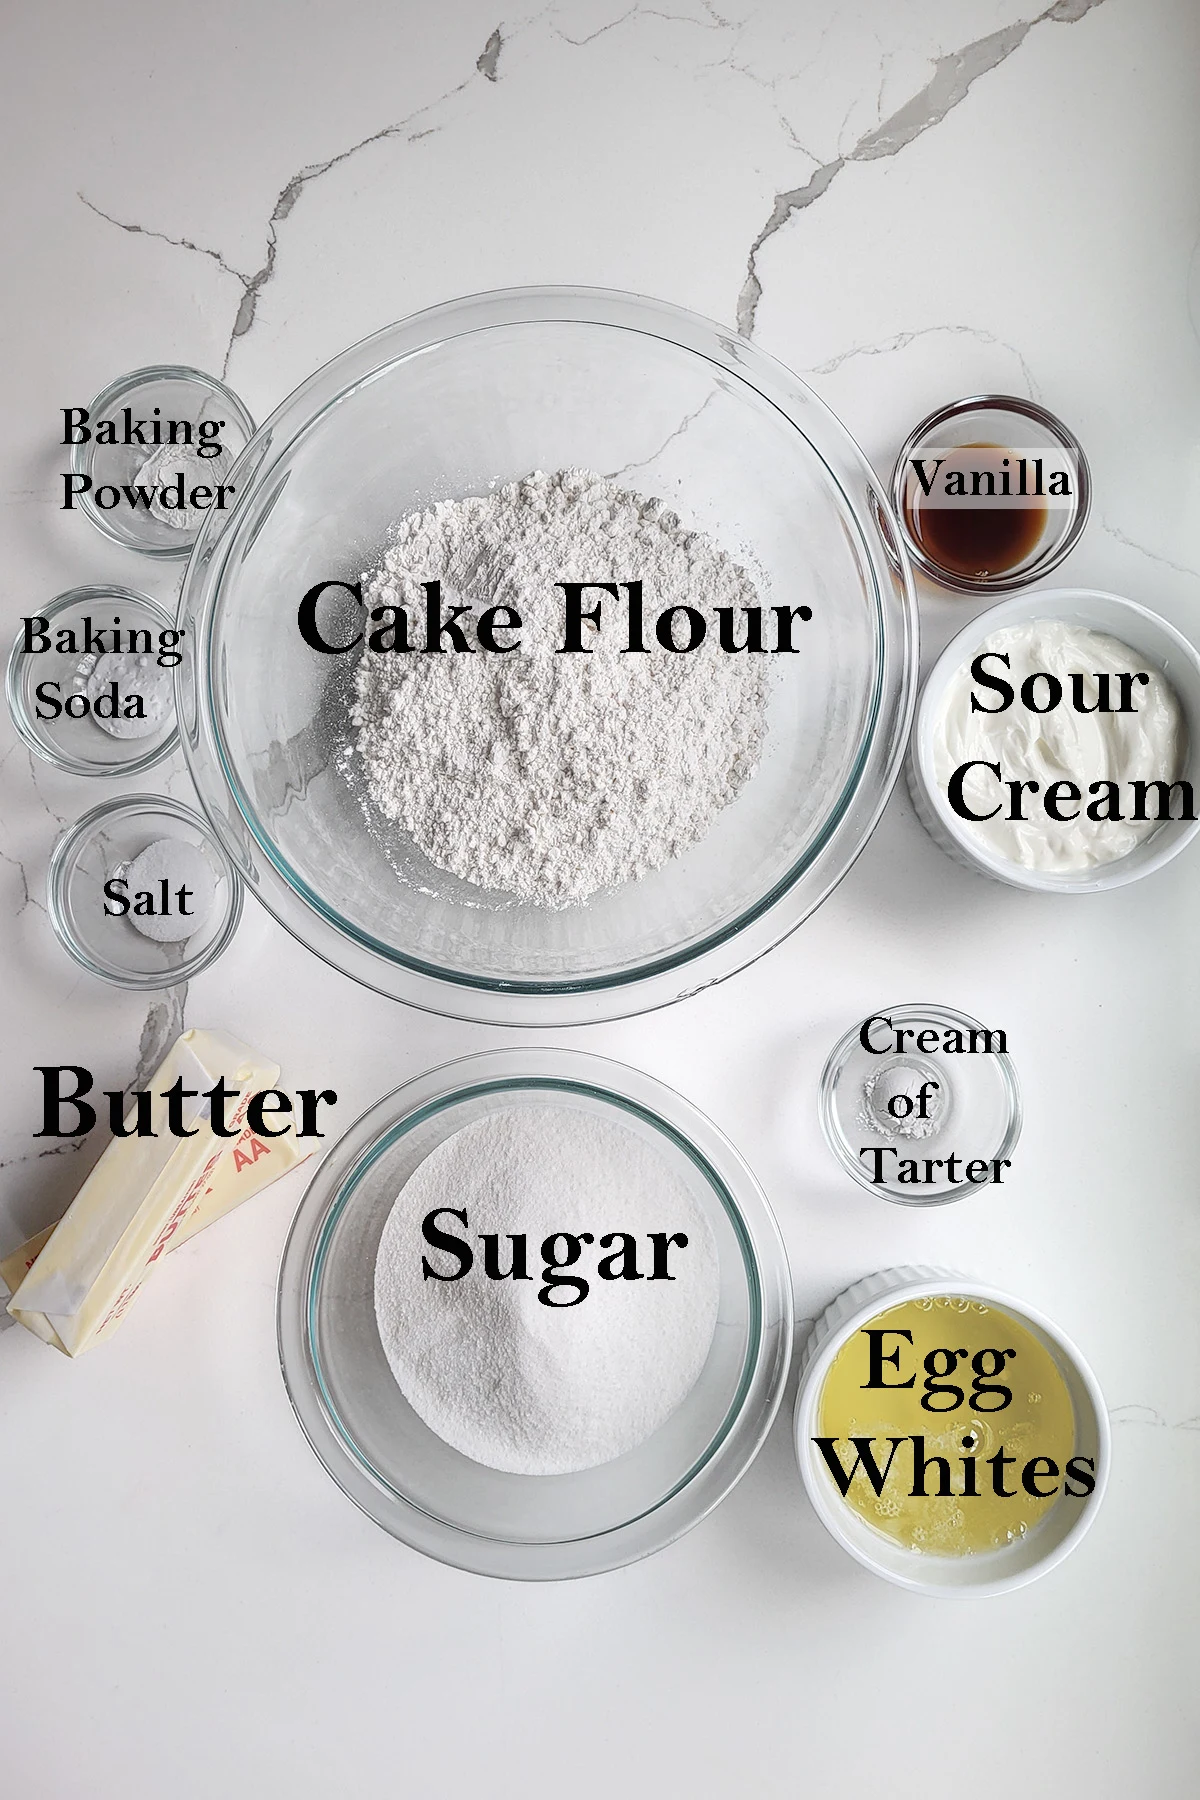
Ingredient Notes
- Cake Flour – I prefer bleached cake flour because it is slightly acidic and whiter in color.
- Sour cream – Sour cream enriches and tenderizes the cake.
- Vanilla extract – Use real vanilla extract for the best flavor. (Alternately, you can use almond extract to make White Almond Sour Cream cake.)
- Egg whites – The main difference between a White Cake and a regular vanilla cake is the absence of yolks in the batter.
- Cream of tartar – Stabilizes the whipped whites.
Process Photos
Here’s what the recipe process looks like at each stage. Refer to the recipe card below for measurements and exact instructions.
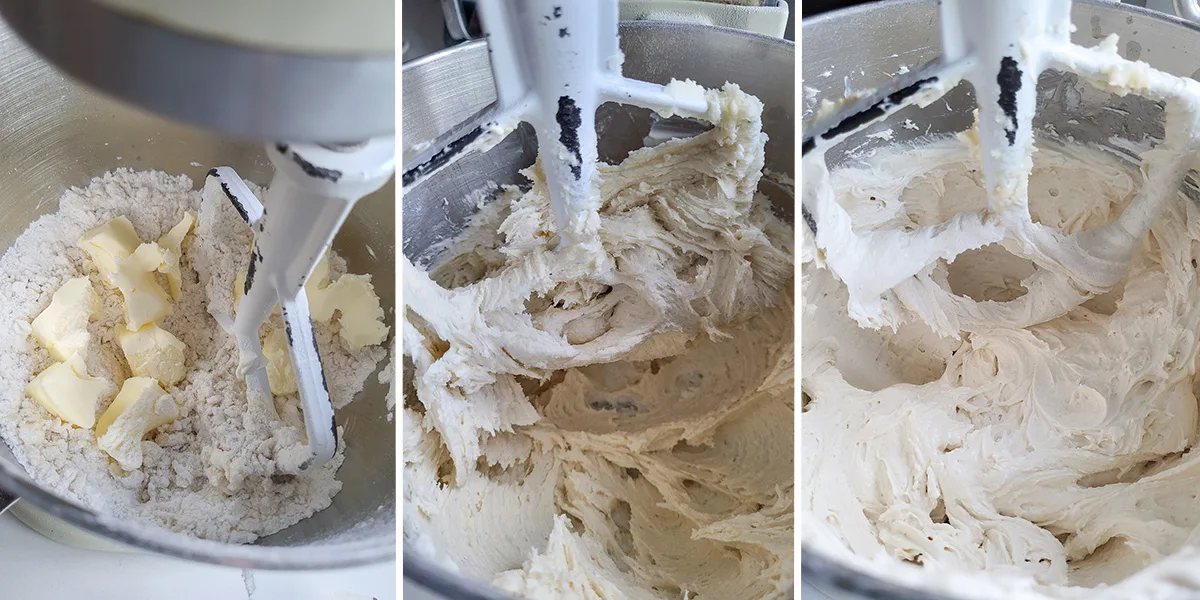
- Sift the dry ingredients into a mixing bowl. Add half the sour cream and combine. Then add the softened butter.
- Mix until the butter is completely incorporated. Scrape down the sides of the bowl.
- Add the remaining sour cream and vanilla and mix on high speed 2-3 minutes to aerate.
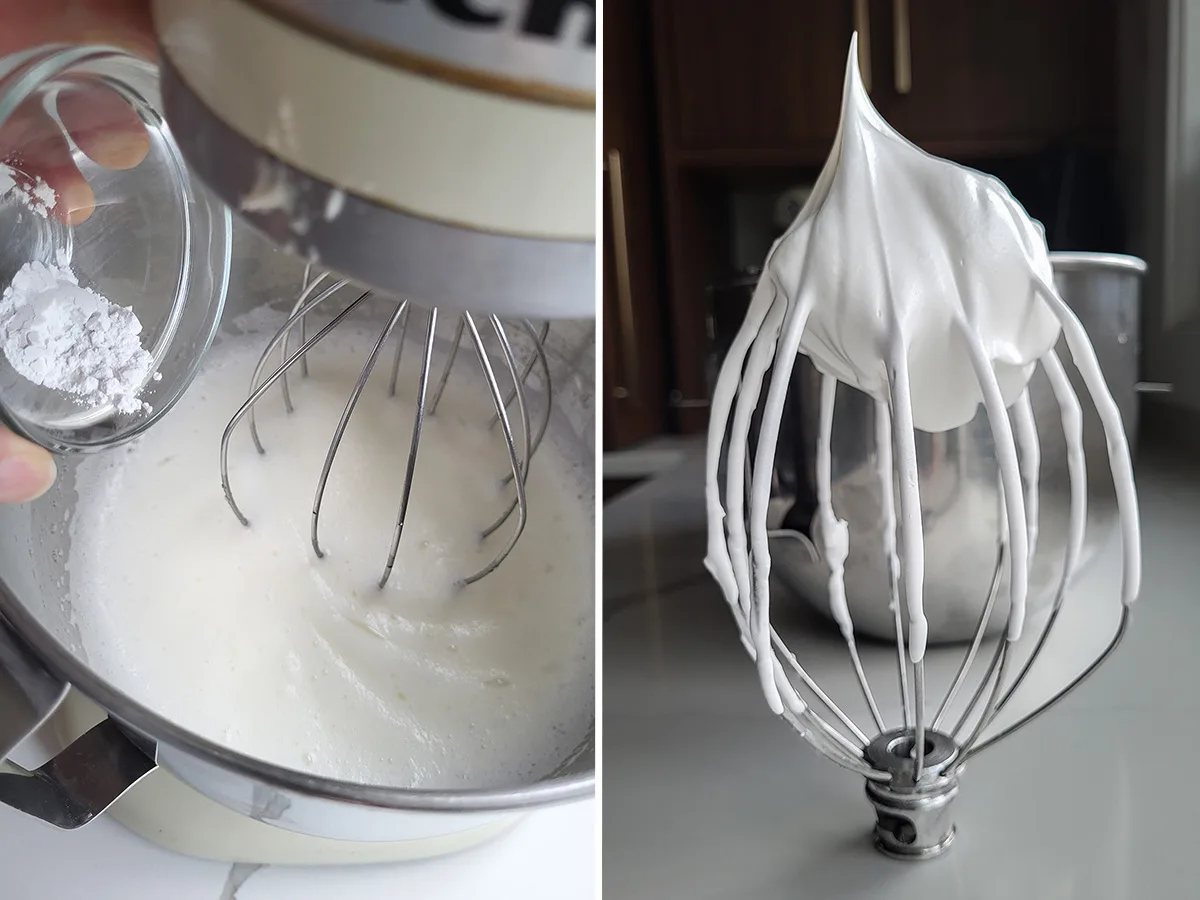
- In a separate bowl, whisk the egg whites with the cream of tarter.
- Add the sugar and whisk to full peak.
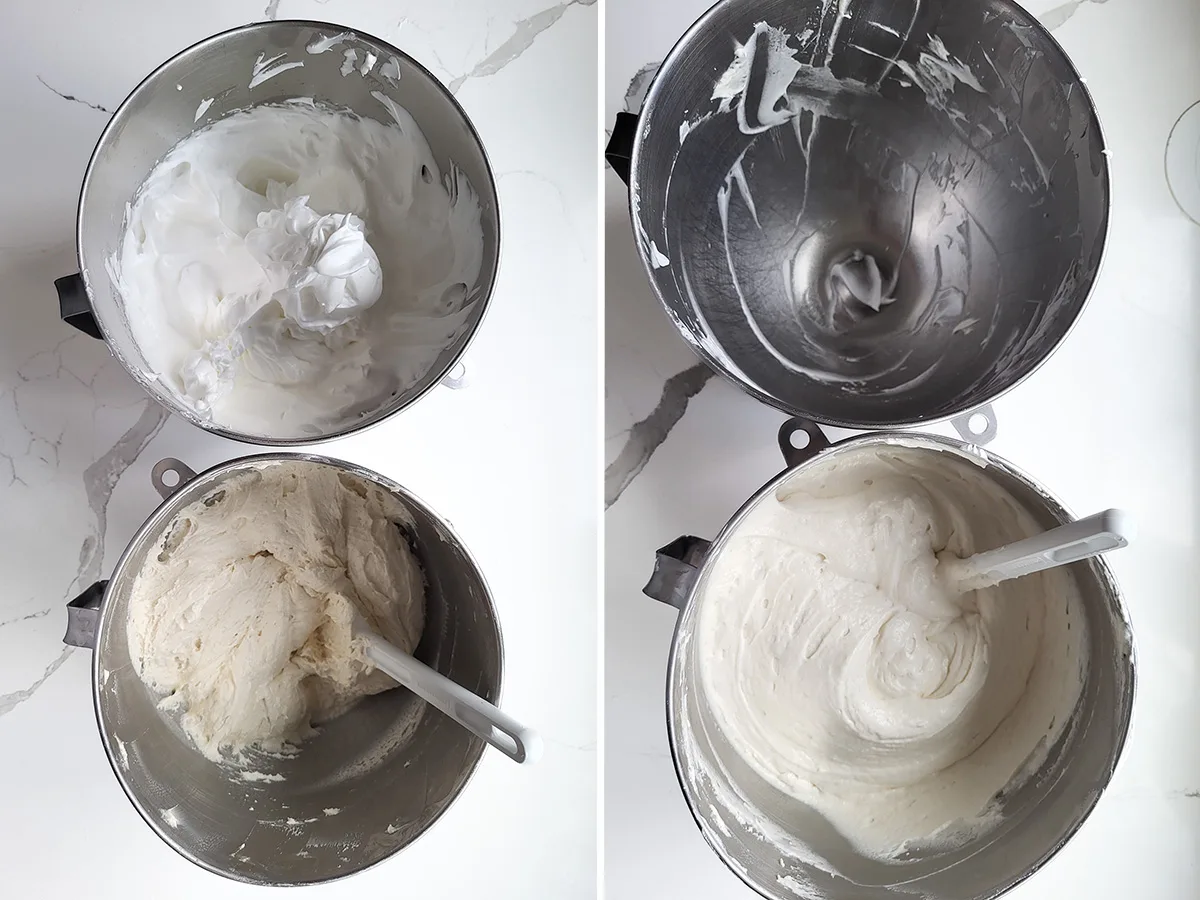
- Fold the egg whites into the batter in three batches.
- Fold just until there are no streaks of egg white.
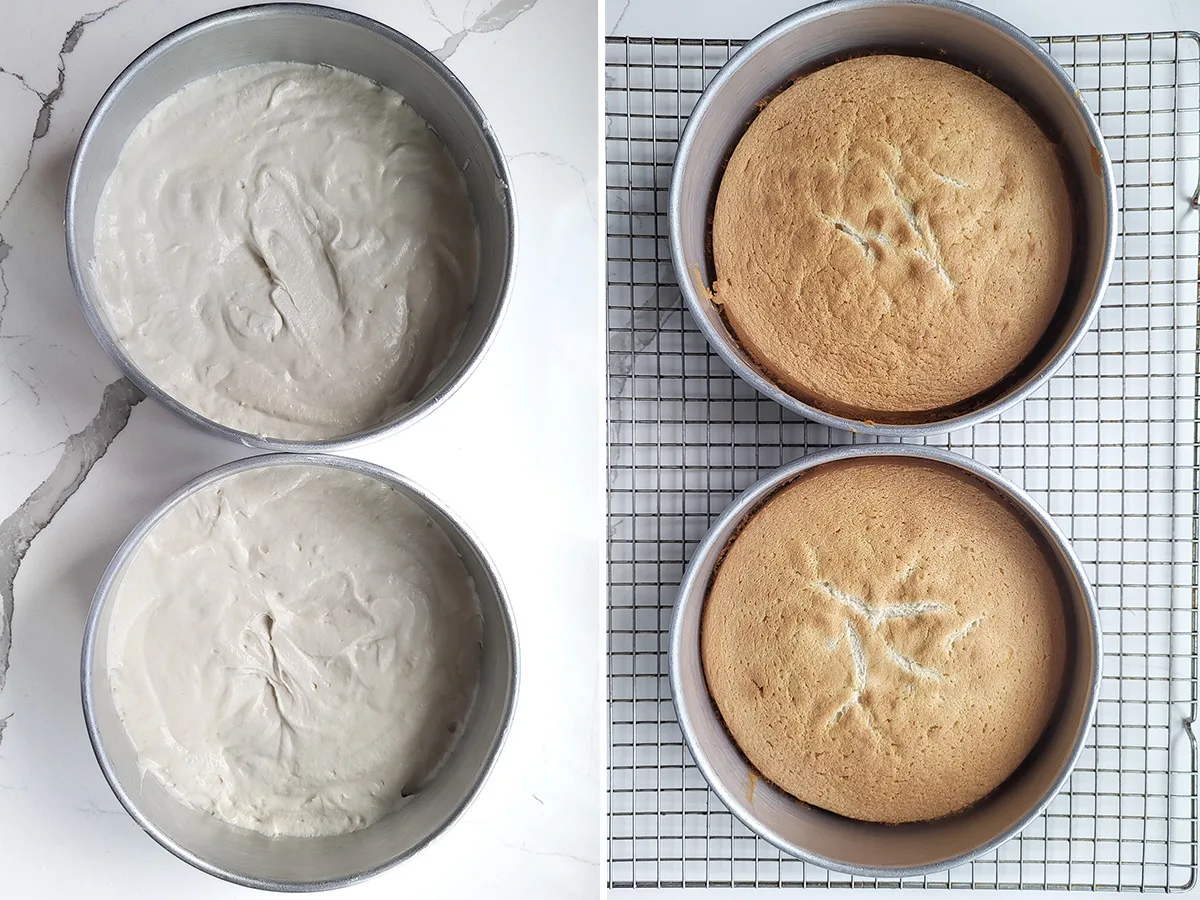
- Divide the batter between two cake pans. Do not butter the sides of the pan or use a non-stick pan.
- Bake until the center of the cake springs back when pressed. Allow the cake to cool completely before frosting.
White Cake Recipe Tips
- Use Room temperature ingredients for the lightest batter. Room temperature butter is between 65°F and 70°F. It should be slightly pliable but not soft and melting.
- Using the “reverse creaming” method to mix the batter makes a soft and fluffy cake. Whipping the whites in the cake also makes the cake soft and fluffy.
- Do not use pasteurized egg whites as they may not whip up properly.
- Do not butter the sides of the cake pan or use a non-stick pan. The cake will rise higher as it clings to the sides of the cake pan. Butter and flour the bottom of the pan or use a round of parchment paper.
- The cake will often “settle” as it comes out of the oven because of the whipped whites in the cake. The soft texture of the cake is well worth the slight shrinking.
- Do not overbake the cake. Remove it from the oven as soon as the cake springs back when the center is pressed.
Storage
- The cake can be kept at room temperature for several days (unless it has a perishable filling).
- If the cake has a perishable filling store it in the refrigerator for up to 3 days.
- Leftover slices of cake can be individually wrapped and frozen for up to 3 months.
- Un-iced, the cake can be wrapped in two layers of plastic wrap and frozen for up to 3 months.
What Frosting Should I Use for My White Cake?
I love to fill and ice Velvety Soft White Cake with snow-white Ermine Frosting. I also recommend Italian Meringue Buttercream, Swiss Meringue Buttercream, Seven Minute Frosting or American Buttercream frosting for this cake.
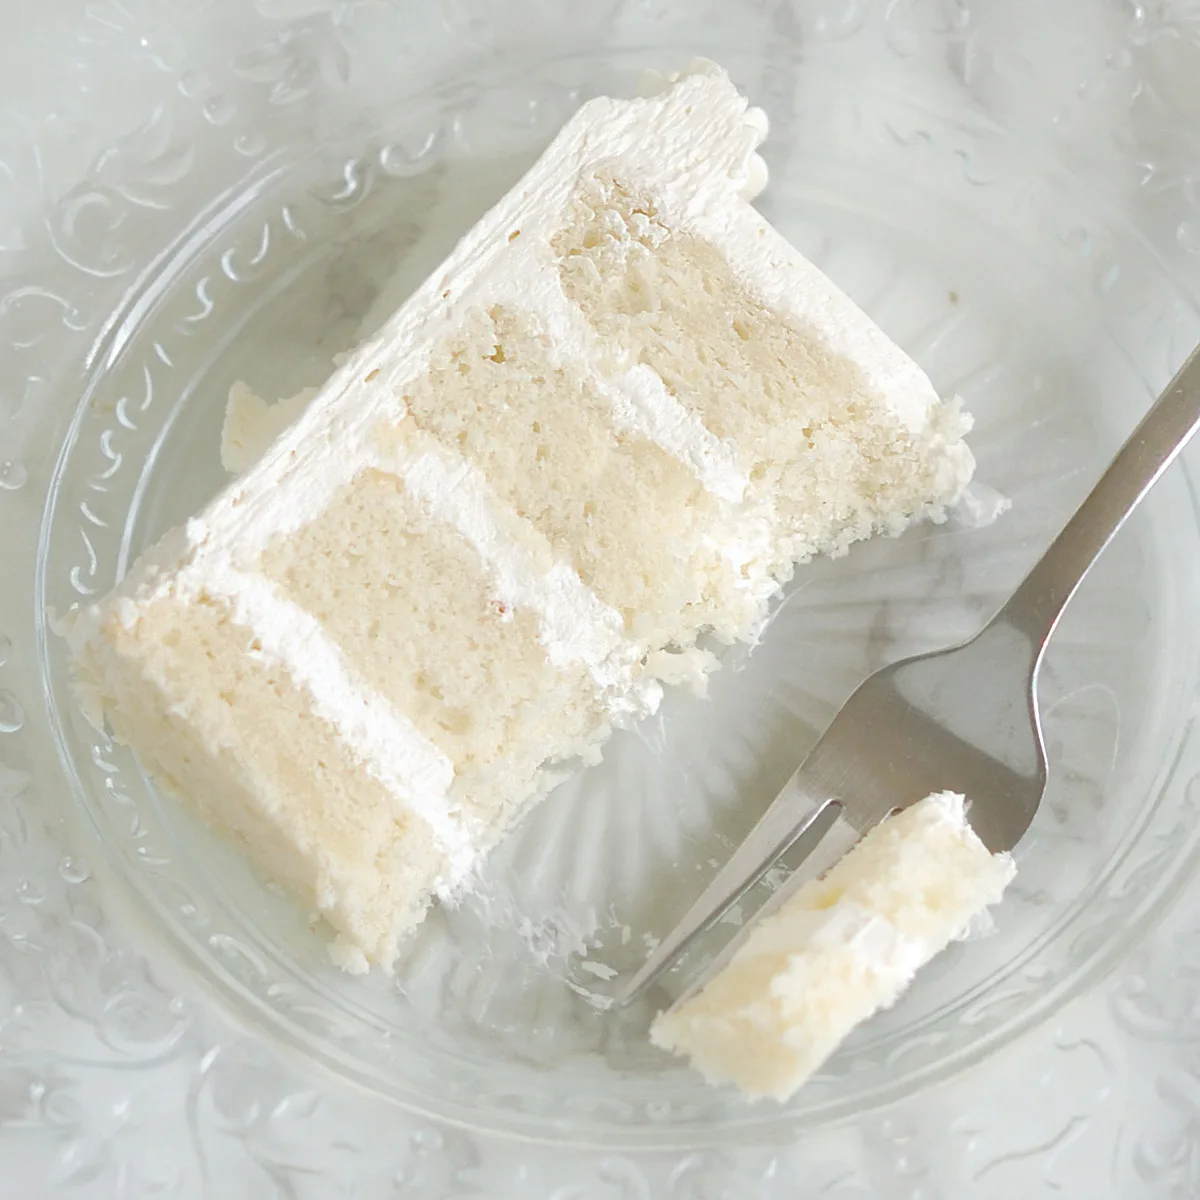
What the difference between white cake and vanilla cake?
Most of the yellow color in a vanilla cake comes from the egg yolks. White cake is made with only egg whites and no yolks.
Now that you’ve made this recipe what should you do with the extra yolks? Check out this collection of recipes that use extra yolks for some great ideas.
If you love this recipe as much as I do, I’d really appreciate a star rating and a quick comment. Ratings and comments help my recipes show in search results. Thanks!
White Cake Recipe
Video
Ingredients
- 9 ounces cake flour (2 cups, preferably bleached, see note)
- ¾ teaspoon baking powder
- ½ teaspoon baking soda
- ¾ teaspoon salt
- 12 ounces granulated sugar ( 1 ½ cups, divided)
- 8 ounces sour cream (1 cup, room temperature, divided)
- 8 ounces unsalted butter (room temperature (see note))
- 1 tablespoon vanilla extract
- 6 large egg whites (room temperature (see note))
- ½ teaspoon cream of tartar
Instructions
- Preheat the oven to 350 °F. Line two 8"x3" cake pans (don't use non-stick pans) with a circle of parchment paper or butter and flour the bottom of pans only. Do not butter and flour the sides of the pan.
- In a mixing bowl or the bowl of a stand mixer, sift 9 ounces cake flour, ¾ teaspoon baking powder, ½ teaspoon baking soda and ¾ teaspoon salt with 1 cup of the granulated sugar. Mix on low speed for 30 seconds to distribute the leavening. With the mixer on low speed, add half the sour cream and toss in 8 ounces unsalted butter a tablespoon at a time.
- Scrape the sides and bottom of the bowl. With the mixer running on low speed, add the remaining sour cream and 1 tablespoon vanilla extract.
- Increase the speed to medium and beat about 2-3 minutes until the batter lightens in texture and becomes aerated. If your using a hand mixer this may take an extra minute or two. Scrape the sides and bottom of the bowl to make sure there are no pockets of unmixed batter.
- In another bowl, 6 large egg whites with ½ teaspoon cream of tartar on medium high until they form soft peaks. Turn the mixer to medium low and slowly add the remaining ½ cup sugar. Turn the mixer to medium-high and whip the whites to full peak.
- Fold the whites into the base in 3 parts, folding just until there are no streaks of egg white. Divide the batter evenly between the 2 pans and spread to level.
- Bake 25-30 minutes until the center of the cake springs back when lightly pressed or a toothpick inserted into the middle of the cake comes out clean.
- Cool at least 20 minutes in the pan and then turn out onto a cooling rack. **The cake will "settle" a bit as it cools. That's fine.**
- Trim the brown edges off the cake, split each cake into two layers. Fill and ice with your favorite frosting.
Would you like to save this recipe?
Equipment


As an Amazon Associate and member of other affiliate programs, I earn from qualifying purchases.
i just microwaved a little bit of my batter to taste it, and my cake smells and tastes like eggs! is there any reason why? i’ll update after i cook the entire cake
No idea. I haven’t tried microwaving the batter.
I made this cake for my wedding last year. It was amazing. Has anyone used this recipe for cupcakes?
I usually grease and flour the sides of my cake pans, but in your recipe it says not to. Why is that? I’m just wondering because it seems like when I don’t grease/flour the sides of my cake pans then the cake sticks to the sides making it difficult for it to come out.
The cake will stick to the sides, and that’s the point of not greasing the sides of the pan. By sticking to the sides the cake can rise higher. I baked 1000s of cakes for my cake business this way. A quick scrape with a paring knife or small spatula will release the sides of the cake. Since the bottom of the pan is lined with parchment (or greased and floured) the cake will come out easily. Another bonus, I find cleanup much easier when the pan is not greased and floured.
Has anyone else experienced this cake tasting like cornbread? My hubs thought so too…really GOOD cornbread…but still
I honestly can’t imagine how this could taste like cornbread.
A small doubt for clarification u r cup measure? I mean one cup 250 ml?
Sorry, I don’t understand your question. There are no ml measurements in this recipe.
@Eileen Gray, I am asking about u r cup quantity
Are you asking about the flour or the sugar measurements? I’m still not sure what information you need.
@Eileen Gray, flour
The weight of a cup of flour is not an absolute since how you fill the cup can significantly change the actual amount of flour in the cup. I use the “dip and sweep” method for filling a measuring cup. That is, I “dip” the cup into the bin of flour and over fill it. Then I “sweep” away the excess flour for a level cup. Using that method I always get 5 oz (140g) of flour per cup and that is the conversion I use for my recipes. If you fluff the flour and then spoon it into the cup you can get as little as 4-4.5 oz per cup. Again, this is why weighing ingredients is always preferable for baking. Have fun!