
Sourdough Baking Guide
As a pastry chef, my professional focus has been on desserts, pastry, and especially cakes.
As a baker and an eater, sourdough has truly captured my imagination. I made my first sourdough starter over 30 years ago. And though there were years when I simply didn’t have the time or energy to maintain a starter and bake bread regularly, baking with wild yeast has been part of my life ever since.
Natural fermentation transforms simple ingredients into deep flavor, exceptional texture, and incredible versatility. This guide brings together everything you need to start, strengthen, and confidently bake with sourdough—from feeding your starter to mastering rustic loaves, enriched doughs, pastries, and more.
If you’ve already explored sourdough baking, you know there are as many paths to a great loaf as there are bakers.
This guide is for: home bakers who want to understand sourdough and bake confidently without turning it into a performance sport.
This guide is not for: commercial production, competitive crumb scoring, or rigid, formula-only baking.
Table of contents
How I Approach Sourdough Baking
First and foremost, I do not sell bread as a business. If I did, my processes would be designed for consistency and efficiency, just as they were when I ran my cake business.
If you’re like me and bake sourdough for yourself and your family, that pressure doesn’t exist. We don’t need to “read the crumb” to match someone else’s idea of a perfect loaf. In my world, baking bread is a way to share comfort and nourishment with the people I care about—and they don’t care if it’s “perfect.”
Around here, we work toward better baking—without letting the idea of “perfect” drain all the joy from it.
I do believe in following a recipe. But sourdough has many variables, and you’ll learn quickly that flexibility matters.
I can give you times, temperatures, and estimates—but dough responds to real conditions: starter strength, room temperature, dough temperature, and more.
First, we’ll define a few basic terms so we’re speaking the same sourdough language. Then I’ll show you how I approach sourdough and how the recipes on this site are built.
Sourdough Basic Terms
If you’re brand new to bread baking, you may want to start with the Bread Guide for general bread science, mixing, and shaping before diving into sourdough.
What Is Sourdough?
“Sourdough” is a bit of a misnomer. Not every loaf made with sourdough has a strong tangy flavor. You can encourage that flavor if you want—but “sourdough” really means bread or pastry made with wild yeast instead of commercial yeast.
Autolyse
A resting period after flour and water are mixed (before adding salt). This allows the flour to hydrate and gluten to begin forming on its own, making the dough easier to handle later.
Fermentation
The process of yeast feeding on sugars and producing carbon dioxide and alcohol. Fermentation happens during bulk rise, cold retarding, and final proofing.
Cold Fermentation
Slowing fermentation by chilling the dough in the refrigerator.
Hydration
Hydration is the ratio of water to flour in a dough. For example, if your dough has 10 oz of flour and 8 oz of water, the hydration is 80%.
How My Sourdough Recipes Are Developed
I’ll explain my approach so you can use it as a starting point.
Everything here reflects how I work in my kitchen and how I build my recipes and processes. Other bakers do things differently—and that’s fine.
As long as you understand the assumptions behind my recipes, you’ll be able to adapt them in ways that work for you.
My recipes are built around two core elements: how I work with my starter, and how I build and ferment the dough.
The Starter
I work with a 100% hydration starter fed with all-purpose flour. I use tap water, but if your water is very hard or heavily chlorinated, bottled water may give more consistent results. Visit this page to see exactly how to build a starter from scratch.
I get the best results when my starter is actively growing and just approaching its peak. If you wait too long past peak activity, fermentation may be sluggish—though sometimes this is useful if you’re aiming for a more sour flavor. More on that later. Visit this page to see How to Feed, Maintain & Store Your Starter
I don’t bake every day, so I usually keep my starter in the refrigerator between bakes.
The Process
If you plan to bake regularly, I strongly recommend using a kitchen scale to weigh your ingredients. Feeding or mixing by volume can slowly throw off your flour-to-water ratio and affect your results.
I usually mix and knead sourdough with a stand mixer. Even wet doughs can be kneaded with a dough hook.
That said, gluten can also be developed with stretch-and-folds. Even when I use a mixer, I still do hourly folds. They help me monitor the dough and redistribute yeast while strengthening the structure.
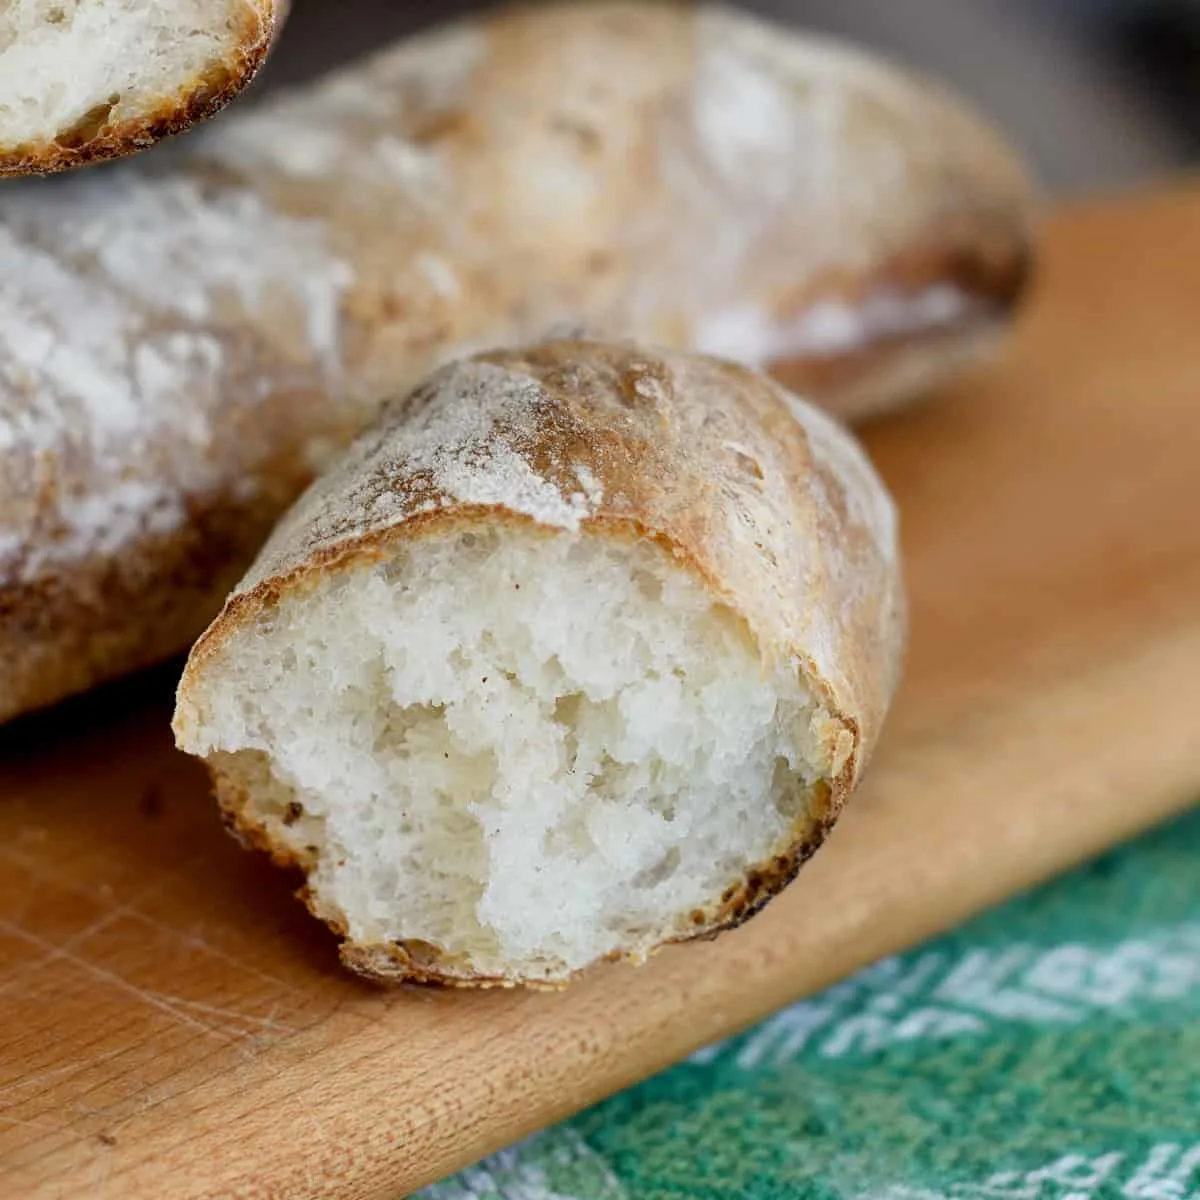
When you’re ready to bake your first loaf, start with a basic Sourdough Bread Recipe: just starter, flour, water, and salt. It’s the best way to learn how dough behaves and build confidence.
If you’ve baked with commercial yeast, you already understand some basics—but sourdough will feel different.
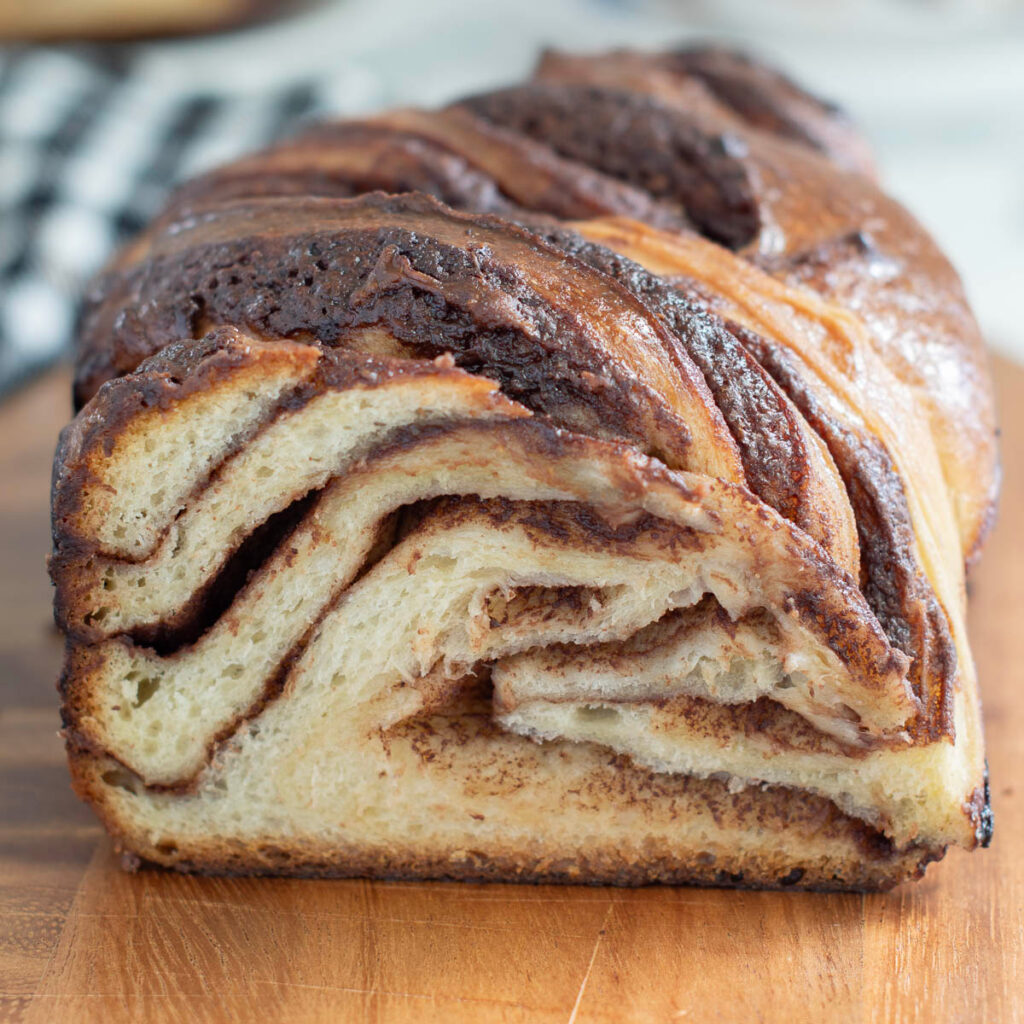
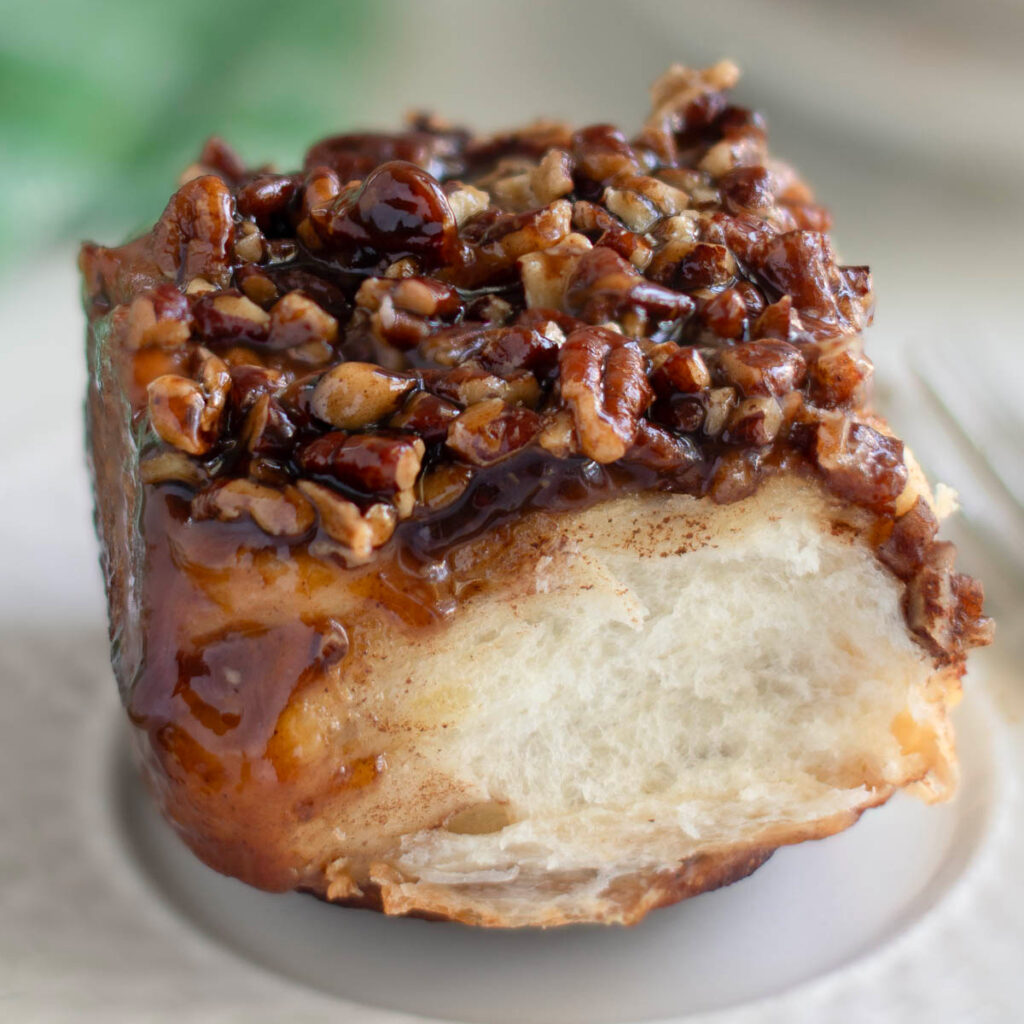
Once you’re comfortable with a basic loaf, you can branch out into other breads and even pastries.
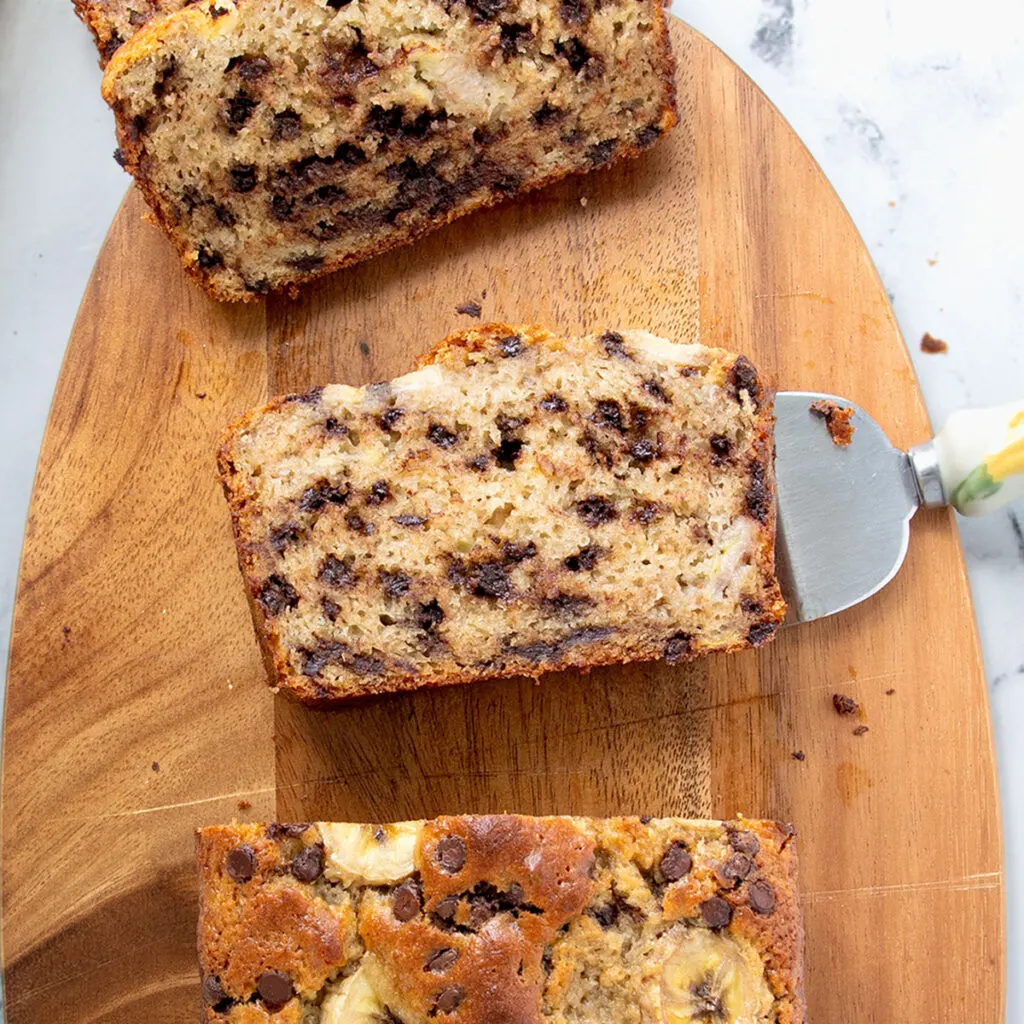
Sourdough Discard
What Discard Is
If you bake bread every day and always keep your starter active and ready to use, you may rarely have any discard.
Most of us don’t bake that often. Between bakes, we feed our starter to keep it healthy, and that means removing a portion before feeding.
That removed portion is called discard.
There’s nothing wrong with discard. It still has plenty of flavor, but it has less leavening power because the yeast hasn’t been fed. Discard is simply part of maintaining a healthy starter.
How Discard Is Different From Active Starter
Because discard hasn’t been fed, it has limited ability to leaven bread on its own. The longer it sits unfed, the more acidic it becomes.
For that reason, discard isn’t suitable for baking a naturally leavened loaf. But it’s still very useful.
Discard works well in recipes where it contributes flavor rather than lift, including:
- Quick breads
- Pancakes and waffles
- Crackers and flatbreads
- Cakes
Ways to Use Discard
It helps to think of discard as a flavoring ingredient, not a leavening agent.
In addition to flavor, discard adds moisture, and its acidity can help tenderize baked goods.
Most discard recipes rely on another leavener—such as baking powder, baking soda, or commercial yeast—for rise.
If you want to adapt a recipe yourself, here’s a simple guideline:
- 8 oz of 100% hydration discard contributes
- 4 oz flour
- 4 oz water
Reduce the flour and liquid in the original recipe accordingly, and make sure there’s another leavening agent present.
Saving, Freezing, and Drying
If you’re not ready to use discard right away, you have several options.
For short-term storage, keep discard in a covered container in the refrigerator. It will usually keep for 1–3 weeks, depending on its condition when discarded. As it sits, it will become more acidic and stronger in flavor—use your senses to judge when it’s still pleasant to work with.
For longer storage, discard can be frozen. Thaw it and bring it to room temperature before using.
For even longer-term storage, you can dry discard. Dried starter stores well and can be rehydrated later. I’ve mailed flakes of dried starter across the country, and they rehydrated beautifully. It’s a great way to share your starter with others.
Sourdough Powder
I’ve developed a method for turning dried sourdough discard into a fine powder.
Sourdough powder can be added directly to recipes as a flavoring agent without adding extra water. This makes it easy to add sourdough flavor to recipes that wouldn’t otherwise accommodate discard.
It opens up an entirely new set of possibilities for baking with sourdough flavor—without needing an active starter.
Sourdough Techniques & Skills
These skills help you improve consistency and confidence as you work with different types of naturally leavened dough.
Folding: High-hydration doughs are too sticky to knead traditionally. Folding or coiling the dough at intervals develops gluten without heavy handling.
How to Shape Round & Oval Loaves
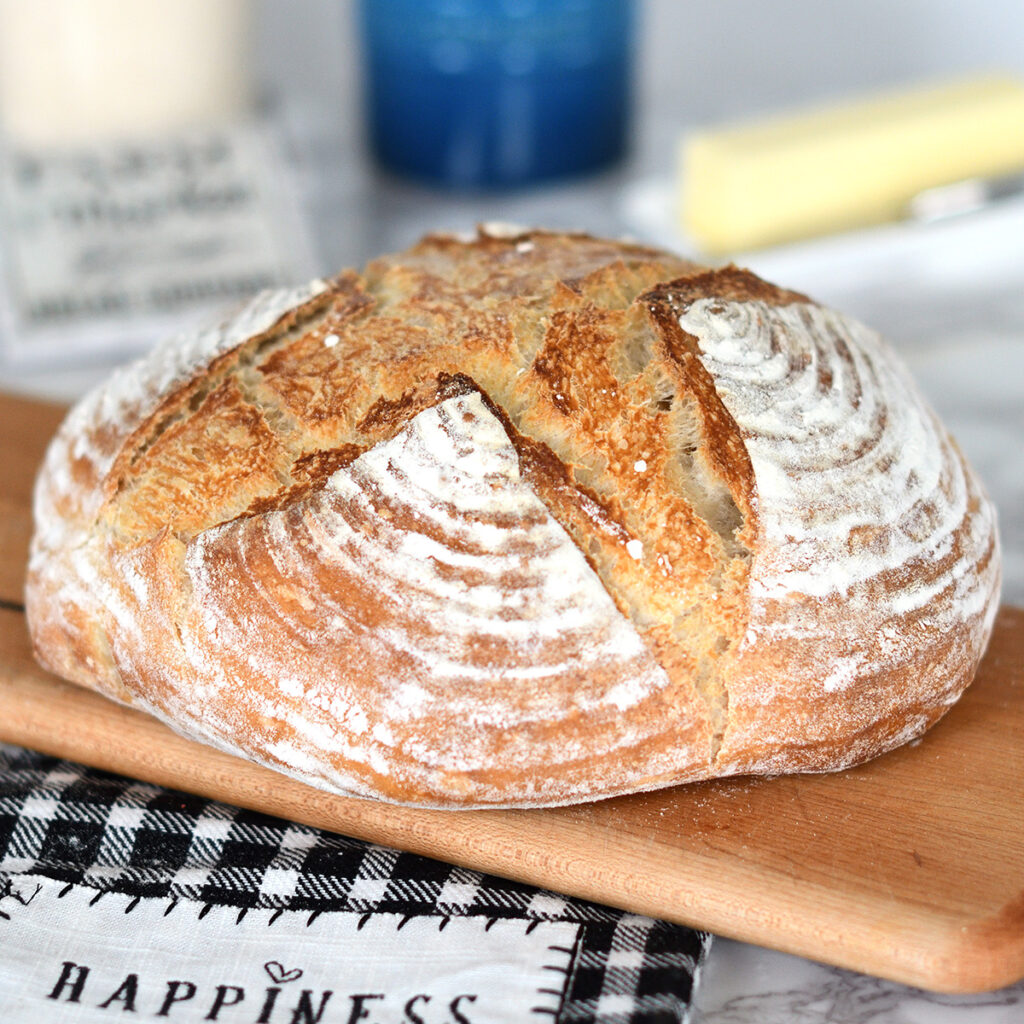
How to Bake in a Dutch Oven / Steam Oven: Baking in a heavy lidded pot traps steam so the loaf can expand before the crust sets.
Preheat the Dutch oven with its lid. Remove it, take off the lid, and lower the dough in using parchment. Cover and bake 20 minutes. Remove the lid and bake another 20 minutes until browned. Lift the loaf out and bake directly on the rack 5–10 more minutes for a crisp crust.
How to Convert Commercial-Yeast Recipes to Sourdough: Because I use a 100% hydration starter, conversion is straightforward.
- Adding 8 oz of starter adds 4 oz flour and 4 oz water.
- Remove commercial yeast.
- Reduce flour by 4 oz and liquid by 4 oz.
- Extend fermentation and usually include cold fermentation
Baking Schedules & Timelines
Sourdough should fit your life, not the other way around. One of the biggest advantages of sourdough over commercial yeast is flexibility. Fermentation is slow and forgiving, which means you can usually pause or stretch the process to match your schedule.
Sample 1-Day Sourdough Schedule
If you want to mix and bake in one day:
- Feed your starter the night before so it’s active in the morning.
- Mix the dough early in the morning.
- Let it bulk ferment through late morning and early afternoon.
- Shape the loaf and let it proof at room temperature.
- Bake as soon as it’s fully proofed.
Sample 2-Day (Overnight) Sourdough Schedule
If you want more flexibility:
- Feed your starter the night before or early in the morning.
- When the starter is near its peak, mix the dough.
- Let it bulk ferment at room temperature for 3–5 hours.
- Refrigerate the dough. It can stay there 1–3 days, depending on the recipe.
- Take the dough out cold, shape it, and let it proof at room temperature for 2–4 hours.
- Bake when fully proofed.
Some recipes—like bagels—are shaped before refrigeration. In that case, don’t hold shaped dough longer than 8–10 hours.
How to Adjust for Season & Temperature
Even with heat and air conditioning, kitchen temperatures change more than we think.
In cooler months, fermentation slows down. Bulk fermentation that normally takes 3–5 hours may take 6–8 hours in a cool kitchen. If you refrigerate dough before bulk fermentation is mostly complete, final proofing can become very slow.
In warmer months, fermentation speeds up. Bulk fermentation may take closer to 2–3 hours. If you let it go too long, the dough can over-ferment, leading to weak structure and flat loaves.
Use time as a guideline, but let the dough tell you when it’s ready.
How to Work Sourdough Into a Busy Schedule
Commercial yeast works fast. Miss the window, and dough can overproof in a few hours. That means you often have to stay close to the kitchen.
Sourdough moves more slowly, which gives you options.
Bulk Fermentation:
Many of my recipes suggest 3–5 hours, but in cooler kitchens dough can often bulk ferment longer without harm. Once you understand your starter and environment, you may find you can mix in the evening and let dough bulk ferment overnight.
Fridge Holds:
Any time you refrigerate dough, fermentation slows way down. Most sourdough doughs can be held in the refrigerator for up to two days. This means you can mix when you have time and finish when it fits your schedule.
Sourdough isn’t rigid—it’s adaptable. Once you learn how temperature and time interact, you can make bread work around your life instead of planning your life around bread.
Sourdough Science
These short explanations are here to help you understand what’s happening in your dough so you can make better decisions as you bake. This is not meant to be a deep dive into microbiology—just enough “why” to make the “how” feel less mysterious.
What’s Really Happening During Fermentation
Your starter is alive. It contains wild yeast and bacteria, and they’re always working at the same time. The yeast produces carbon dioxide, which makes your dough rise. The bacteria produce acids, which shape flavor and also affect how strong or weak the dough becomes.
The trick is balance. If bacteria grow faster than yeast, gas production slows and gluten weakens. That can lead to sluggish dough and flatter loaves. That’s why fermentation isn’t just about time—it’s about conditions.
The two biggest tools you have to control fermentation are:
- Temperature
- Hydration
Bacteria grow fastest at warmer temperatures, roughly 85–95°F. Yeast works best a little cooler, around 68–78°F. By managing temperature and hydration, you help both yeast and bacteria do their jobs without one overwhelming the other.
Flavor Development: Lactic vs. Acetic
Sourdough flavor comes mainly from two types of acids made by bacteria.
Lactic acid gives bread a mild, creamy, milky tang. Acetic acid creates the sharper, more vinegary “classic sourdough” bite. Which one you get more of depends mostly on temperature and hydration.
Warmer dough encourages lactic acid and a milder flavor. Cooler dough encourages acetic acid and a sharper tang.
Hydration matters too. Wetter starters and doughs tend to produce more lactic acid and a softer, rounder flavor. Stiffer starters and doughs lean toward acetic acid and a stronger tang.
A 100% hydration starter—which is what I use—usually produces a balanced flavor that’s neither too sharp nor too mild.
Salt, Sugar, Fat & Enriched Doughs
Once you move beyond flour, water, and salt, fermentation behavior changes.
Salt slows bacterial growth and strengthens gluten. It also helps control fermentation so things don’t move too fast.
Sugar has two effects. A small amount can speed fermentation by feeding yeast, but larger amounts slow it down. Sugar also competes with yeast for water and weakens gluten.
Fat coats flour particles. That makes gluten weaker and slows yeast access to the sugars in flour.
This is why enriched doughs—those with sugar, butter, eggs, or milk—always ferment more slowly than lean doughs.
How Temperature Controls Fermentation
Think of temperature as the speed dial of sourdough.
Warm dough ferments faster. Cool dough ferments more slowly. Wild yeast produces gas fastest around 95°F, but that temperature usually creates dough that’s too weak and flavor that’s unbalanced.
Refrigeration slows fermentation dramatically—about ten times slower than room temperature. That’s why cold fermentation is such a powerful tool. It lets you control timing, build flavor slowly, and fit sourdough into real life.
Why Sourdough Stays Fresh Longer
Bacteria don’t just matter before baking—they affect bread after it’s baked too.
The acids produced during fermentation slow starch retrogradation, which is the process that makes bread go stale. Those acids also make bread more resistant to spoilage.
That’s why sourdough:
- Stays soft longer
- Develops flavor as it sits
- Keeps better than fast-fermented bread
Slow fermentation doesn’t just change flavor—it changes how bread behaves from the moment it comes out of the oven until the last slice is gone.
Troubleshooting Sourdough
Many sourdough problems can be traced back to the condition of the starter when the dough was mixed. Here are some specific helpful tips for troubleshooting your loaf.
Sourdough Recipes to Try
These recipes give you a place to start practicing what you’ve learned—begin with the basics, then explore richer doughs, pastries, and ways to use discard.
Additional Resources
Baking Ingredient Science – Flour