How to Dry Sourdough Starter
I’m going to show you how to dry sourdough starter. Why? Because drying is the best way to preserve your sourdough starter for the long term.
So you’ve jumped on the sourdough bandwagon, YAY! It’s so much fun, isn’t it?
But, there are times when real life interferes and you may not be able to bake for quite a while. Or maybe you want to share your starter with a friend who lives far away. Or maybe you just really hate to discard that discard.
The solution is this incredibly easy-to-do process for drying your starter. Once the starter is completely dried, your hard-won wild yeast goes dormant. The dried starter chips can then be stored indefinitely.
You can also pack some chips into a small envelope and mail them to a friend. I mailed some to my daughter who lives 3000 miles away. It’s a nice way to share from afar.
FAQs about drying sourdough starter and preserving sourdough starter:
I dried both a recently fed starter and sourdough discard which hadn’t been fed in over a week. I was able to revive both, but the dried sourdough discard did need an extra feeding before it was ready to use.
Yes, but don’t turn on the heat. Use the convection fan without heat or just leave the tray in the cool oven with the oven light on.
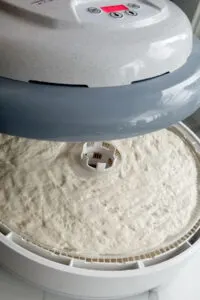
Yes. I used my dehydrator on the lowest temperature setting (90°F). It took about 8 hours for two trays of starter to dry.
Yes, it may take a bit longer but just leave it out at room temperature until it is completely dry and brittle. The time will vary based on the ambient humidity in your kitchen.
Indefinitely.
Add water and flour and wait for it to come back to life. Follow the instructions listed below. Also, you can grind the sourdough starter into a power which can be stored to rehydrate later or can be used directly in certain recipes.
If you find this information helpful, I’d really appreciate a 5-star review!
How to Dry Sourdough Starter
Equipment
- Silicone Baking Mat or Parchment paper
- Half sheet pan
- Small spatula
Instructions
To dry the starter:
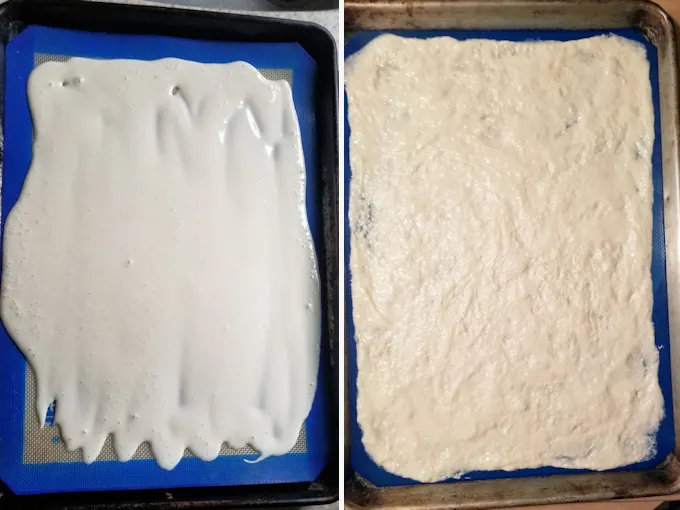
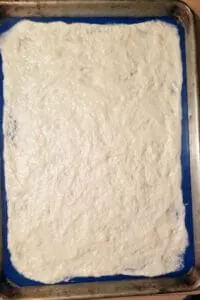
- Line the sheet pan with a silicone baking mat or parchment paper. The silicone mat works best so use it if you have one.
- Pour the starter onto the sheet pan and spread it out to a thin, even layer.
- Place the pan in a cool, dry place, uncovered. I put mine into the oven with the convection fan on and no heat. Alternately, if you have a food dehydrator you can use that on the lowest temperature.
- After 18-24 hours check the starter. It should peel off the mat. If underneath the starter is still moist you can peel it off, flip over the pieces and leave them to continue drying. If using a food dehydrator check after 12-18 hours.
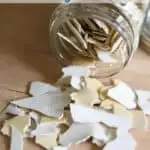
- The starter is ready when it is completely dry and crisp. The texture should be like a potato chip which snaps when broken into pieces. You should have half the weight that you started with. If you started with 12 oz of starter you will get 6 oz of dried starter.
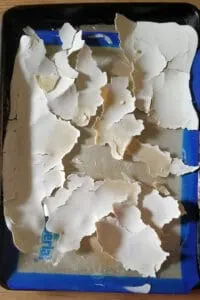
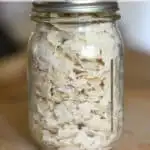
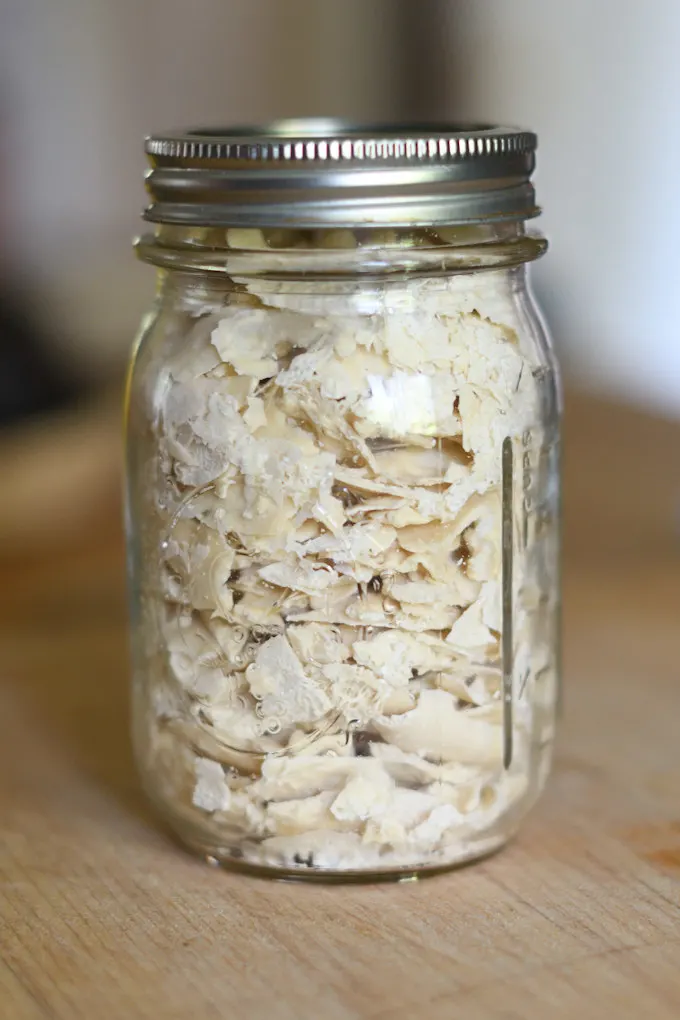
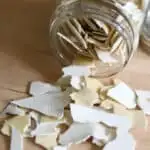
- Break the starter into chips and store in an airtight container at room temperature.
- The dried starter will keep indefinitely. The dried starter chips can be ground into a powder.
To revive the dried starter: (yield 9 oz of starter)
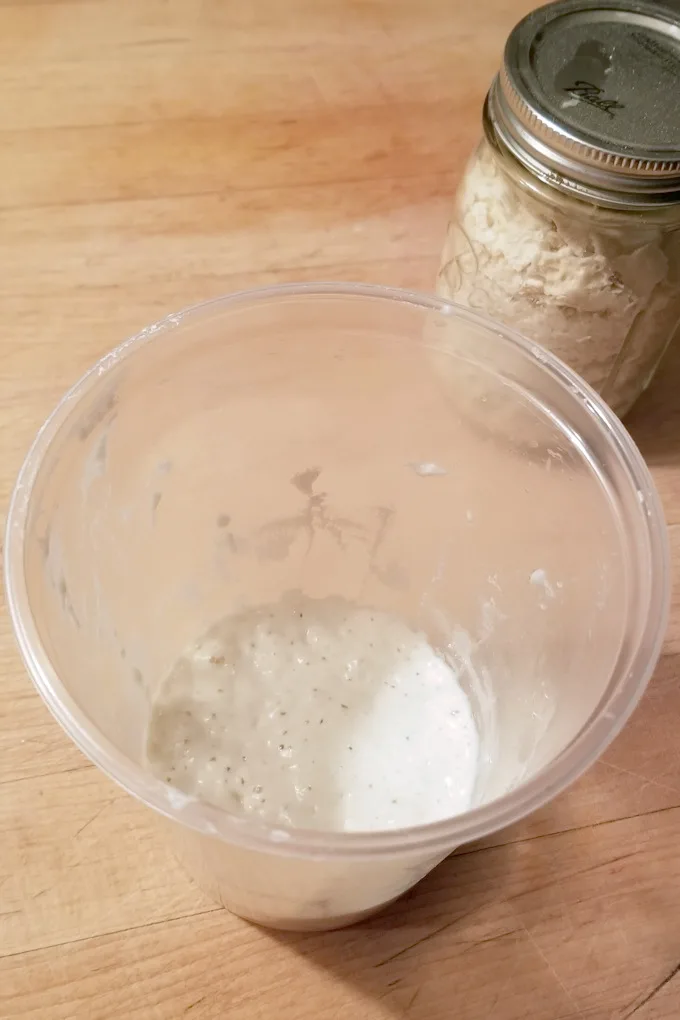
- Place ½ oz (14g) of starter chips or powder in a plastic or glass container. Pour 1 oz (28g) of warm water over the chips and stir to cover the chips with water.
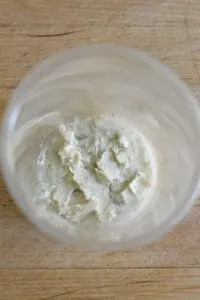
- Cover the container and set it aside until all the chips have melted into the water. This usually takes about 3-4 hours. The starter will not look active at this point.
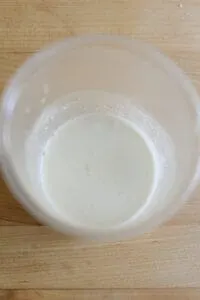
- Add another ½ oz (14g) of warm water and 1 oz (28g) of unbleached flour to the starter. Stir to combine. Cover and set aside for at least 8 hours. You may begin to see activity in the starter.
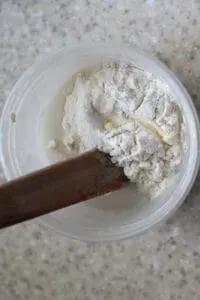
- Add 3 oz (84g) of warm water and 3 oz (84g) of unbleached flour to the starter. Stir to combine. Cover and set aside for 6-8 hours, or until the starter has doubled in size and looks quite active.
- If after 6-8 hours the starter still seems sluggish, discard all but 3 oz of the starter and do one more feeding.
- Use in your recipe as needed.
- The amounts listed can be multiplied out to yield more starter.
Thank you for the information.
Thank you for the step by step instructions. Such a great help!