Sourdough Bialys (with Video)


Sourdough Bialys get a boost of flavor and special texture from active sourdough starter.
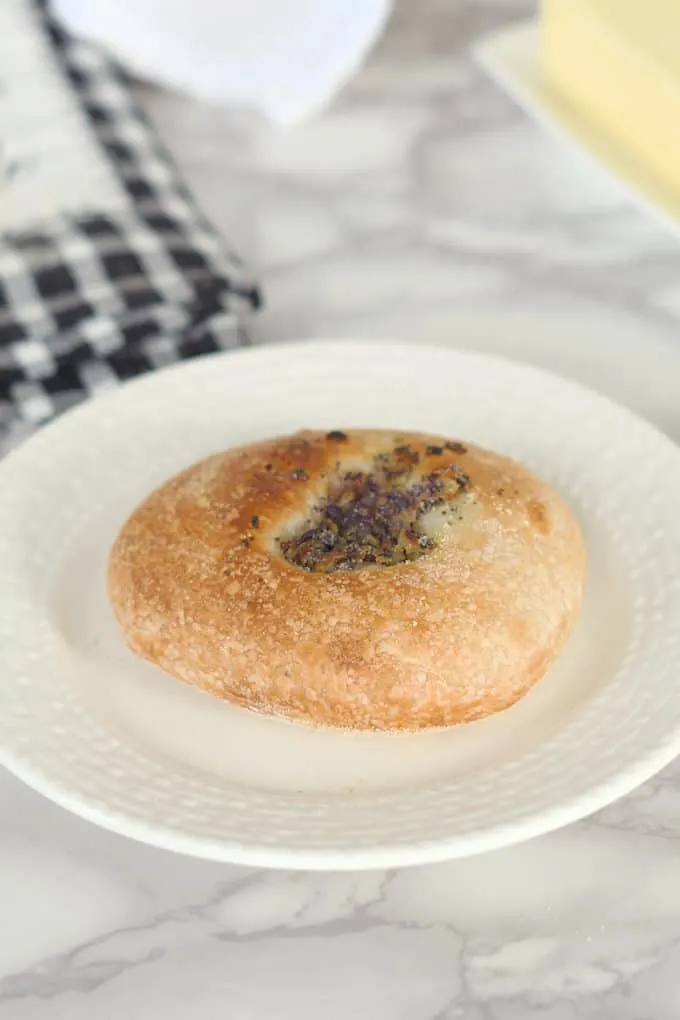
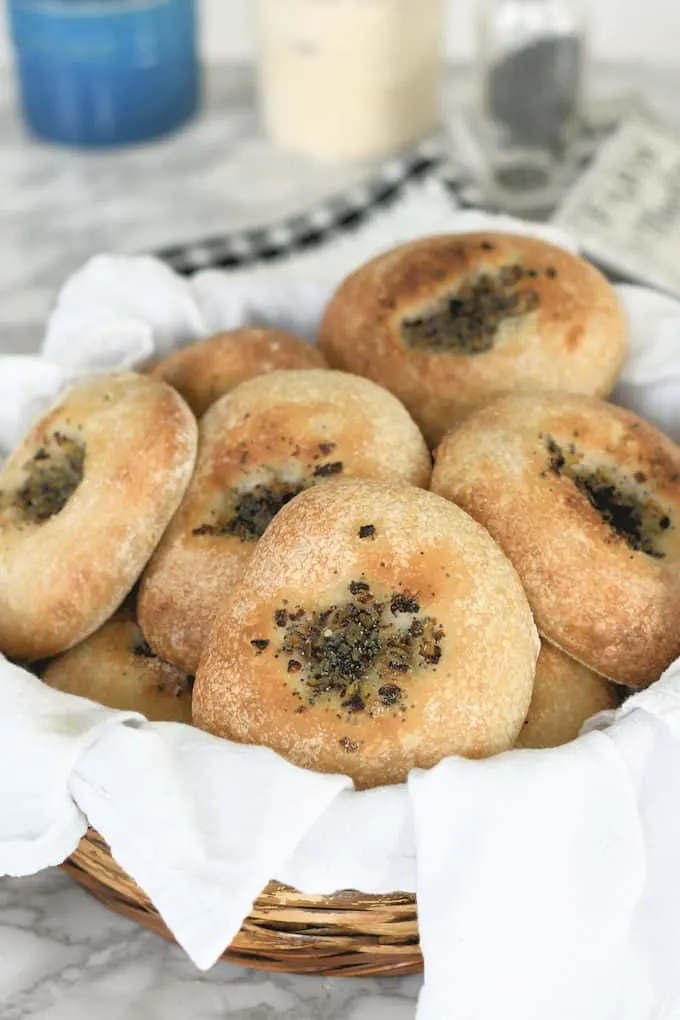
If you’ve ever had a true Bialy, you know it’s not just a bagel without the hole in the middle. Bialys are not boiled, so the crust is crisper than the crust of a bagel. Onion and poppy seed filling is the classic topping for a great bialy.
If you don’t already have one, I can show you how to make a sourdough starter and how to feed a sourdough starter.
A timeline for making Sourdough Bialys
- If your starter needs feeding, do that the night before or early in the morning of the day you want to make the dough.
- Mix the dough in the afternoon. Allow it to ferment at room temperature all day.
- While the dough ferments, make the filling and refrigerate.
- In the evening, shape the bialys. Place them on a sheet pan and refrigerate before going to bed.
- Take the bialys out first thing in the morning.
- While they’re still cold, reshape the bialys, if needed, and transfer to sheet pans sprinkled with cornmeal.
- Cover the bialys and leave them at room temperature to rise for 1 – 1 1/2 hours. Meanwhile, preheat the oven.
- Spoon the filling onto the bialys and bake.
FAQs about Sourdough Bialys:
Yes, start the dough early in the morning and skip the refrigeration step.
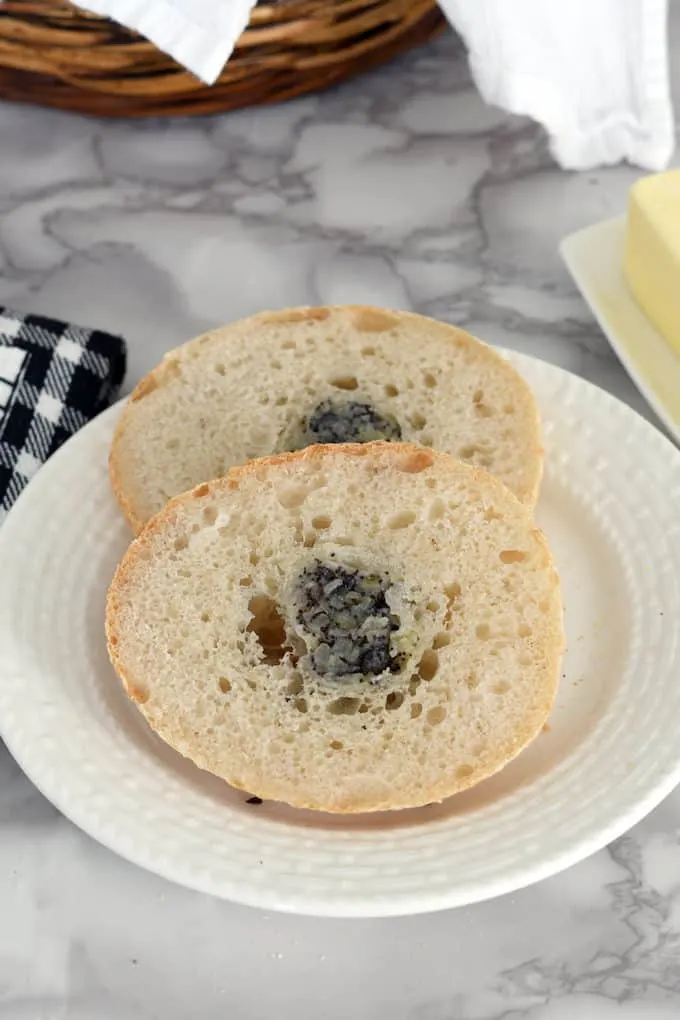
For breakfast I like to slice a fresh bialy and spread with butter or cream cheese. If the bialy is not fresh I toast it (you may loose a little filling in the toaster). For lunch, bialys make the best tuna sandwiches
Sourdough bialys keep for 1-2 days at room temperature, but they’re best the day they’re baked.
Yes! Slice each bialy almost all the way through. Store in a freezer bag for up to 3 months.
You can toast the sliced bialys or defrost then rewarm briefly in the oven.
You might also like these similar recipes: Bialys made with yeast, Sourdough Bagels, and New York Style Bagels.
I know you hate to throw away that sourdough discard. Check out these recipes that use sourdough discard.
If you love this recipe as much as I do, I’d really appreciate a star rating and a quick comment. Ratings and comments help my recipes show in search results. Thanks!

Sourdough Bialy Recipe
Video
Ingredients
Dough
- 8 oz active sourdough starter (1 cup, 100% hydration)
- 10 oz warm water (1 ¼ cups)
- 17 ½ oz bread flour (3 ½ cups, see note)
- 2 teaspoons sugar
- 2 teaspoons table salt
Filling
- 1 oz unsalted butter
- ½ cup minced onion
- ½ teaspoon salt
- 1 tablespoon poppy seeds
- pepper to taste
Instructions
For the Dough
- Combine 8 oz active sourdough starter with 10 oz warm water and 2 cups of the flour in the bowl of a stand mixer or a large mixing bowl. Mix to form a thick batter. Cover the bowl and set aside for 30-60 minutes.
- Add 2 teaspoons sugar and 2 teaspoons table salt. Switch to the dough hook. Add the remaining flour and mix to combine. The dough should eventually cling to the hook and start to clear the sides of the bowl. If the dough is still a little sticky sprinkle in a little more flour, just a tablespoon at a time.
- Knead 5 minutes on medium speed. If working by hand, stir in as much of the flour as you can, then turn the dough out onto a lightly floured surface and knead in the remaining flour. Knead 5 minutes. Form the dough into a smooth ball.
- Put the dough into a lightly oiled bowl, turning once to coat the dough. Cover the bowl and set it aside at room temperature.
- After 60 minutes uncover the bowl, lift one side of the dough and fold it into the middle of the dough. Repeat with the other three sides of the dough then flip the dough over. You're basically turning the dough inside-out to redistribute the yeast. Cover the bowl after 60 minutes repeat the procedure again. Cover the bowl and after 60 minutes the dough should be ready to shape. Total fermentation time is about 3 hours. By now the dough should be lively, elastic and airy. If the dough is still sluggish give it another hour or two at room temperature.
- Meanwhile, make the filling.
For the filling
- Melt1 oz unsalted butter in a sauté pan. Add ½ cup minced onion and ½ teaspoon salt and sauté until the onions are soft and translucent, but not browned.
- Remove from the heat and add 1 tablespoon poppy seeds. Add salt and pepper to taste. Set aside to cool. Refrigerate until ready to use.
Shape the Bialys
- Generously flour a parchment-lined baking sheet. Turn the dough out onto a lightly floured surface without kneading. Divide the dough into 10 equal portions. Roll each portion to a ball.
- Pick up a piece of dough. Pinch the dough and gently pull to form a 4" disc. Set each bialy onto the prepared baking sheet, leaving 2" between for room to rise. Cover the pan with plastic wrap and place the pan in the refrigerator overnight.
- In the morning, take the pan out of the refrigerator. Generously sprinkle two baking sheets with corn meal. (see note)
- Working carefully not to deflate the dough, pick up a bialy and gently re-stretch to about 4" around. Use your fingers to form a depression in the middle of each bialy. Set each bialy onto the prepared baking sheet, leaving 2" between them. Place 5 bialys onto each pan,
- Cover the pan loosely with plastic wrap and set aside to rise for about 1 hour. The bialys will not double in size, but they should be noticeably lighter and increase about 50%. Meanwhile, preheat the oven to 450 °F.
- Spoon a teaspoon of filling into the middle of each bialy and gently push to reform the dimple in the middle. Bake until lightly browned, about 20 minutes.
- Serve slightly warm or room temperature.
Would you like to save this recipe?


As an Amazon Associate and member of other affiliate programs, I earn from qualifying purchases.
Excellent recipe, thanks so much!! Easy to follow, results exceeded expectations. Love them!!!
These were Amazing! OMG! Crispy on the outside and tender in the inside. I couldn’t believe how they puffed up in the oven! Delicious!
I’m revving up to make these a second time because they came out terrific the first time. The onion-poppy seed mix in the center makes them extra special and delicious.
Love this recipe. My bialy turned out a little more puffy that’s those you’d find in NYC, but the flavour was spot on.
Quick question, what is the purpose of making the thick batter at the start? Is that equivalent of an autolysis step? I’ve make these both with and without that step and didn’t notice a difference in dough strength.
Anyway, super happy to have found this. Bialy in Ireland is a real treat.
You bialy video and the recipe above are different. In the recipe 10 balls (not12) are made and they are shaped BEFORE refrigerating. Which do you suggest as making them? Thanks
Not sure why you think there were 12 balls made in the video. You can see the sheet pan with 5 bialys (there were 2 pans). In the recipe it says to shape them BEFORE refrigerating. Then in the morning you stretch them a bit before putting in the filling. The video accurately reflects the recipe.
@Eileen Gray, my apologies. Because of you I am a star!! Water boiled SOURDOUGH bagels AND real SOURDOUGH bialys. What could be better?!?!?
And your recipe for starter work s like a charm
Thanks!!!
No problem. Glad your family is enjoying your baking.