Chocolate Genoise, Chocolate Sponge Cake
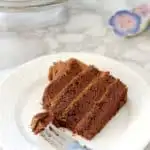
Chocolate Genoise (chocolate sponge cake) is light as a feather. This cake will absorb lots of syrup for an extra layer of flavor and moisture.
How many chocolate cake recipes could a person possibly need? I’ve already posted a recipe for Chocolate Butter Cake, if that cake is so good, why would we need another recipe?
Well, different types of cakes are good in different ways.
I love chocolate butter cake because it’s soft and buttery with a very tender cake crumb. It’s perfect filled and iced with Italian Meringue Buttercream.
When I want a lighter cake that I can douse with a flavorful syrup, it’s time to make a classic Chocolate Genoise.
What is Chocolate Genoise?
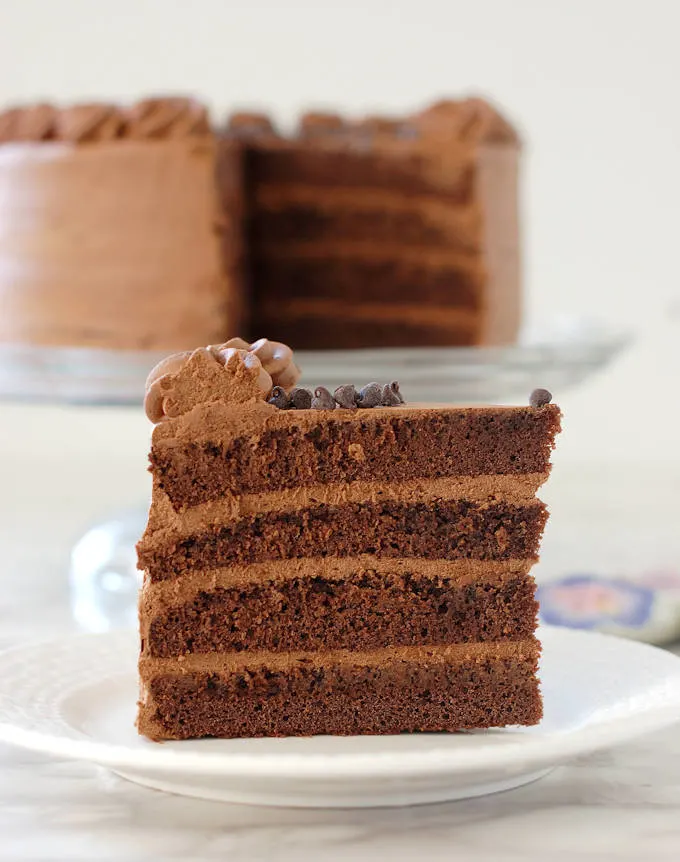
Chocolate Genoise is, basically, a chocolate sponge cake. Sponge cakes get most of their structure from whipped eggs.
Like every sponge cake recipe, Chocolate Genoise is balanced more towards structure builders than tenderizers. This mean the cake is not only light and airy from the whipped eggs, it’s also strong and resilient.
Strong and resilient? Hmmm, that is not a very tempting description of a cake. Bear with me though, because we’re not done making a great Genoise once it’s baked.
The next step is to add another layer of flavor and moisture with a generous dose of sugar syrup.
Recipe Ingredients
- Unsalted butter
- Vanilla extract
- Dutch process cocoa powder
- Boiling water
- Large eggs
- Granulated sugar
- Cake flour
- Simple syrup
The Secret to making a great Chocolate Genoise (chocolate sponge cake)
- As the name chocolate sponge cake implies, thanks to that strong and resilient texture, this cake can take in a lot of moisture.
- If you add too much syrup to a tender butter cake it could become soggy and pasty. But Chocolate Genoise can absorb a whole bunch of syrup and maintain it’s lovely, light crumb.
- Whatever you do, don’t try to make this cake without the syrup. For a Genoise, the syrup is integral to the flavor and texture of the cake.
- I’m partial to rum with chocolate cake – remember, alcohol enhances other flavors! But if you don’t want to use alcohol, vanilla or coffee syrup would be wonderful as well.
- Whether you add the alcohol or not, make the syrup very flavorful so you can really taste it when you eat the cake.
Watch the recipe video to see how to make Chocolate Genoise.
Because Chocolate Genoise is so light and airy, I particularly like it filled and iced with Chocolate Whipped Cream or Chocolate Mousse.
It’s also really good filled with Chocolate and/or Vanilla Pastry Cream for a version of Italian Rum Cake and it is the base for a classic Black Forest Cake.
Looking for another classic chocolate cake? How about a perfect Chocolate Sacher Torte a spectacular Marjolaine cake or a lovely White Chocolate Sacher Torte?
If you love this cake, I’m sure you’ll love my Vanilla Genoise too!
If you love this recipe as much as I do, please consider giving it a 5-star review.
***RECIPE NOTE*** You will see in the video that I sift the cocoa with the flour. I have changed the recipe to add the cocoa with boiling water for extra moisture and a deeper chocolate flavor. The entire process is the same as you see in the video except for the addition of the cocoa
Chocolate Genoise, Chocolate Sponge Cake
Video
Ingredients
- 4 ounces unsalted butter (8 tablespoons)
- 2 teaspoons vanilla extract
- 2 ounces Dutch process cocoa powder (½ cup)
- 4 ounces boiling water (½ cup)
- 8 large eggs
- 8 ounces granulated sugar (1 cup)
- 5 ounces cake flour (1 cup plus 2 tablespoons, see note)
Assembly
- 1 ½ cups simple syrup (a double batch flavored with liquor or extract of your choice.)
- Filling & icing of your choice
Instructions
- Line the bottom of two 8"x3" cake pans with a parchment round, or butter and flour the bottom of the pan only. Preheat the oven to 350 °F (don't use the convection setting).
- Melt 4 ounces unsalted butter in a small saucepan, cook until the milk solids sink to the bottom of the pan and become brown. Drain the browned butter into a small bowl, leaving the milk solids in the pan. Stir 2 teaspoons vanilla extract into the browned butter and set aside. Discard the milk solids in the pan.
- Place 2 ounces Dutch process cocoa powder into a small heat proof bowl. Pour 4 ounces boiling water over the cocoa and whisk until smooth. Set aside to cool.
- Put 8 large eggs & 8 ounces granulated sugar in a mixer bowl. Set the bowl over a pan of simmering water (don't let the bowl touch the water) and whisk until the eggs are lukewarm. Put the bowl onto the mixer and whisk until the eggs are tripled in volume.
- Sift half the flour over the egg mixture and use a balloon whisk to fold, repeat with the remaining flour. Pour the cocoa into the browned butter and whisk until smooth. Whisk 2 cups of the egg batter into the cocoa/butter mixture and whisk to combine. Use the whisk to fold the cocoa/butter mixture into the batter just until combined. Divide the batter evenly between the pans.
- Bake until the cake springs back when pressed in the center, about 30 minutes. Cool in the pan for 10 minutes before turning out onto a cooling rack. Cool completely before filling and frosting.
Assembly
- Trim the top of the cake to level, if desired, split each cake into two layers.
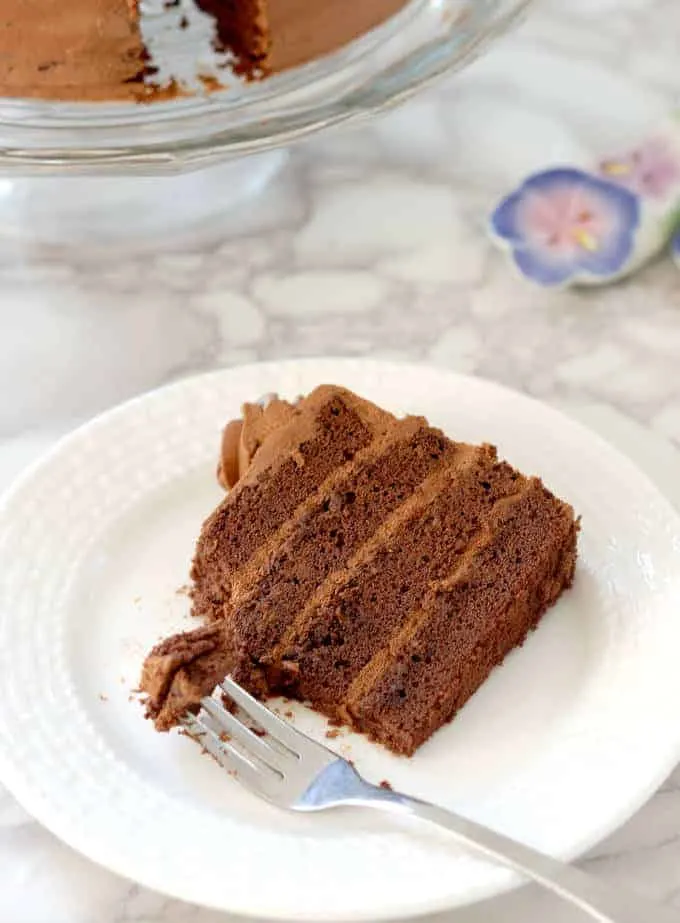
- Brush the layers generously with syrup before filling & icing.
Would you like to save this recipe?


As an Amazon Associate and member of other affiliate programs, I earn from qualifying purchases.
Im confused on step 2, do we discard of the rest of the melted butter and only work with the milk solids?
The recipe says to “Drain the butter into a small bowl, leaving the milk solids in the pan. Stir 2 teaspoons vanilla extract into the browned butter.” The browned butter is the stuff you poured into the bowl. The milk solids get discarded. I’ve adjusted the wording a bit to make it clear.
This recipe does not seem quite right. Why is there so little flour? Why did butter drip out of the bottom of the springform pan when I baked it?
Please use another recipe. This is a waste of expensive ingredients!
Why did you bake this recipe in a springform pan when the recipe says to bake it in two 8″x3″ pans? If you actually read the post there is an explanation about the cake getting most of it’s structure from the eggs.
Hi Eileen… I’d like to use your recipe, as mini cupcakes, as part of our 4th of July feasting and, my question to you is how long will the bake time be for these mini cupcakes? And, what are your thoughts on brushing the tops of them, fresh from the oven, with the simple syrup?
Mini cupcakes will bake very fast, I’d say start checking at 7-8 minutes. Yes to the syrup. Genoise needs syrup.