Triple Chocolate Cream Pie

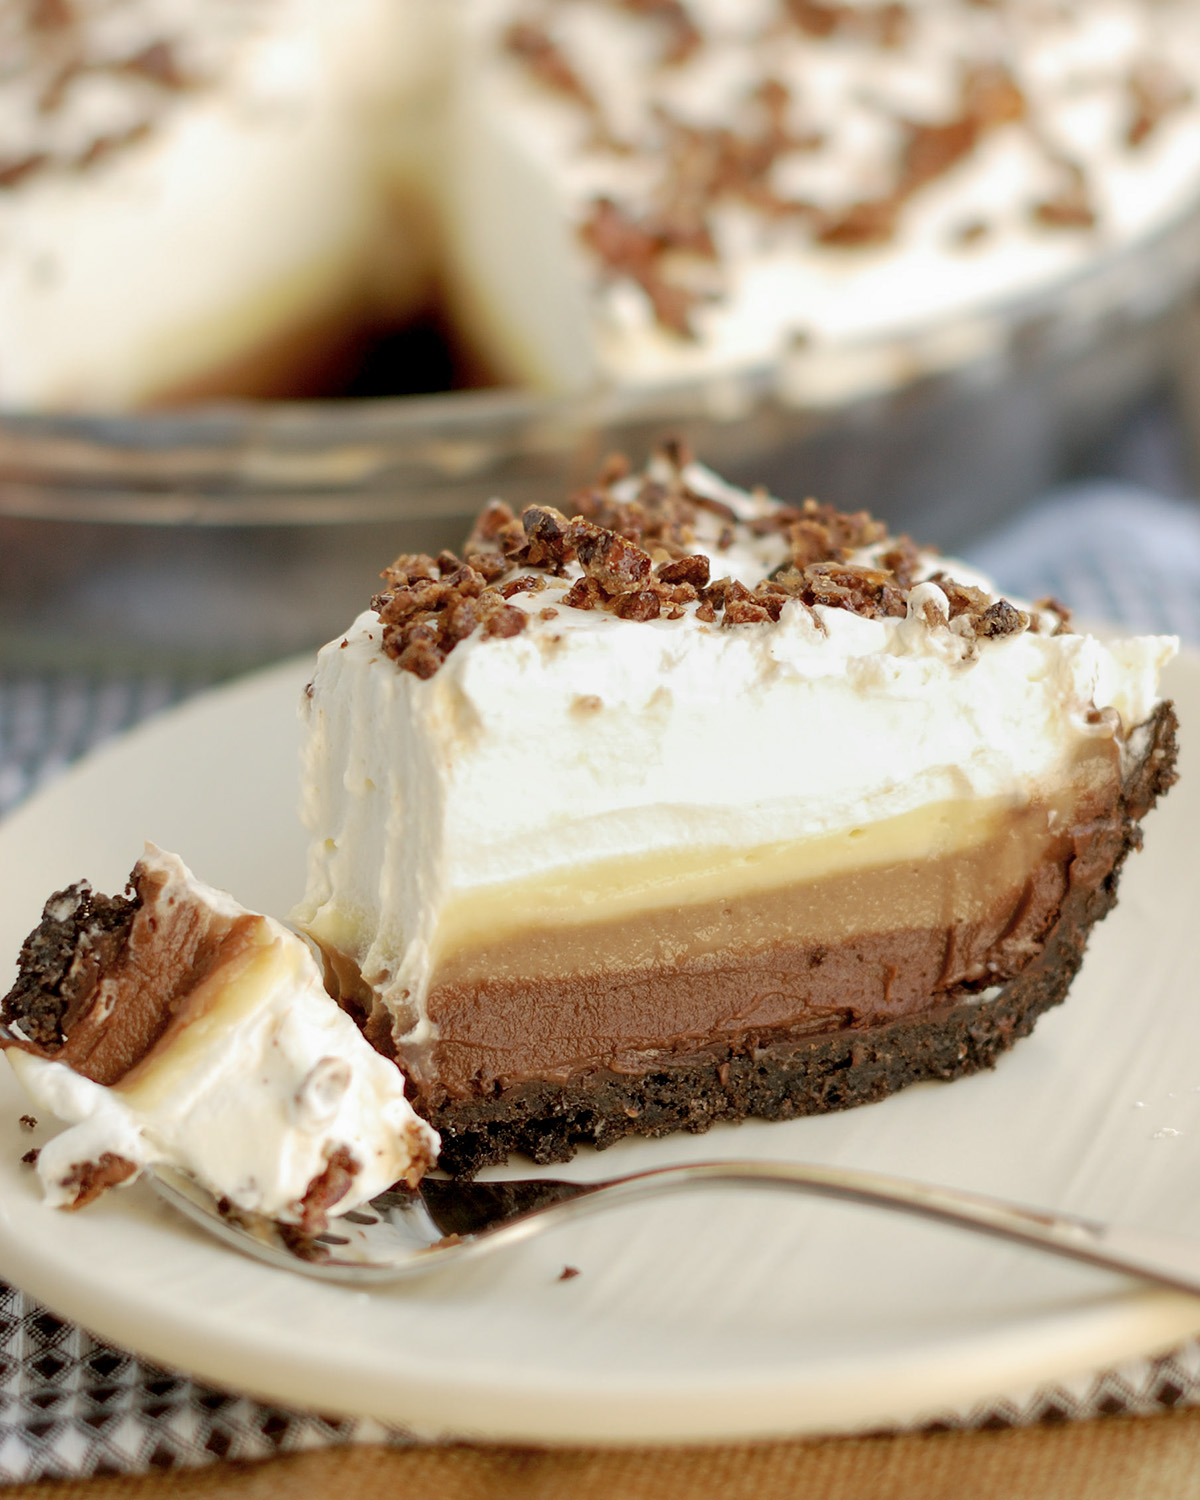
Triple Chocolate Cream Pie! Why have just one flavor of chocolate cream when you can have them all? And those candied cocoa nibs, yummmm!
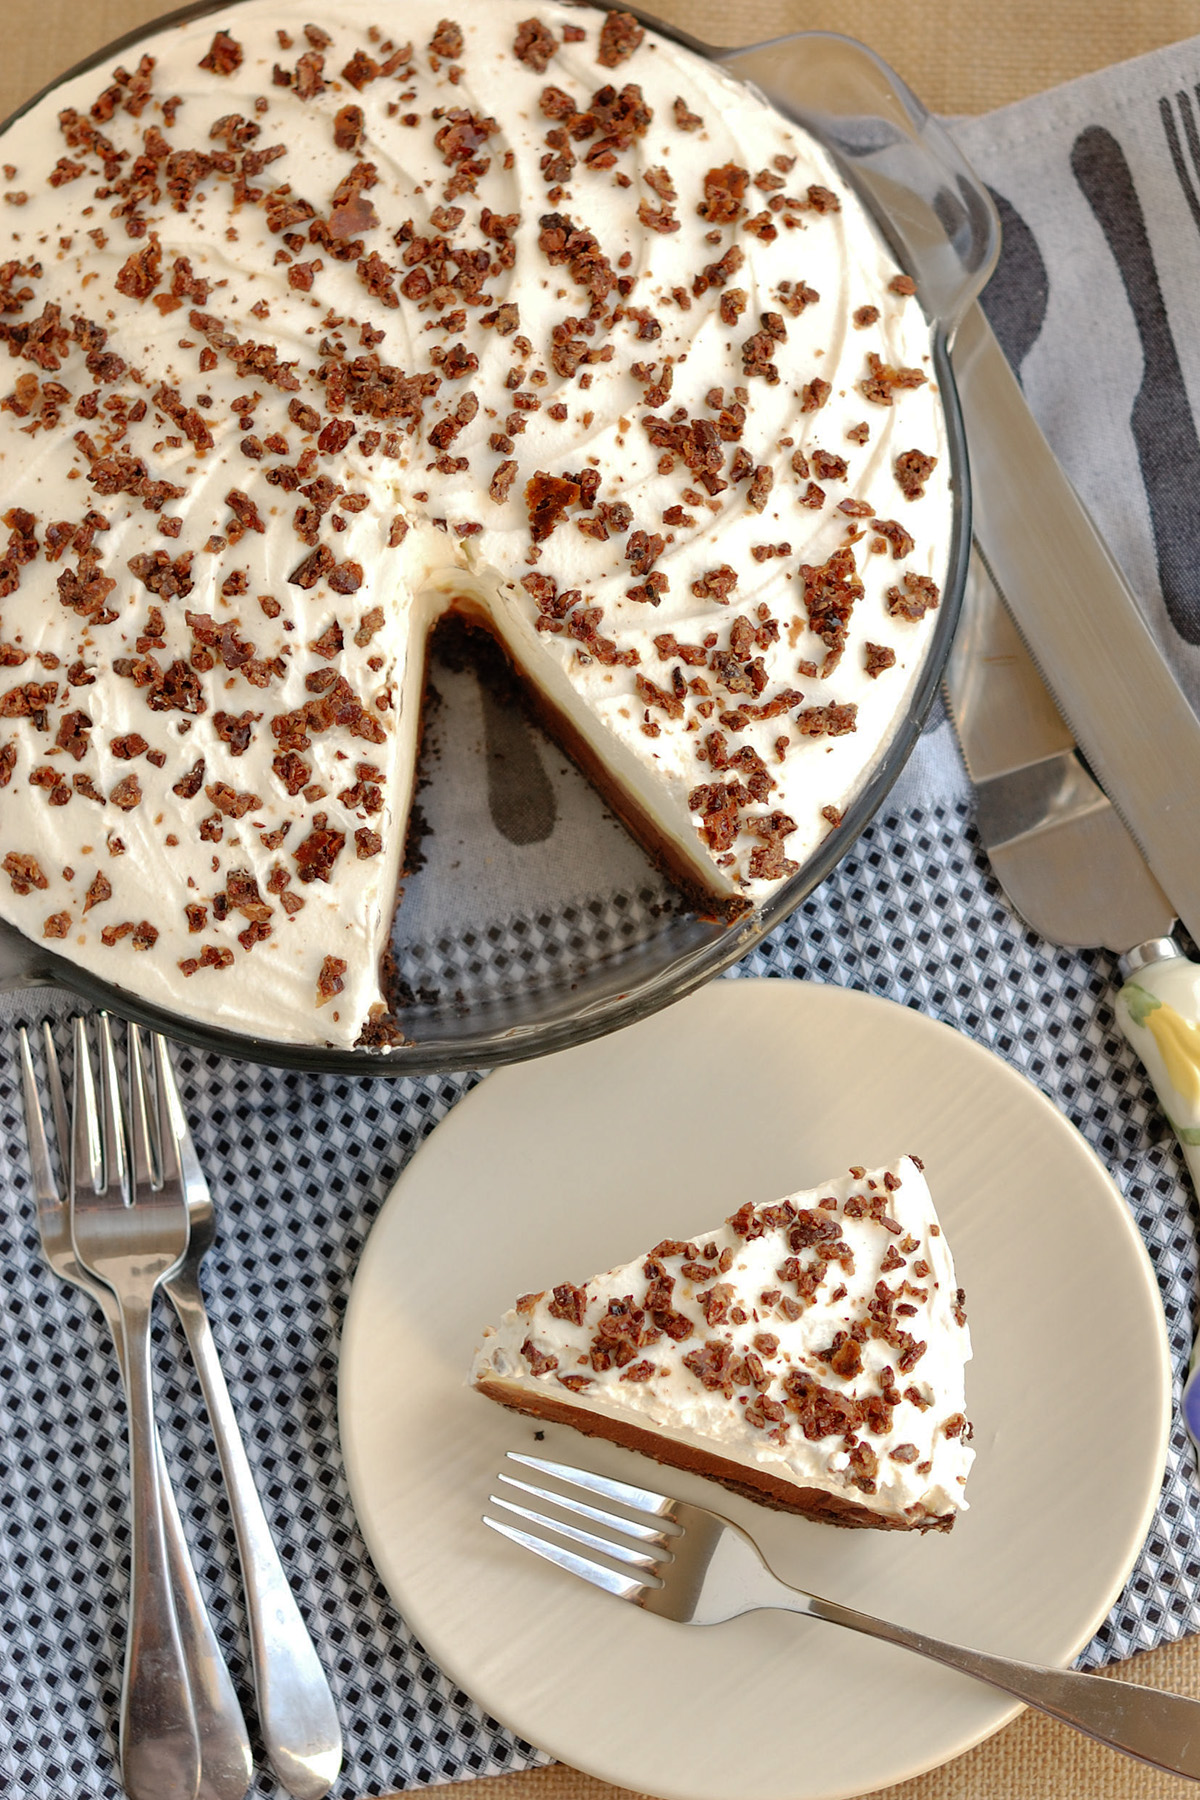
Table of contents
Notes about this recipe
Admittedly, this recipe is a bit involved. But the preparation really goes fast once you get started, and a slice of this pie is just so pretty with all the layers.
The cocoa nibs are optional. In their place you can decorate the pie with chocolate curls or chocolate sprinkles. But I will tell you that the candied cocoa nibs are a-maz-ing!
Topped with a mound of sweetened whipped cream and those addictive, crunchy candied-cocoa-nibs, this Triple Chocolate Cream Pie is the stuff of a chocoholic’s dreams.
Process Photos
Here’s what the recipe process looks like at each stage. Refer to the recipe card below for measurements and exact instructions.
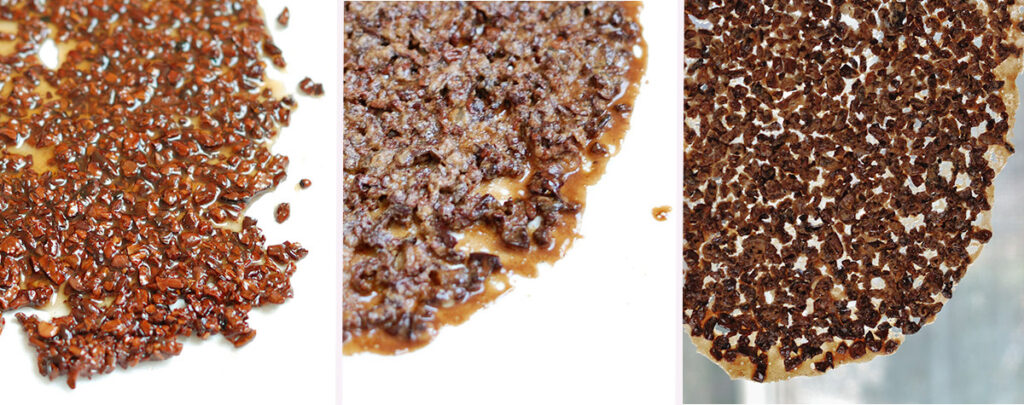
- To make the optional candied cocoa nibs first simmer the nibs in sugar syrup. Then transfer them to a baking sheet.
- Bake until the nibs and syrup are well-caramelized.
- Allow the caramel to set then break the sheet into small pieces.
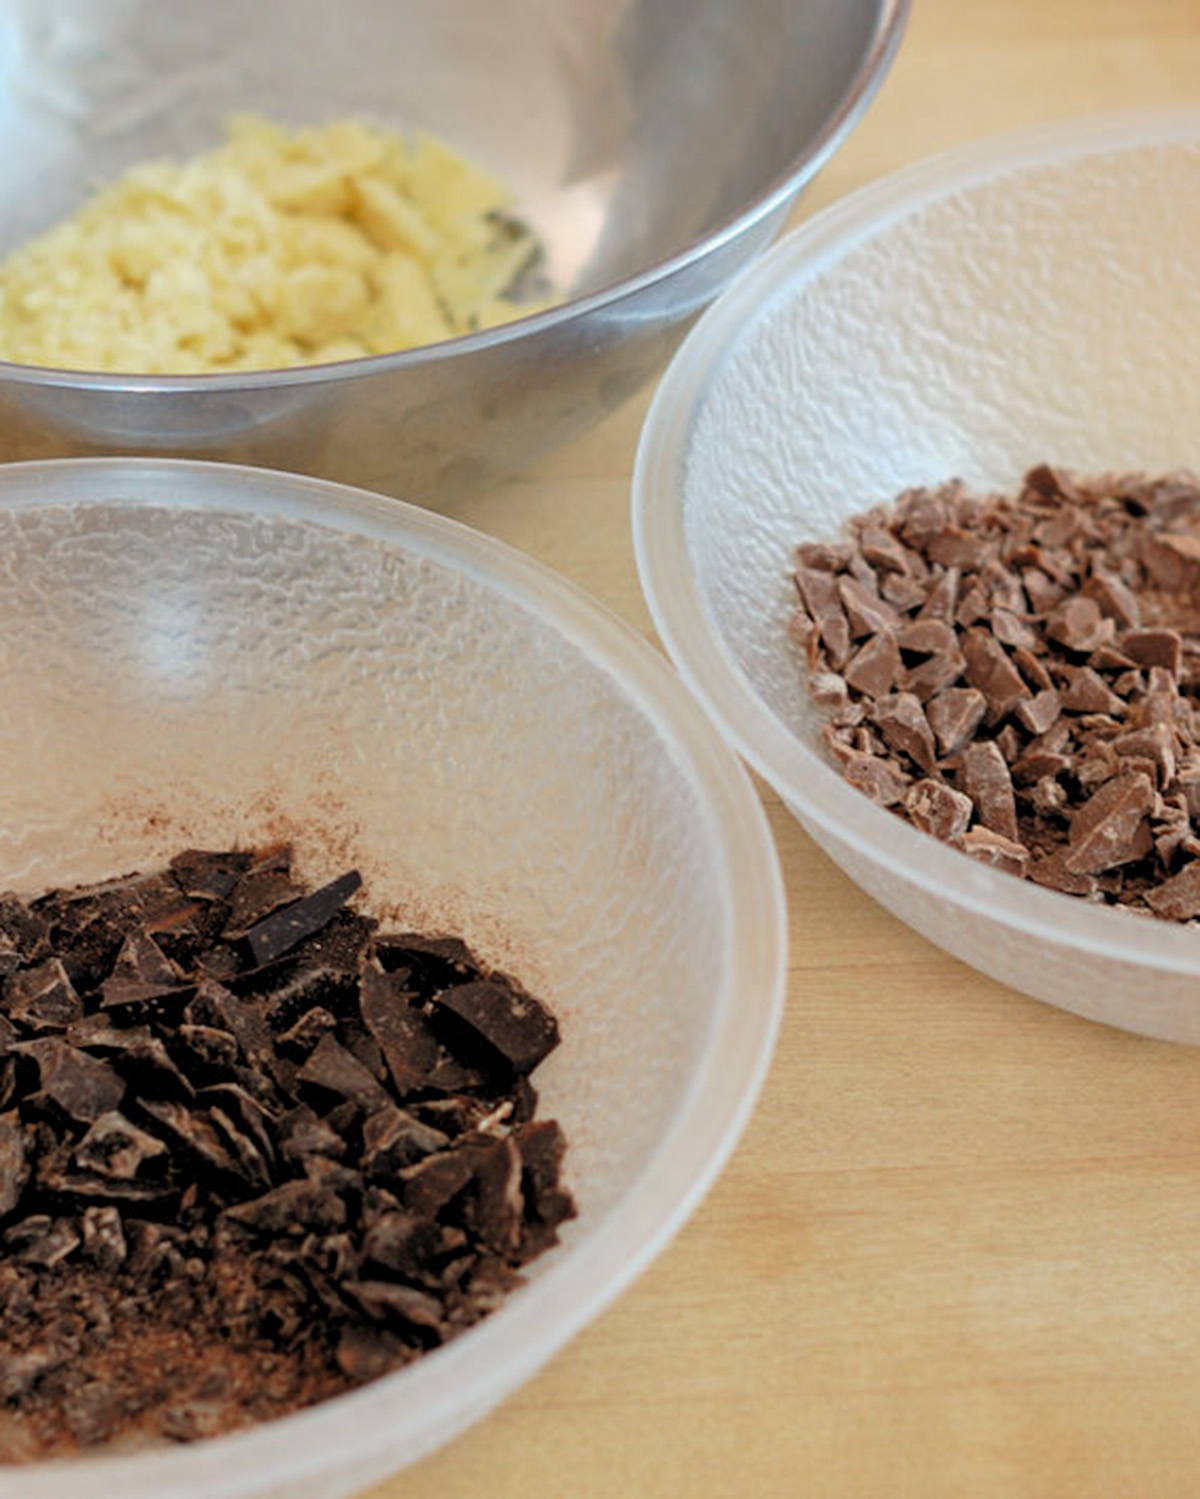
- Chop the white chocolate, the milk chocolate and the dark chocolate.
- Place the chopped chocolates into 3 separates bowls.
- Set aside the chocolate while you prepare the pastry cream.
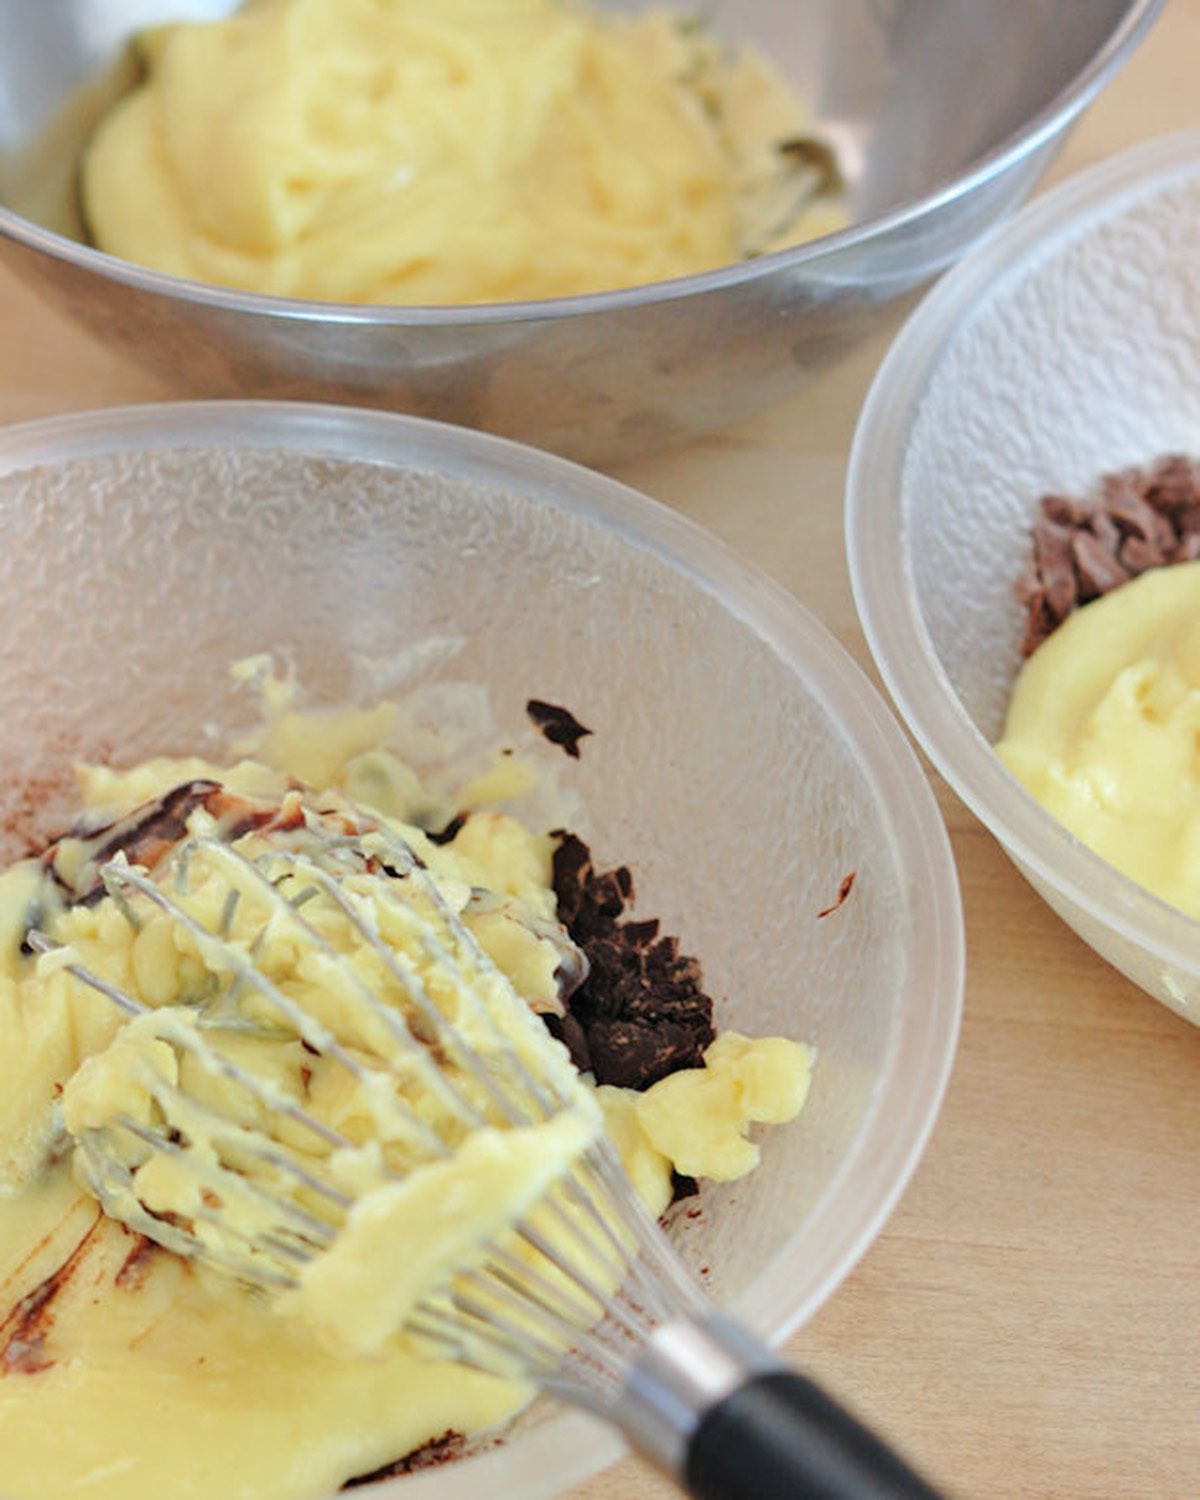
- Divide the warm pastry cream evenly between the three bowls of chocolate.
- Whisk each of the cream until all the chocolate is melted.
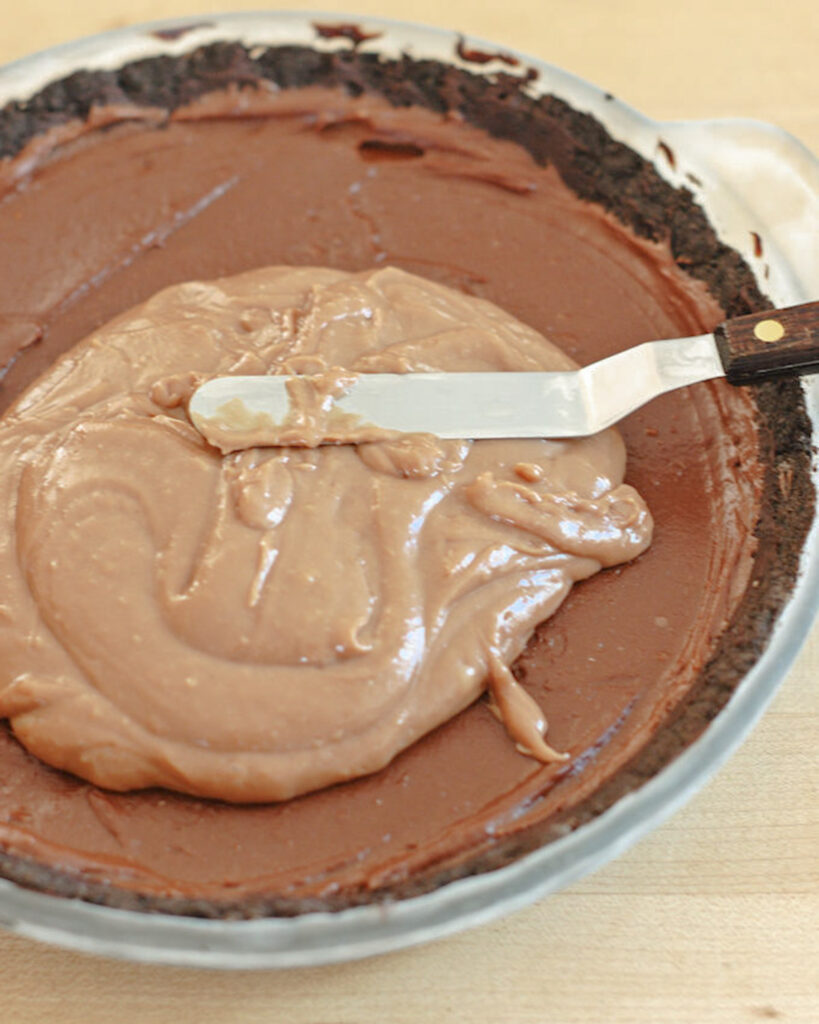
- Spread the dark chocolate pastry cream into the shell. Freeze the pie for 10 minutes.
- Spread the milk chocolate cream over the dark chocolate cream and return to the freezer for 10 minutes.
- Spread the white chocolate cream over the milk chocolate cream. Refrigerate the pie for at least 3 hours or until thoroughly chilled and set.

- Spread the whipped cream over the chilled pie and top with the candied cocoa nibs.
Work Ahead Tips
The candied cocoa nibs and the pie shell can be made ahead of time. The prebaked shell can be frozen for several weeks and the candied nibs can be stored in an airtight container for several days.
Storage
The assembled pie can be refrigerator for up to 3 days. Do not freeze.
Hey pie lover! Check out these other creamy, dreamy pie recipes: Peanut Butter Mousse Pie, Banana Cream Pie, Malted Milk Cream Pie and Pumpkin Mousse Pie.
If you love this recipe as much as I do, I’d really appreciate a star rating and a quick comment. Ratings and comments help my recipes show in search results. Thanks!
Triple Chocolate Cream Pie
Ingredients
Candied Cocoa Nibs (optional)
- 3 oz granulated sugar (⅓ cup)
- 3 oz water (⅓ cup)
- 1" piece vanilla bean (split and seeded)
- 1 ½ oz cocoa nibs (⅓ cup)
Oreo Crust
- 2 tablespoons all purpose flour
- 9 oz Oreo cookie crumbs (2 cups)
- 3 oz unsalted butter (melted)
Pastry Cream
- 16 oz whole milk (2 cups)
- 6 oz granulated sugar (¾ cup)
- 1 teaspoon vanilla extract
- ¼ teaspoon table salt
- 2 large eggs
- 2 large yolks
- 1 oz corn starch (¼ cup)
- 2 oz unsalted butter
- 1 oz rum (2 tablespoons, optional)
Assembly
- 2 oz Semi-sweet chocolate (chopped)
- 2 oz milk chocolate (chopped (or 1 oz each white & dark))
- 2 oz white chocolate (chopped)
- 16 oz heavy cream (2 cups)
- 3 tablespoons confectioner’s sugar
- 2 teaspoons rum (or vanilla extract)
Instructions
Candied Cocoa Nibs
- Preheat the oven to 350.
- Combine1 ½ oz cocoa nibs3 oz granulated sugar, 3 oz water and1" piece vanilla bean in a small saucepan. Bring the sugar syrup to a boil. Add 1 ½ oz cocoa nibs all at once and return to a boil. Lower the heat to medium and simmer for 10 minutes. Remove from the heat and let steep for 10 minutes.
- Using a slotted spoon scoop the nibs onto a parchment lined baking sheet. Allow some of the syrup to cling to the nibs. Bake until bubbly and deeply caramelized, about 20 minutes (see note). Cool completely, break into bits and store in an air-tight container.
Make the Crust
- Toss 2 tablespoons all purpose flour with 9 oz Oreo cookie crumbs. Toss 3 oz unsalted butter (melted) with the cookie crumbs to form a loose dough. Line a 9" pie plate with the cookie crumbs, pressing the dough to form a crust.
- Bake the crust for 10 minutes then move the crust to the freezer while you prep the filling.
- Put 2 oz Semi-sweet chocolate, 2 oz milk chocolate and 2 oz white chocolate into three separate mixing bowls.
Pastry Cream
- Combine 16 oz whole milk, 6 oz granulated sugar, 1 teaspoon vanilla extract and ¼ teaspoon table salt. Heat over medium high until scalding hot. While the milk heats up, whisk together 2 large eggs, 2 large yolks and 1 oz corn starch. When the milk is scalding hot, whisk it into the egg mixture.
- Return the mixture to the pot and cook over medium low, stirring constantly, until it begins to thicken and just begins to bubble. Remove from the heat immediately and strain back into the bowl used for the eggs. Add 2 oz unsalted butter and optional 1 oz rum to the hot custard and whisk to melt the butter.
- Divide the warm cream evenly between the 3 bowls of chocolate. Gently stir the dark chocolate cream until the chocolate is all melted. Scoop the dark chocolate cream into the chilled pie shell and smooth to an even layer. Place in the freezer for 10 minutes.
- Meanwhile, stir the milk chocolate cream to melt the chocolate. Remove the pie from the freezer and spread the milk chocolate cream into the shell, being careful not the mix it into the dark cream. Repeat cooling and then add the white chocolate cream to the top in the same manner.
- Refrigerate the assembled pie for at least 3 hours or until thoroughly chilled and set.
- Whip 16 oz heavy cream with 3 tablespoons confectioner’s sugar and 2 teaspoons rum (or vanilla). Spread the cream onto the chilled filling. Sprinkle with the optional candied cocoa nibs or with chocolate curls or sprinkles.
Would you like to save this recipe?


As an Amazon Associate and member of other affiliate programs, I earn from qualifying purchases.

What a beautiful pie! It looks absolutely dreamy with all those layers. I hope you had a tasty Pi Day!
Thanks!
This looks amazing! Yum!
Thanks, Kortney!
Those layers — I love the way you just have to make one master recipe and then flavor each one — what a stunning cake!
Thanks, Sue.