Sweet Corn Scones with Lime & Cinnamon


Sweet Corn Scones with a hint of lime and cinnamon! These light and fluffy scones are perfect for breakfast or an afternoon tea snack.

I love baking with seasonal produce, both fruits and vegetables. No matter how much corn we get, it’s never too much. Besides throwing it on the grill and eating it, I like to make corn salad, corn chowder and Sweet Corn Ice Cream (trust me on that one!).
Fresh summer corn is wonderful in both savory and sweet dishes.
I’ve been noodling around with the idea of a fresh corn scone for a while. With my English Scone as the starting point, I just had to decide if I wanted to go sweet or savory.
I could have lowered the sugar a bit and added basil, onion and other savory flavors to make a savory corn scone. But I decided to go sweet and used lime, cinnamon and a little cornmeal to highlight the fresh corn flavors.
How to make Fresh Corn Scones:

- Add the lime zest and juice to the corn to meld the flavors.
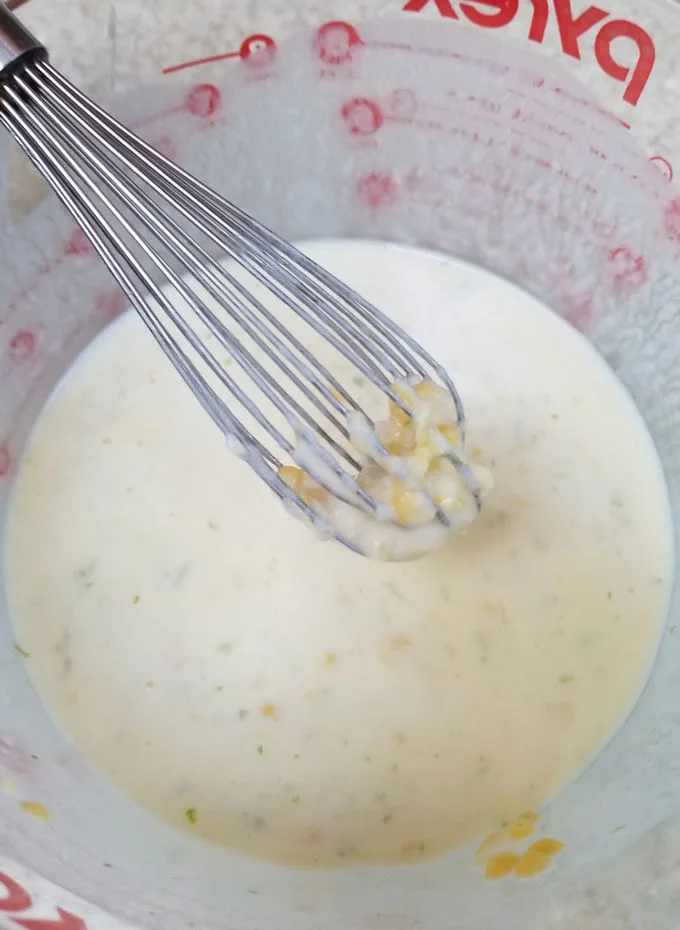
- Whisk the corn into the buttermilk mixture.
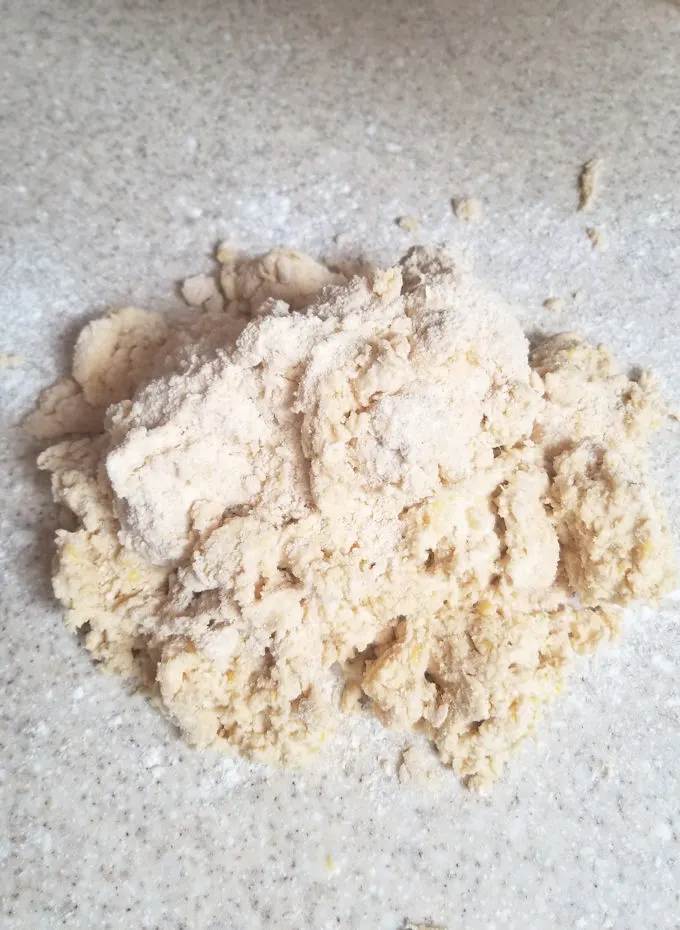
- For tender scones, finish kneading in the flour by hand.

- For nice thick scones, pat the dough to 1″ thick before cutting.
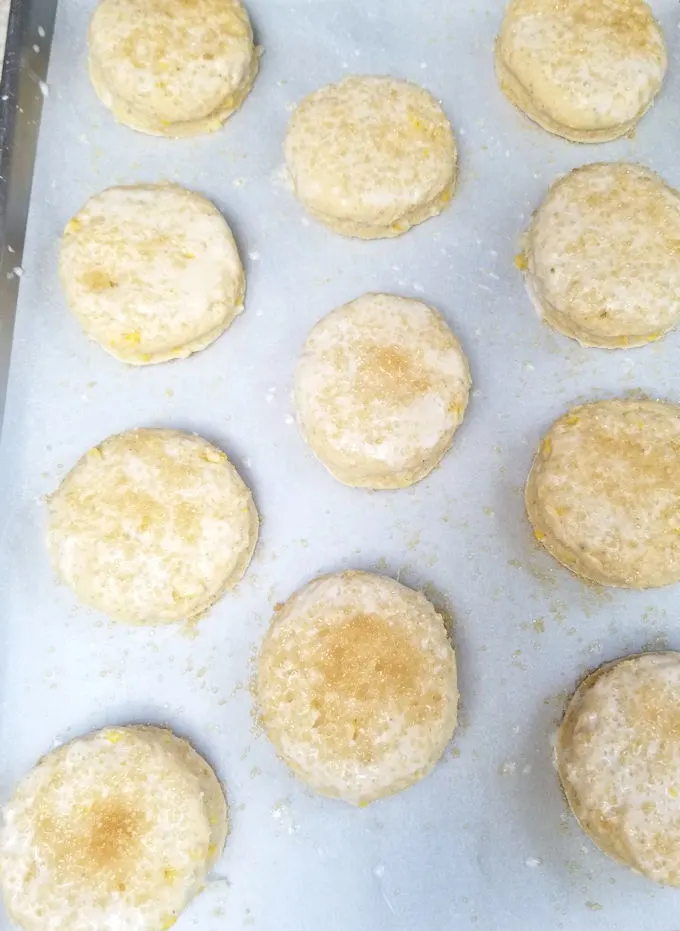
- Brush the scones with buttermilk and sprinkle with sugar before baking.
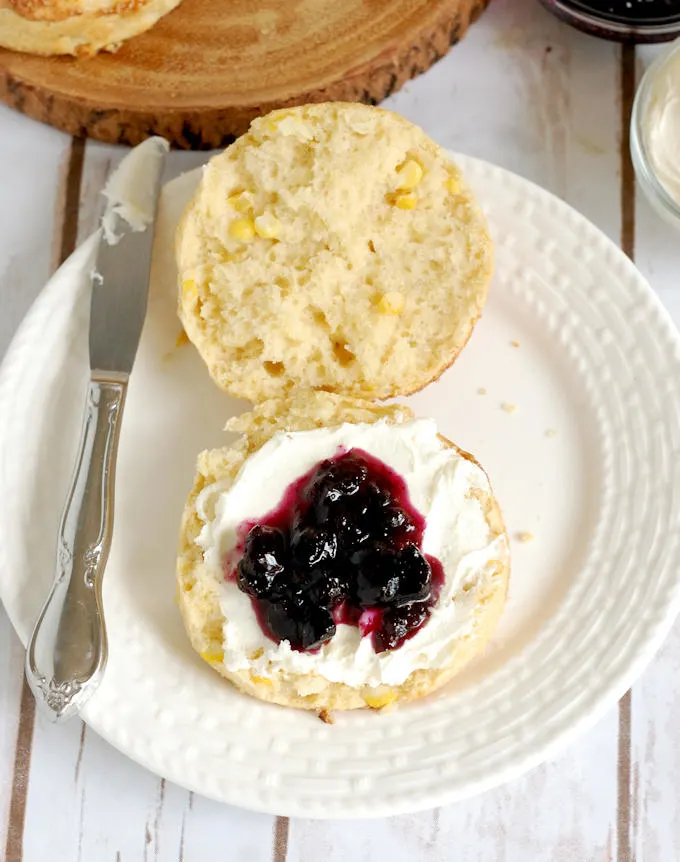
My husband and I ate the scones with Mascarpone Cheese and homemade Blueberry Preserves. I absolutely love corn and blueberries together so this was a great combination.
If you love this recipe as much as I do, I’d really appreciate a 5-star review.

Sweet Corn Scones Recipe
Ingredients
- 4 oz corn kernels (1 cup, fresh or frozen)
- Finely grated zest & juice of 1 lime
- 14 oz buttermilk (1 ¾ cups)
- 2 large eggs
- ½ teaspoon vanilla
- 20 oz unbleached all purpose flour (4 cups, see note)
- 5½ oz stone ground cornmeal (1 cup)
- 4 oz granulated sugar (½ cup)
- 2 tablespoons baking powder
- ½ teaspoon salt
- ½ teaspoon ground cinnamon
- 6 oz unsalted butter (cold, cut into 1″ chunks)
Instructions
- Preheat the oven to 375 °F. Line two baking sheets with parchment paper or a silicone baking mat.
- Toss 4 oz corn kernels with Finely grated zest & juice of 1 lime, set aside. Whisk together 14 oz buttermilk, 2 large eggs and ½ teaspoon vanilla, set aside.
- In a mixing bowl, whisk together 20 oz unbleached all purpose flour, 5½ oz stone ground cornmeal, 4 oz granulated sugar, 2 tablespoons baking powder, ½ teaspoon salt and ½ teaspoon ground cinnamon. Toss in 6 oz unsalted butter chunks. Work the butter in with your fingers until the bits are the size of a pea.
- Add the corn to the buttermilk then add that mix to the flour all at once. Mix until most of the flour is almost incorporated. Some loose flour will remain at the bottom of the bowl. DON'T OVER MIX. Dump the dough onto a floured surface and finish kneading by hand until the dough comes together, about 15-20 kneads.
- Use your hands to pat the dough until it is 1" thick. Use a 2½-3" biscuit cutter to cut scones. Re-roll the scraps and continue cutting until all the dough is used.
- Line the scones on the prepared baking sheet, leaving 1" space between. Brush the tops of the scones with buttermilk and sprinkle with Demerrara or granulated sugar.
- Bake on the middle rack of the oven, flipping the tray after 10 minutes. The scones are ready when they are golden brown and sound hollow when the bottom is tapped. Total baking time about 15-20 minutes.
Would you like to save this recipe?


As an Amazon Associate and member of other affiliate programs, I earn from qualifying purchases.
Can this recipe be made gluten-free by replacing the flour with, say, garbanzo flour?
Thanks!
I haven’t worked with garbanzo flour so could speak to that. But it should work with a commercial gluten free flour blend that is meant to replace all purpose flour.
I had a very hard time handling the dough in this recipe. It stuck to everything–my hands, my floured kneading surface, and my biscuit cutter. I finally got enough extra flour worked into the dough, but it was maybe as much as another cup. I used a good quality flour–King Arthur–measuring by weight, used well=chilled butter, measured all the other ingredients carefully, and followed the directions. They turned out well with good flavor, but before I try making them again, I could use some suggestions on how to make the dough easier to handle. Would refrigerating the dough before attempting to knead it help? Thanks for any help you can give me.
Hi Janet, this is a fairly wet dough. A wet dough produces a lighter scone. Keep your hands and the work surface well floured. If you have a plastic bowl scraper use that to move the dough from bowl to surface. I find that once I’m done mixing the dough if I get my hands clean they’re a little less likely to stick. Instead of washing your hands with water, dip them in the bin of flour, hold them over the sink or trash can and rub vigorously. This will take off all the sticky batter and leave your hands dry. Now it should be easier to handle the dough. Each time your hands get coated in dough, clean them again with flour.
Thanks, Eileen. I’ll give your suggestions a try.