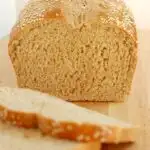
Milk & Honey Whole Wheat Bread

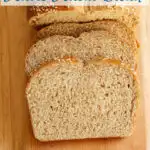
Milk & Honey Whole Wheat Bread is the perfect sandwich loaf. This easy whole wheat bread recipe makes a soft and slightly sweet bread that you’ll love.
Why you’ll love this recipe
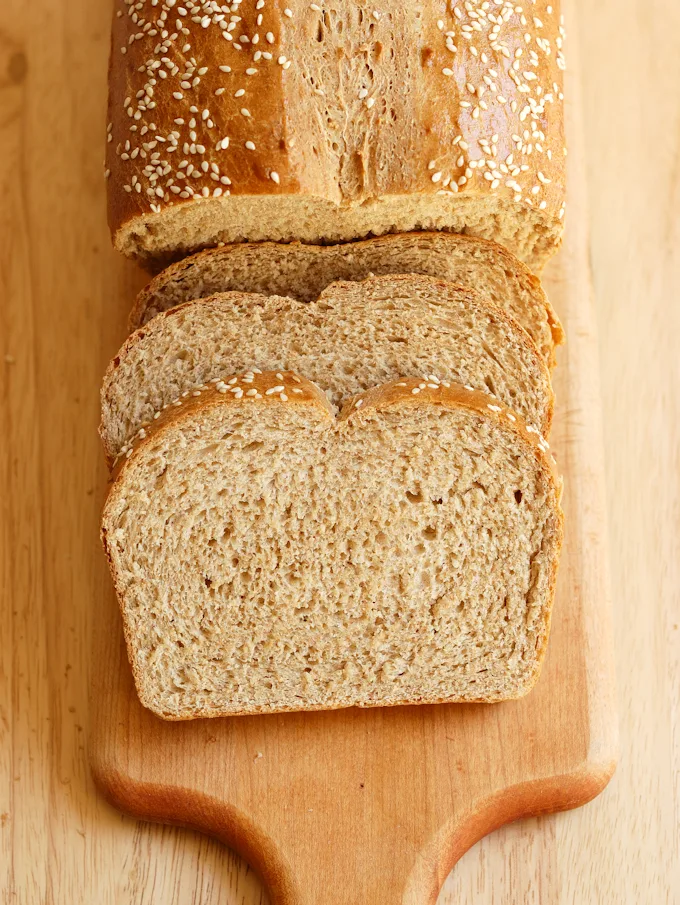
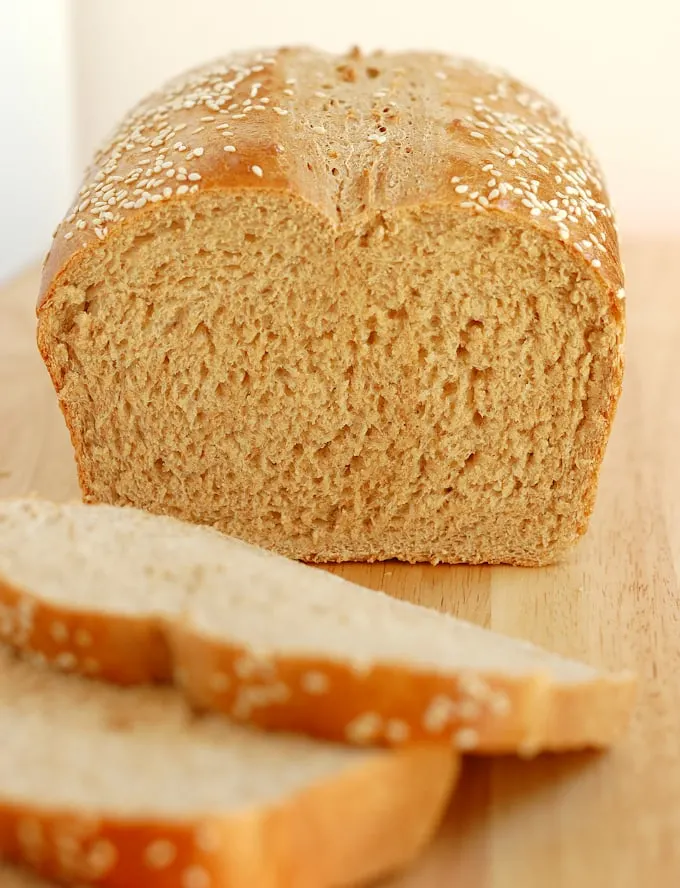
With it’s soft texture, hint of honey and hearty whole wheat flavor, Milk & Honey Whole Wheat Bread tastes fantastic and will keep fresh for several days.
You can start the dough the night before and finish the bread in the morning to have fresh bread for lunch.
If you love baking bread and want to understand the process a little better, take a look at comprehensive Bread Baking Guide. It covers the basics of mixing, kneading, proofing, and baking so you can get perfect results every time.
If you’ve got a sourdough starter, you can make Whole Wheat Sourdough Sandwich Bread.
Ingredients
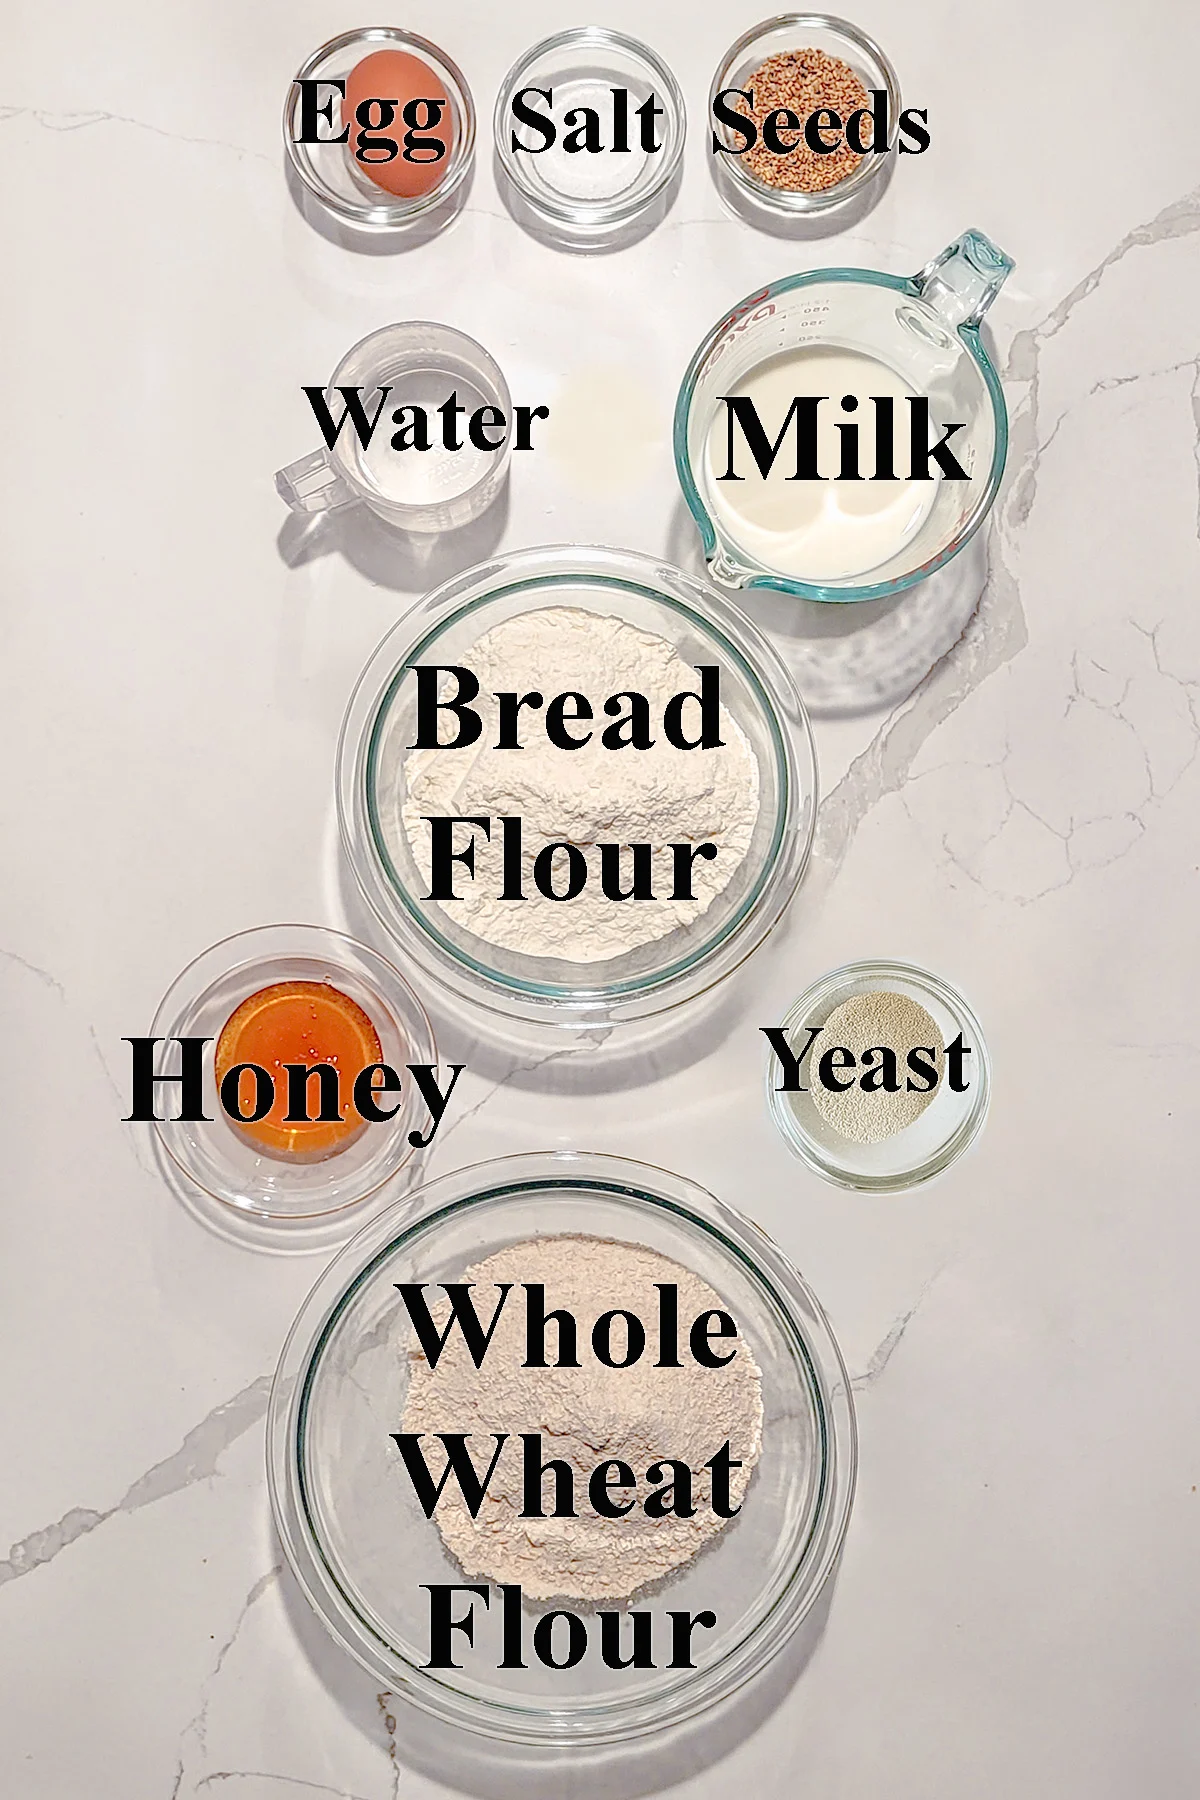
Ingredient Notes
- Yeast – I prefer dry active yeast to rapid rise yeast for a slower rise time and better flavor.
- Bread Flour has a high protein content. Higher protein means better gluten development.
- Whole Wheat Flour does not have quite as much of the gluten forming properties of bread flour. Using a combination of whole wheat and bread flour makes a loaf that has great whole grain flavor, yet rises tall in the oven. You can adjust the proportion of wheat vs. bread flour to make a loaf to your liking.
- Milk – Scalding denatures (breaks down) proteins in the milk which can interfere with gluten development.
- Honey – Adds wonderful flavor, enhances browning and makes the crumb soft and slightly sweet.
- Salt – For flavor.
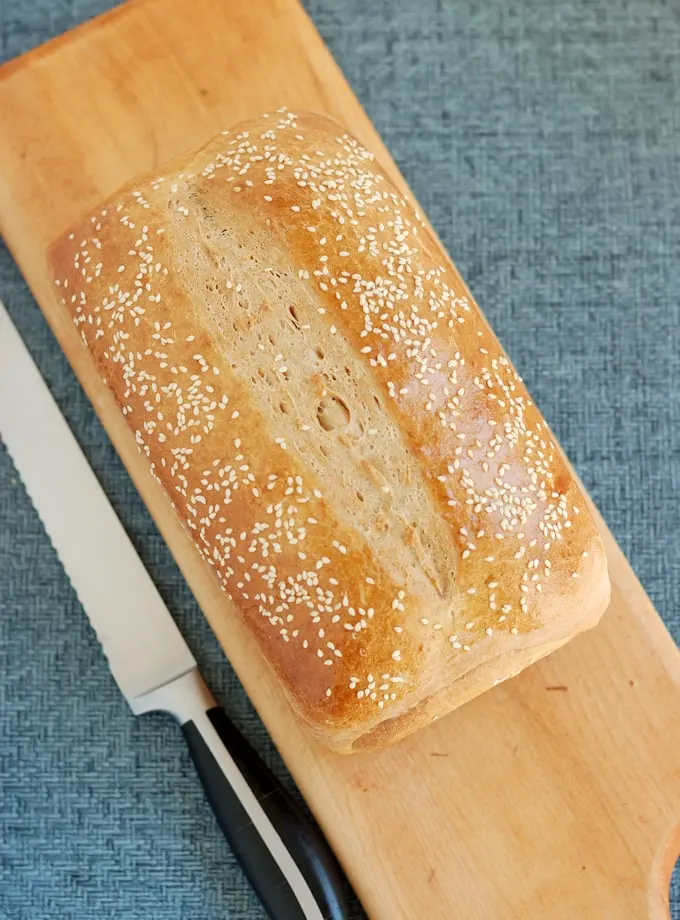
- Sesame Seeds – For crunch and flavor on the crust.
How to make Milk & Honey Whole Wheat Bread
Here’s what the recipe process looks like at each stage. Refer to the recipe card below for measurements and exact instructions.
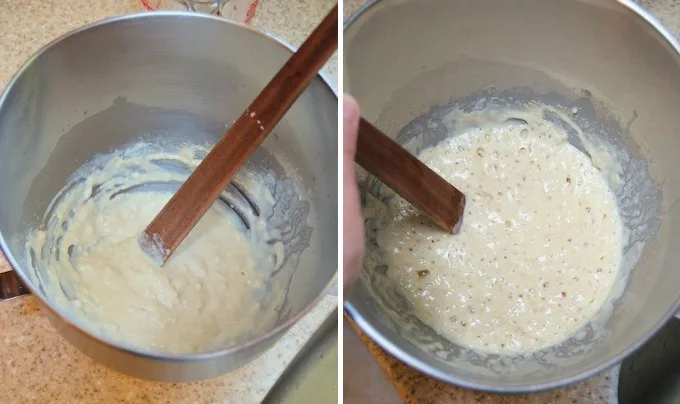
- Combine the water, yeast and some of the flour to form a “sponge”.
- Set it aside for 30-60 minutes.
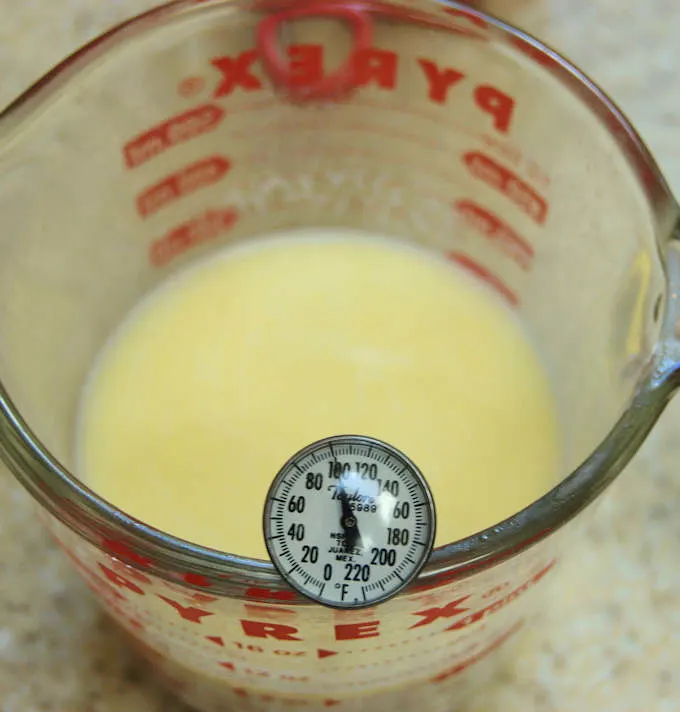
- While the sponge is rising, scald the milk.
- Set the milk aside to cool to 100F.
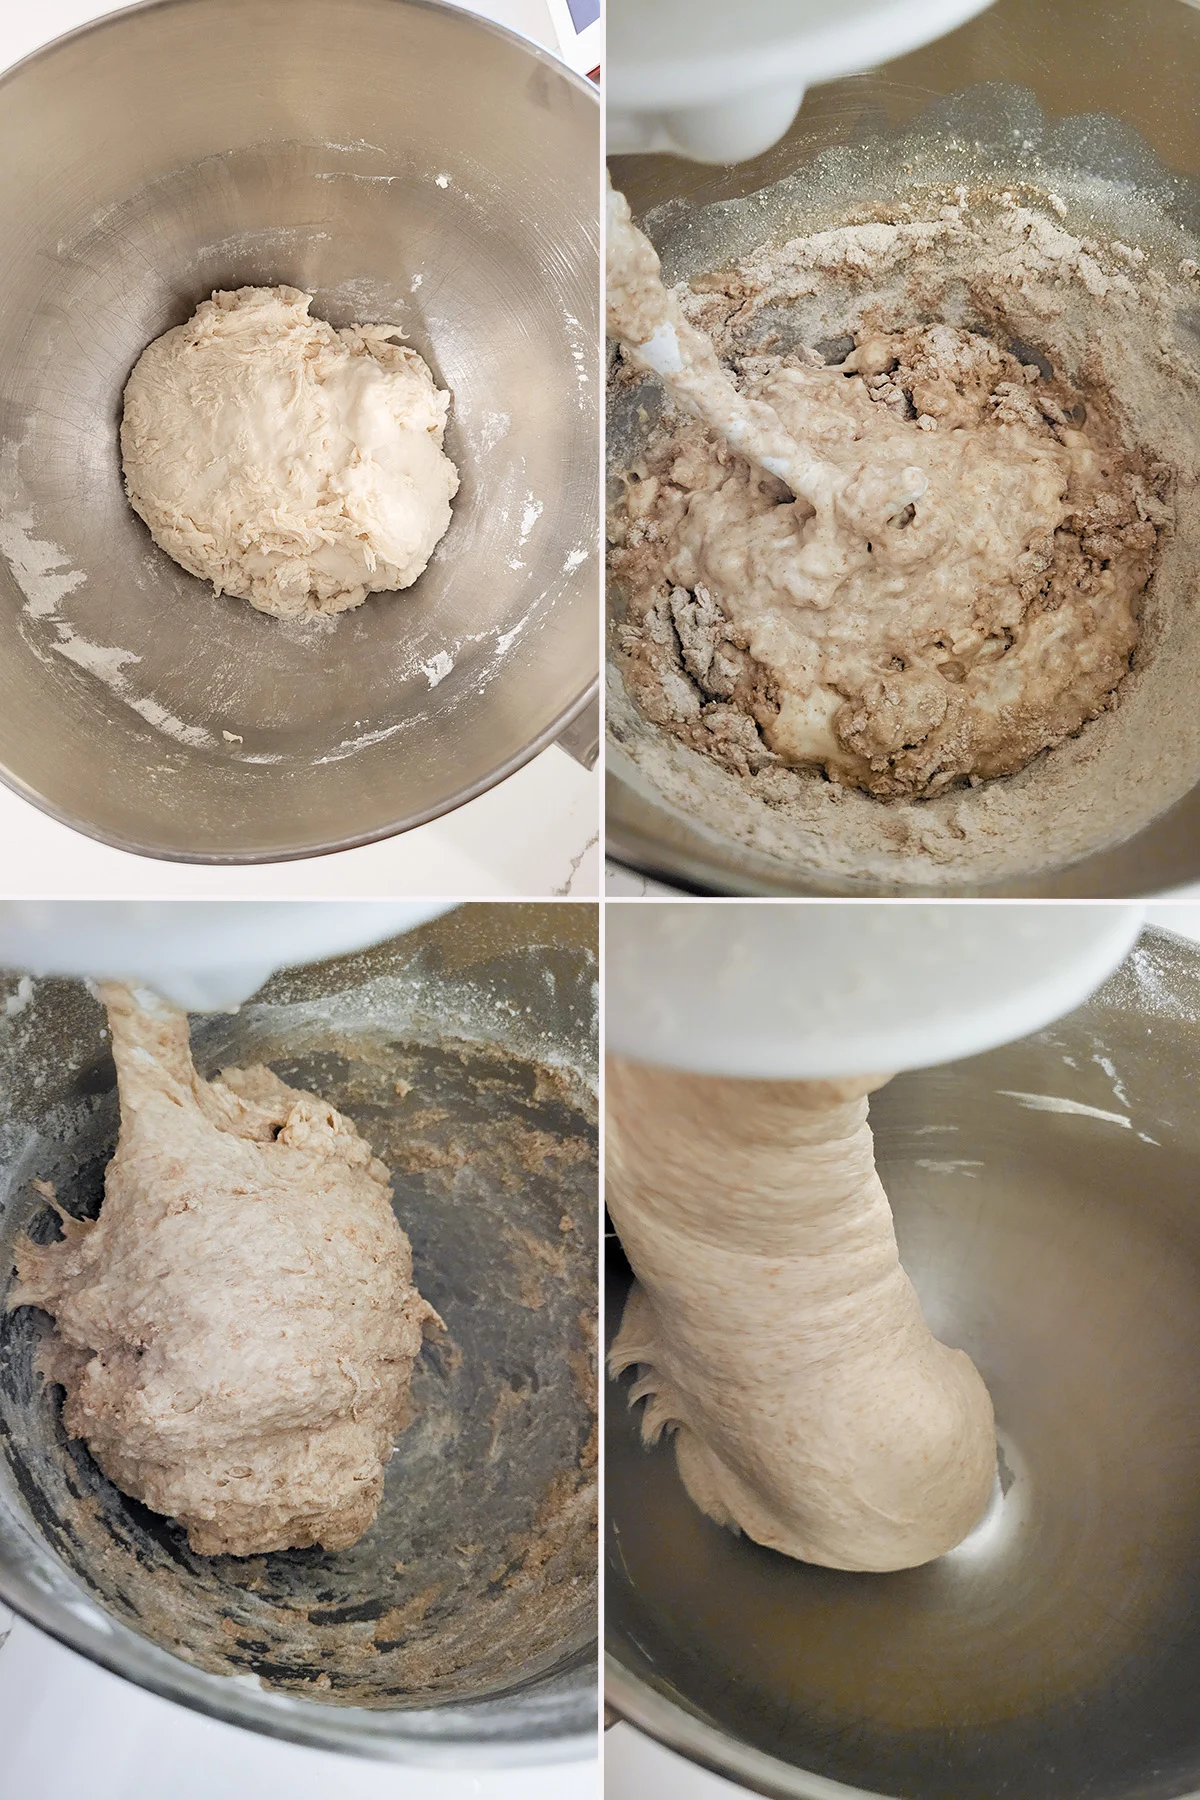
- Add the rest of the ingredients to the sponge.
- The dough will start out quite rough and sticky.
- Continue kneading until the dough begins to gather on the hook and pulls away from the sides of the bowl.
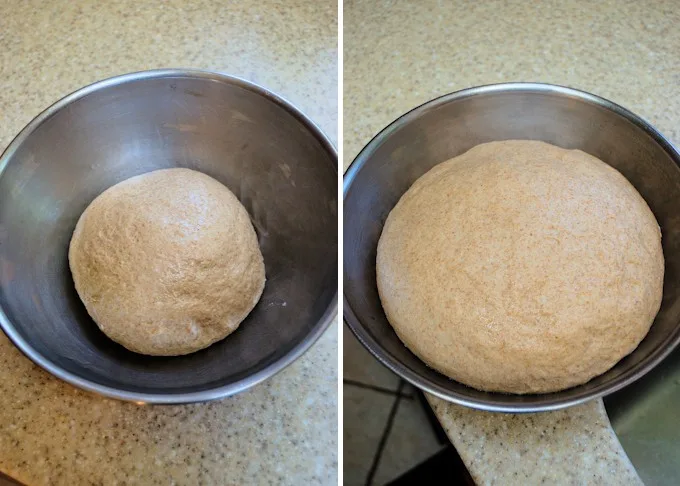
- Place the dough in an oiled bowl, turning once to coat the dough. Cover and set aside in a warm spot.
- Allow the dough to double in volume before shaping.
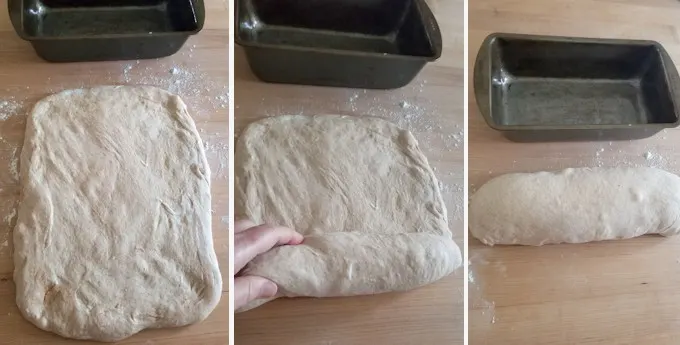
- Pat the dough into a rectangle.
- Roll the dough to a log.
- Set it into a lightly greased loaf pan
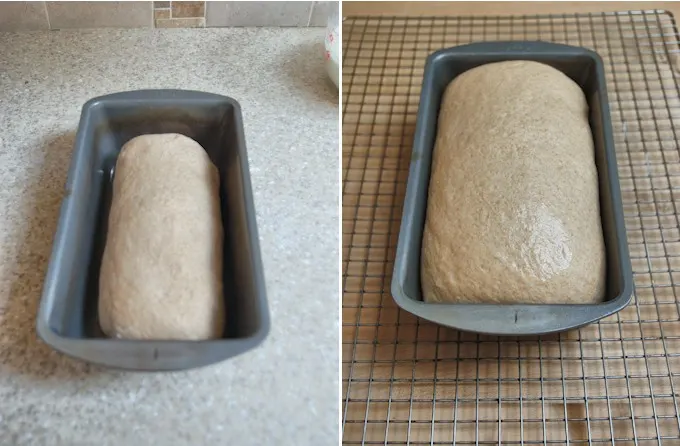
- Cover the pan and set aside in a warm spot.
- The bread is ready to bake when it’s about doubled in volume and fills up the pan. If you poke the dough the dent should slowly fill-in. If the dough springs right back it’s not quite ready.
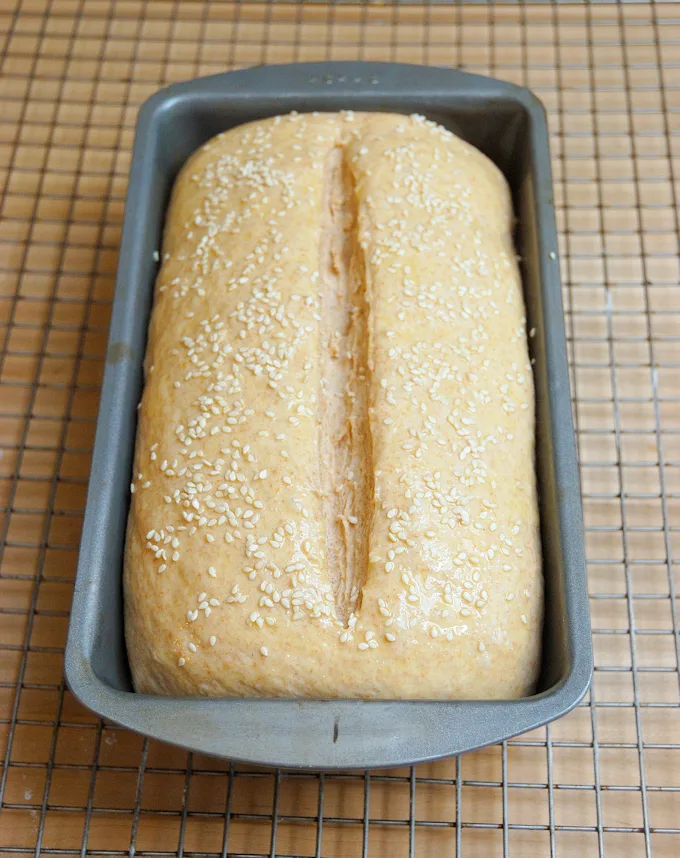
- Make a deep slash down the middle of the loaf before baking.
- Brush with egg wash and sprinkle with (optional) seeds.
How to work ahead
- You can start your bread a day ahead. Start mixing the dough late in the afternoon or early evening.
- Make the dough up until the point that it goes into the pan.
- Cover the pan with plastic wrap and allow it to rise slowly in the refrigerator overnight.
- The next morning, take the loaf out of the refrigerator. It should have risen to fill the pan over night.
- Leave the loaf at room temperature while the oven preheats. If it hasn’t risen enough, give it a little extra time at room temperature to finish rising.
Storage
Whole Wheat Sandwich Bread stays fresh at room temperature for 2-3 days. The bread (sliced or whole) can be frozen for up to a month.
More great sandwich breads
If you love this recipe as much as I do, I’d really appreciate a 5-star review.
Milk & Honey Whole Wheat Bread
Ingredients
- 6 ounces warm water (¾ cup)
- 2 ¼ teaspoons dry yeast (1 packet)
- 10 ounces bread flour (2 cups, see note)
- 8 ounces whole milk (1 cup)
- 1 ½ ounces honey (2 tablespoons)
- 1 ½ teaspoons table salt
- 7 ½ ounces whole wheat flour (1 ½ cups)
- 1 egg for egg wash
- Sesame seeds for garnish (optional)
Instructions
- In the bowl of a stand mixer or in a large mixing bowl, combine 6 ounces warm water, 2 ¼ teaspoons dry yeast and ½ cup (2 ½ oz) of the bread flour to form a smooth batter. Cover the bowl and allow the mixture to rise for ½ hour. Warm 8 ounces whole milk until scalding hot then set it aside to cool until it is slightly warmer than body temperature.
- Add the scalded milk, 1 ½ ounces honey and 1 ½ teaspoons table salt to the sponge. Stir to combine.
- Add 7 ½ ounces whole wheat flour and another ½ cup of the bread flour. Stir until the batter looks like thick pancake batter. If using a stand mixer, switch to the dough hook.
- With the mixer running, add the rest of the bread flour, Knead until the dough gathers on the hook and clears the sides of the bowl, 4-5 minutes. If mixing by hand, add as much of the flour as you can in the bowl then finish kneading in the rest of the flour by hand.
- Dump the dough onto a lightly floured surface. Knead to form a smooth ball. If the dough is very sticky sprinkle a little more flour as you knead.
- Place the dough in an oiled bowl, turning once to coat the dough. Cover and set aside in a warm spot to rise for about 1-1 ½ hours until doubled in size.
- Preheat the oven to 350 °F. Grease a 9"x5" loaf pan with a very light film of vegetable oil or with baking spray.
- Turn the dough out onto a floured surface. Without kneading out the air, gently push the dough to a 9"x12" rectangle. Tightly roll the dough from top to bottom to form a log shape. As you roll pinch the ends of the dough to form a tight roll.
- Set the dough into the pan and cover with oiled plastic wrap. Set in a warm place and rise until the dough almost doubles in size, about 1 hour.
- Use a sharp knife or razor to cut a ½" deep slash down the center of the loaf. Brush the dough with egg wash and sprinkle with seeds.
- Bake about 30-35 minutes until golden brown and the interior temp is about 200 °F.
- Cool in the pan about 5 minutes before turning out onto a cooling rack. Cool to room temperature before slicing.
Would you like to save this recipe?


As an Amazon Associate and member of other affiliate programs, I earn from qualifying purchases.
I accidentally forgot to warm my milk first, is my bread doomed? By the way, the first loaf I made ( I’m on my second) turned out beautifully and I followed the recipe right. So thanks for the amazing bread recipe, I’ll never use another!
Hi Sarah. Thanks so much for trying the recipe. I’m glad you liked it. The milk is warmed to activate the yeast. Yeast is active at temps between about 40″F-140″F. So using cool or cold milk will just slow down the rising process, but it will still work. Sometimes if my dough is very cold I’ll put the bowl with the dough over a bowl of warm water to help warm up the dough a little.
Oh thanks for the tip! It is taking a long time to rise, but I’m glad it’ll be ok! I just started making my own bread so I’m brand new to this.
Great!
What a gorgeous crumb you got on this!
Thanks, Kylee.
Hi, want to try this bread, but what do you mean by stones, and do you really have to use them? Thanks Ruth
Hi Ruth, I pre-heat stones in a pan on the floor of the oven. When I put the bread in the oven I pour water over the stones to create steam. The steam keeps the surface of the bread moist while it bakes and that creates a nice crust on the bread. I use “whiskey rocks” but any type of rocks will work. But you don’t need to use the rocks. You can skip them all-together and the bread will still be good. You can see a photo of how I use the rocks in this post.
Everything went well until I slashed the top… It deflated…
It’s in the oven now and it looks kinda sad. I’ll let you know about the texture and taste!
Hi Renee, If the bread over-rises it will deflate when you slash the bread.
Hi Eileen,
Thanks for the recipe! I am not sure what I did wrong, but I had to add well over 2 cups of all purpose flour to the mixture, before getting dough that held together enough to consider kneeding. It was still quite sticky once I turned it out of the bowl. Any ideas? Now it is rising on my windowsill. I look forward to tasting this bread…..love the method and that I can do it in my mixer, which I am still learning to use 🙂
Hi Ashley, Hmm, I’m not sure why you had to add so much more flour. Did you follow all the other ingredients? Did you use bread flour in addition to the whole wheat flour or all purpose flour? Using all purpose instead of bread flour could make a big difference. You might also find that the dough is less sticky after rising once.