How to Temper Chocolate

Learn how to temper chocolate for dipping and molding beautiful candies that have that perfect “snap” when you bite into them. Read on to find step by step instructions, helpful hints and a video.
What is tempering and why does chocolate need to be “tempered”?
You know how when you bite into a good chocolate bar it “snaps” between your teeth, and then gloriously melts in your mouth? Well, that wonderful bite and texture are thanks to the cocoa butter in the chocolate and from the process of “tempering”.
**Please note that if you are working with “candy melts” or “coating chocolate” you do not need to temper. But, honestly, the texture and taste are not the same as real chocolate**
Cocoa butter is the natural fat in chocolate, and cocoa butter is exactly what makes chocolate such a luxurious treat. Cocoa butter’s structure and characteristics give chocolate the particular glossy, snappy and silken texture that is unlike any other food on the planet.
When you melt chocolate to mold or dip candies, you have to control how the chocolate cools to make sure the cocoa butter solidifies properly. Left to it’s own devices, the cocoa butter will tend to form large, unstable crystals. That haphazard crystal structure forms a chocolate that is soft and greasy instead of smooth and snappy.
Through the process of tempering, which is simply heating, cooling and reheating the chocolate to specific temperatures, you are helping the fat molecules form into consistent and stable crystals. Those stable crystals form a chocolate that is glossy, silky and snappy.
Helpful hints for tempering chocolate:
- Never let even a drop of water get into the melted chocolate. It will immediately seize the chocolate and the chocolate will be ruined.
- If working with a microwave, heat the chocolate in short increments to avoid burning the chocolate. This is especially important when working with white chocolate.
- Once the chocolate is reheated to the “working temperature” make sure it stays below the max temperature in the range. If the temperature goes above the maximum working temperature you’ll loose the stable crystal network and will need to start the tempering process over again.
- Only real chocolate needs to be “tempered”. Candy melts or coating chocolate do not need to be tempered.
Now that you know how to temper chocolate, try making real Cordial Cherries.

How to Temper Chocolate
Equipment
- Large Bowl
- Microwave or double boiler for melting
- Wooden spoon or spatula
- Thermometer for monitoring the temperature
Instructions
Before you begin: The temperatures listed below are for dark chocolate. If you are tempering milk or white chocolate, see the Notes section for the correct temperature ranges.
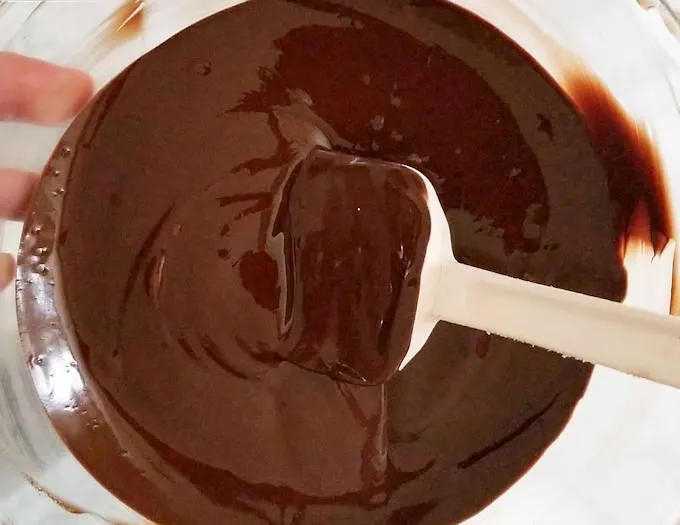
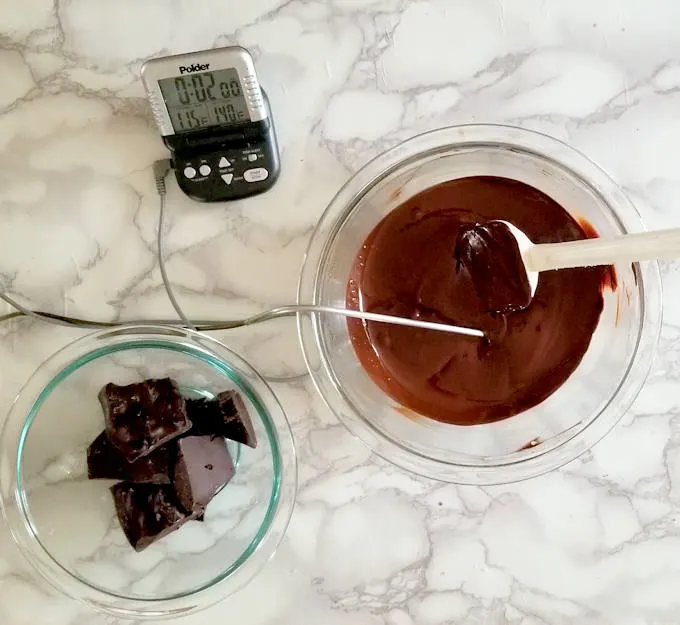
- Set aside 4 oz of chocolate as the "seed" chocolate. Chop and melt the remaining 12 ounces of chocolate in a microwave or over a double boiler. Bring the temperature between 113°-122°F (45°-50°C).
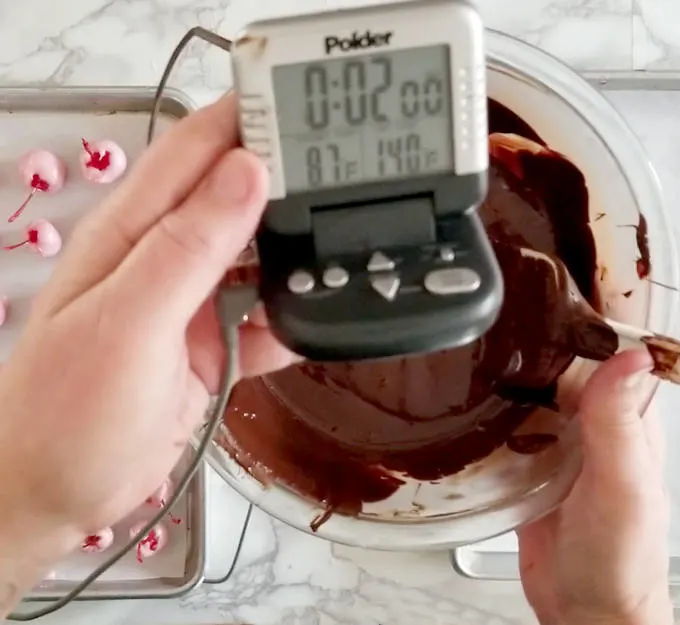
- Add the seed chocolate. Stir to allow the new chocolate to begin cooling the melted chocolate. Check the temperature as you continue stirring. Bring the temperature down to 81°F (27°C).
- Microwave for 20 seconds, stir the chocolate and check the temperature. Bring the temperature to a working range of 88°-94°F (32°-34°C). If you go over the max temperature you'll have to start the tempering process over.
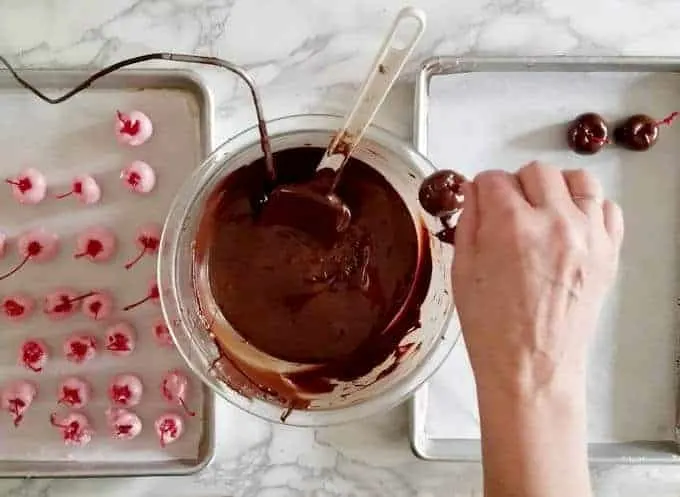
- The chocolate is now tempered and ready to dip or mold. If there is any unmelted “seed” chocolate left in the bowl you can either work around it or lift it out of the bowl.
- To hold the chocolate in the proper temperature range, you can set the bowl over a bowl of warm water (don’t let the bottom of the chocolate bowl touch the water). If the chocolate gets too thick to work with, microwave briefly. Again, don’t let the temperature go above the working range or you’ll need to retemper.
- Properly tempered chocolate should set fairly quickly and will have a smooth, glossy surface. Tempered chocolate will break with a “snap”. There should be no white bloom on the surface as the chocolate sets.
Video
Notes
Dark Chocolate
- Melting Temperature: 113°-122°F (45°-50°C)
- Cooling Temperature: 81°F (27°C)
- Working Temperature: 88°-94°F (32°-34°C)
Milk Chocolate:
- Melting Temperature: 104-113°F (45-50°C)
- Cooling Temperature: 81°F (27°C)
- Working Temperature: 84-86°F (29-30°C)
White Chocolate:
- Melting Temperature: 104-113°F (45-50°C)
- Cooling Temperature: 81°F (27°C)
- Working Temperature: 84-86°F (29-30°C)
Hi Eileen,
Tempering chocolate is a great video, thank you for posting. I was checking out your equipment page afterwards and noticed your special thermometer isn’t listed to buy. I recommend putting that on there.
Great idea. Thanks.