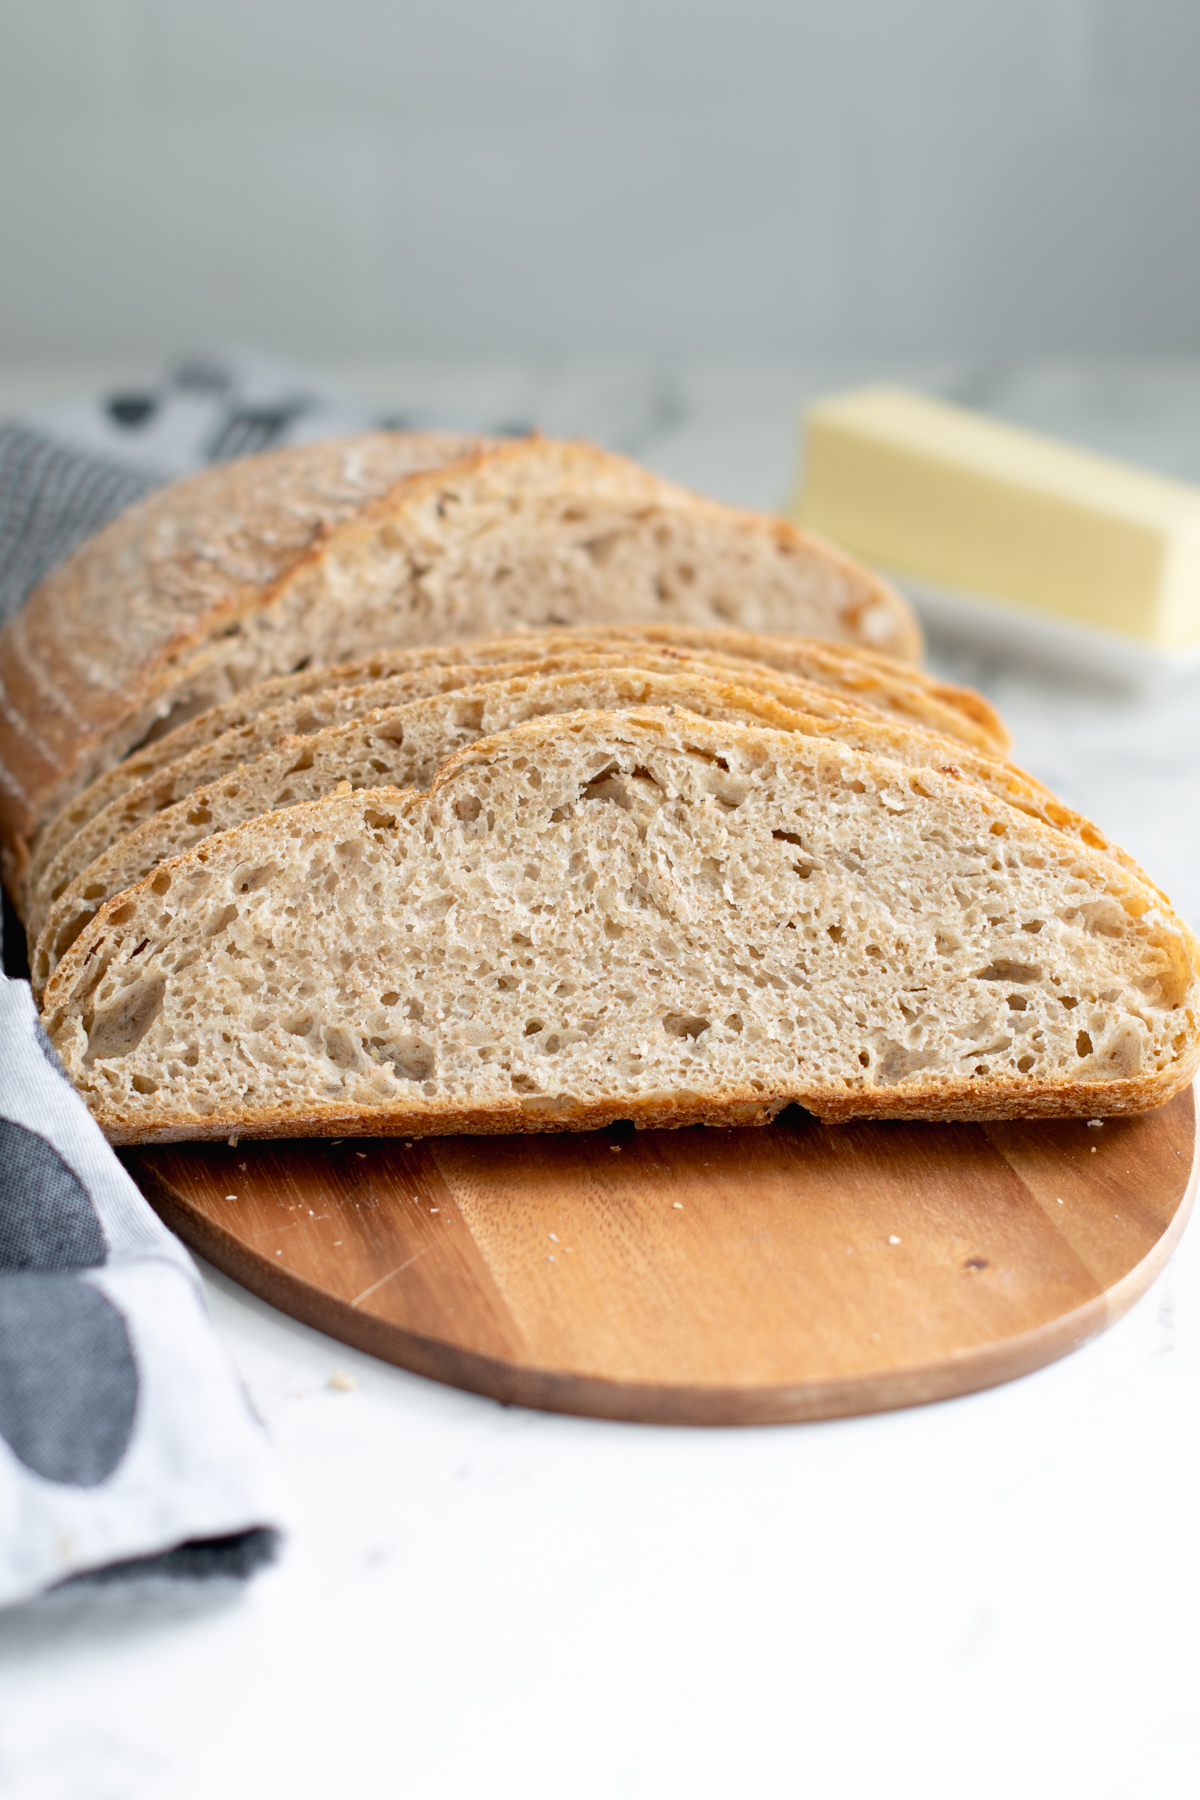
Easy No Knead Whole Grain Bread
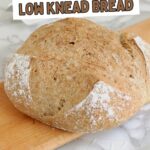
Whole Grain Low Knead Bread is a delicious, nutritious and hearty bread that requires just a few minutes of actual hands-on time to make. If you’ve been reluctant to try baking your own bread, this foolproof recipe is a great place to start.
If you love baking bread and want to understand the process a little better, take a look at my comprehensive Bread Baking Guide. It covers the basics of mixing, kneading, proofing, and baking so you can get perfect results every time.
Table of contents
About This Recipe
About 10-15 years ago, a recipe called “No Knead” bread was published in the New York Times and today variations of it are found all over the internet.
No knead bread is precisely as easy as it sounds. The recipe takes more than 12 hours from start to finish, but almost all the time is hands off. The downside of a no knead bread is that it relies on a very moist (high hydration) dough to form the structure of the bread.
A slight adaptation to the no knead method reduces the amount of water needed, which makes the dough easier to handle.
For my low knead bread recipe I added a little whole wheat flour because I love a good, chewy whole grain loaf, and I added wheat germ for extra texture, flavor and nutrition.
Whole wheat flour and wheat germ absorb a lot of water. So, while the amount of water in the recipe might seem high, this dough is not extremely sticky and is very easy to handle.
The “low knead” technique adds just a bit of kneading as we shape the loaf. This takes less than a minute, but it allows us to use less water in the dough, making it much easier to handle than a true “no knead” dough.
Ingredients
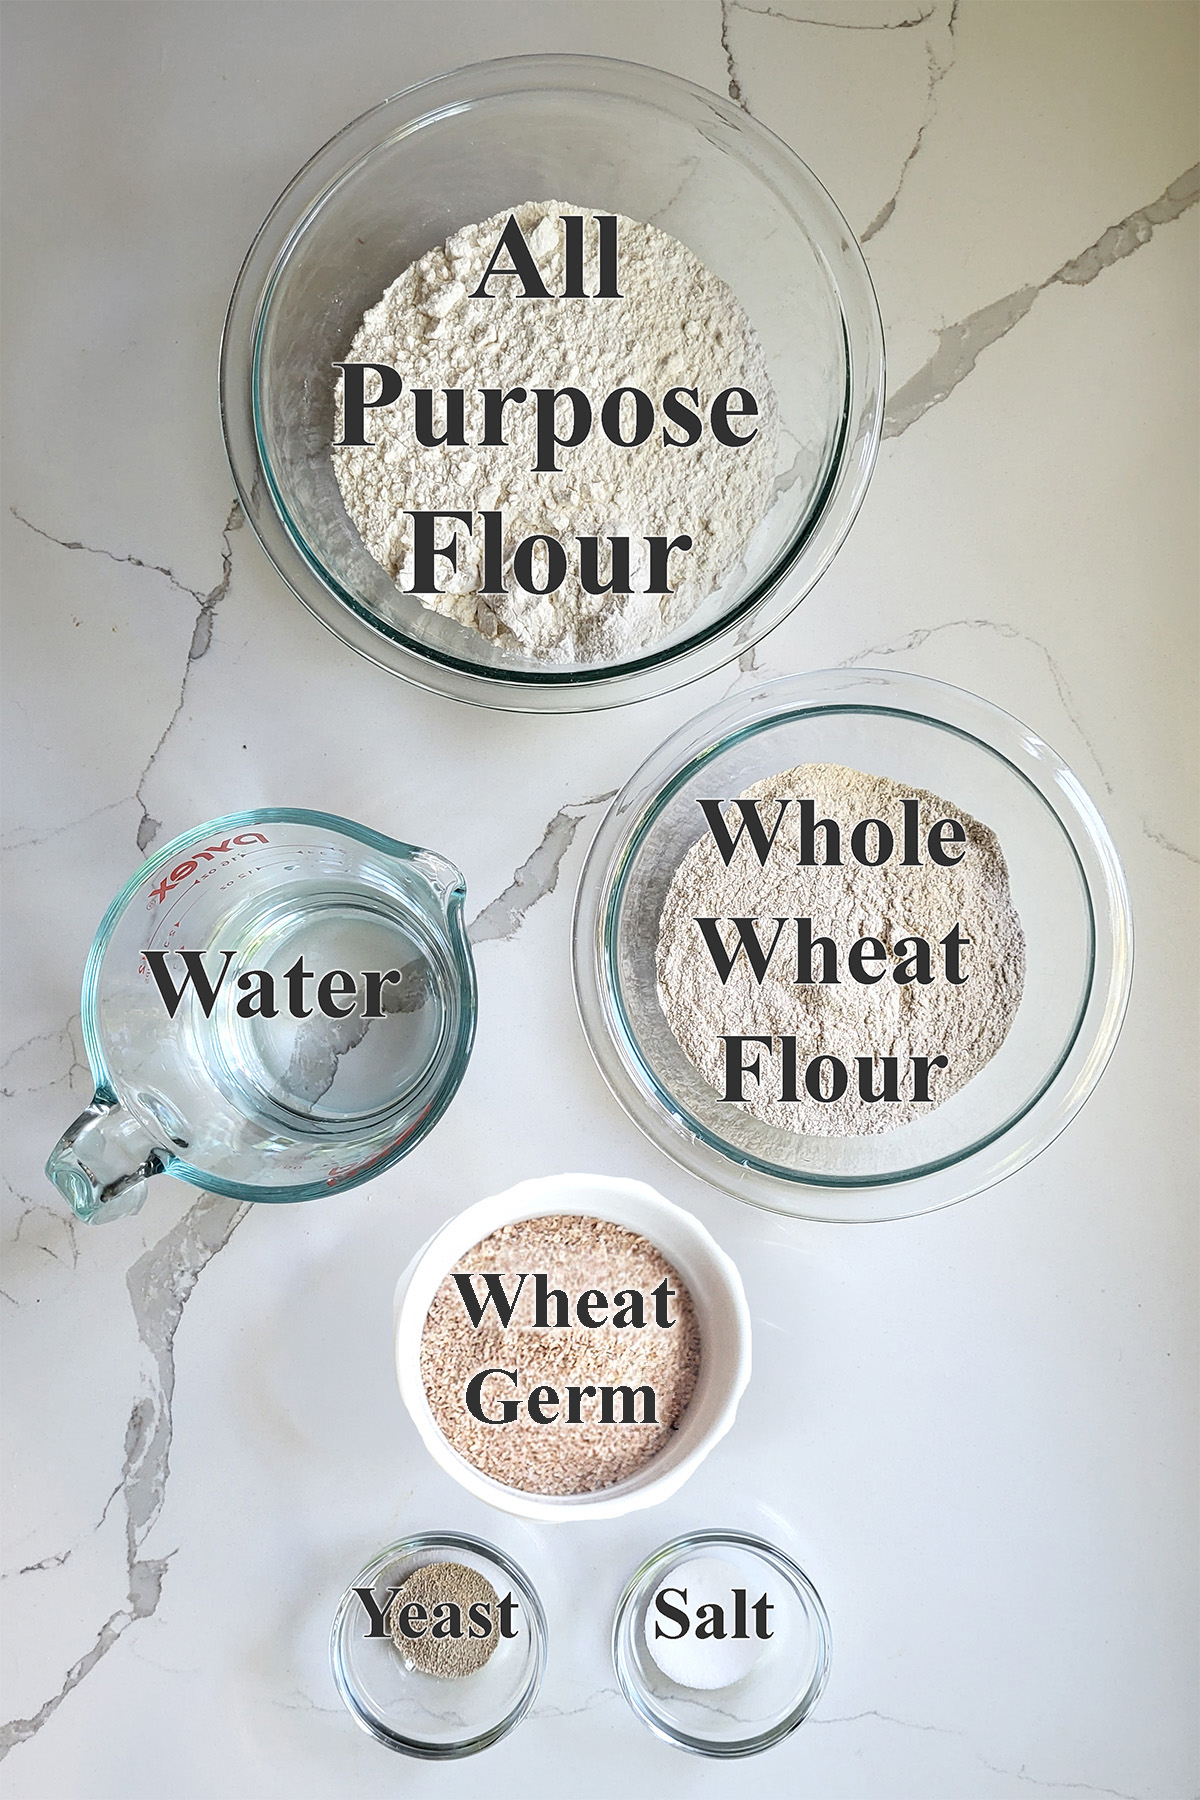
Ingredient Notes
- All Purpose Flour – Medium protein content all purpose flour is widely available. To make a white bread, replace the all purpose flour, whole wheat flour and wheat germ with bread flour. The higher protein content will absorb more water to make up for the whole grain flours.
- Whole Wheat Flour – Whole wheat flour is more absorbent than white flour. So the bread can take more moisture for a softer crumb.
- Wheat Germ – Wheat germ adds flavor, texture and nutrition to the loaf. Wheat germ is very absorbent so you can add more water to the dough and it is still workable.
- Yeast – This bread uses much less yeast than normal. This allows the bread to rise slowly at room temperature to develop the gluten in the dough without extensive kneading. Do not use rapid rise yeast as this bread is designed for a long, slow rise.
Process Photos
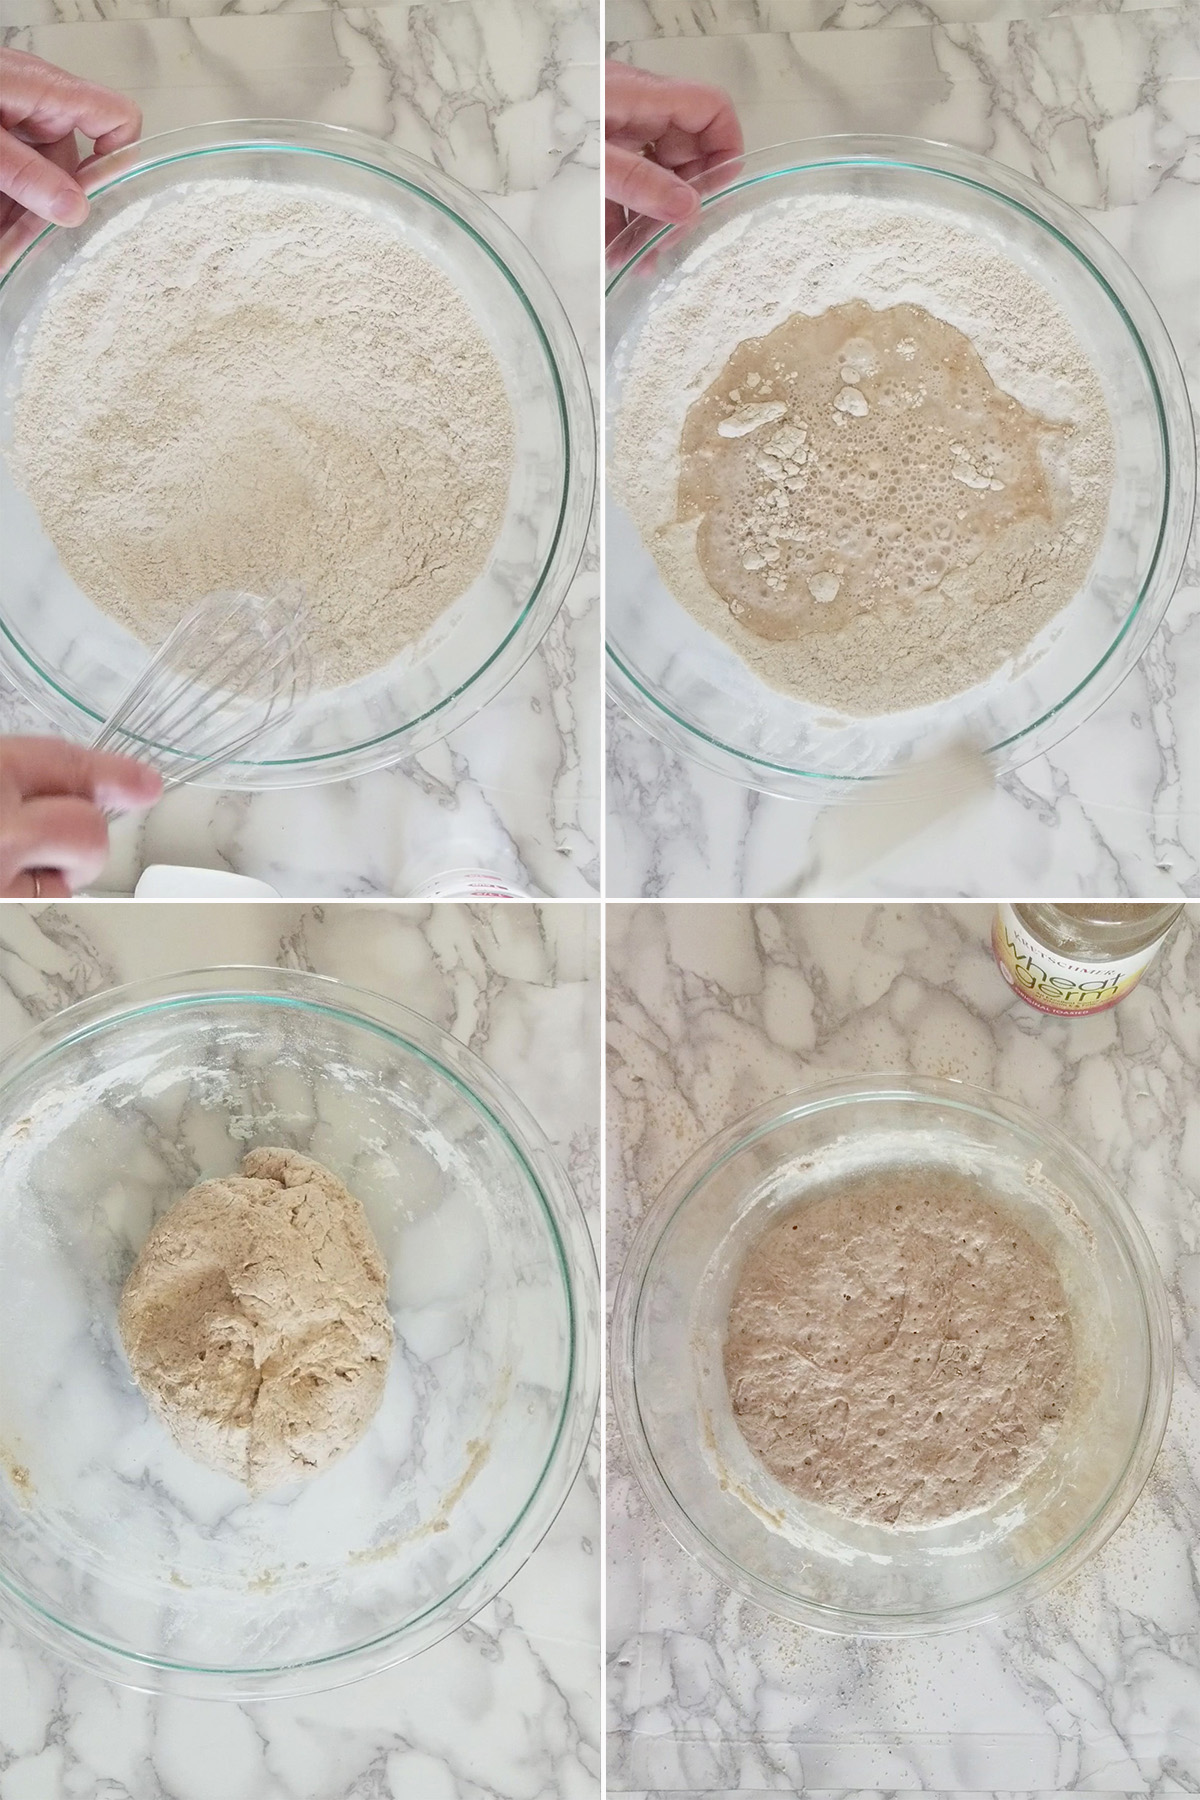
- Whisk together the all purpose flour, whole wheat flour, wheat germ, salt and yeast.
- Add the water and mix until the flour is absored.
- Cover the dough and set it aside to rise for 10-18 hours.
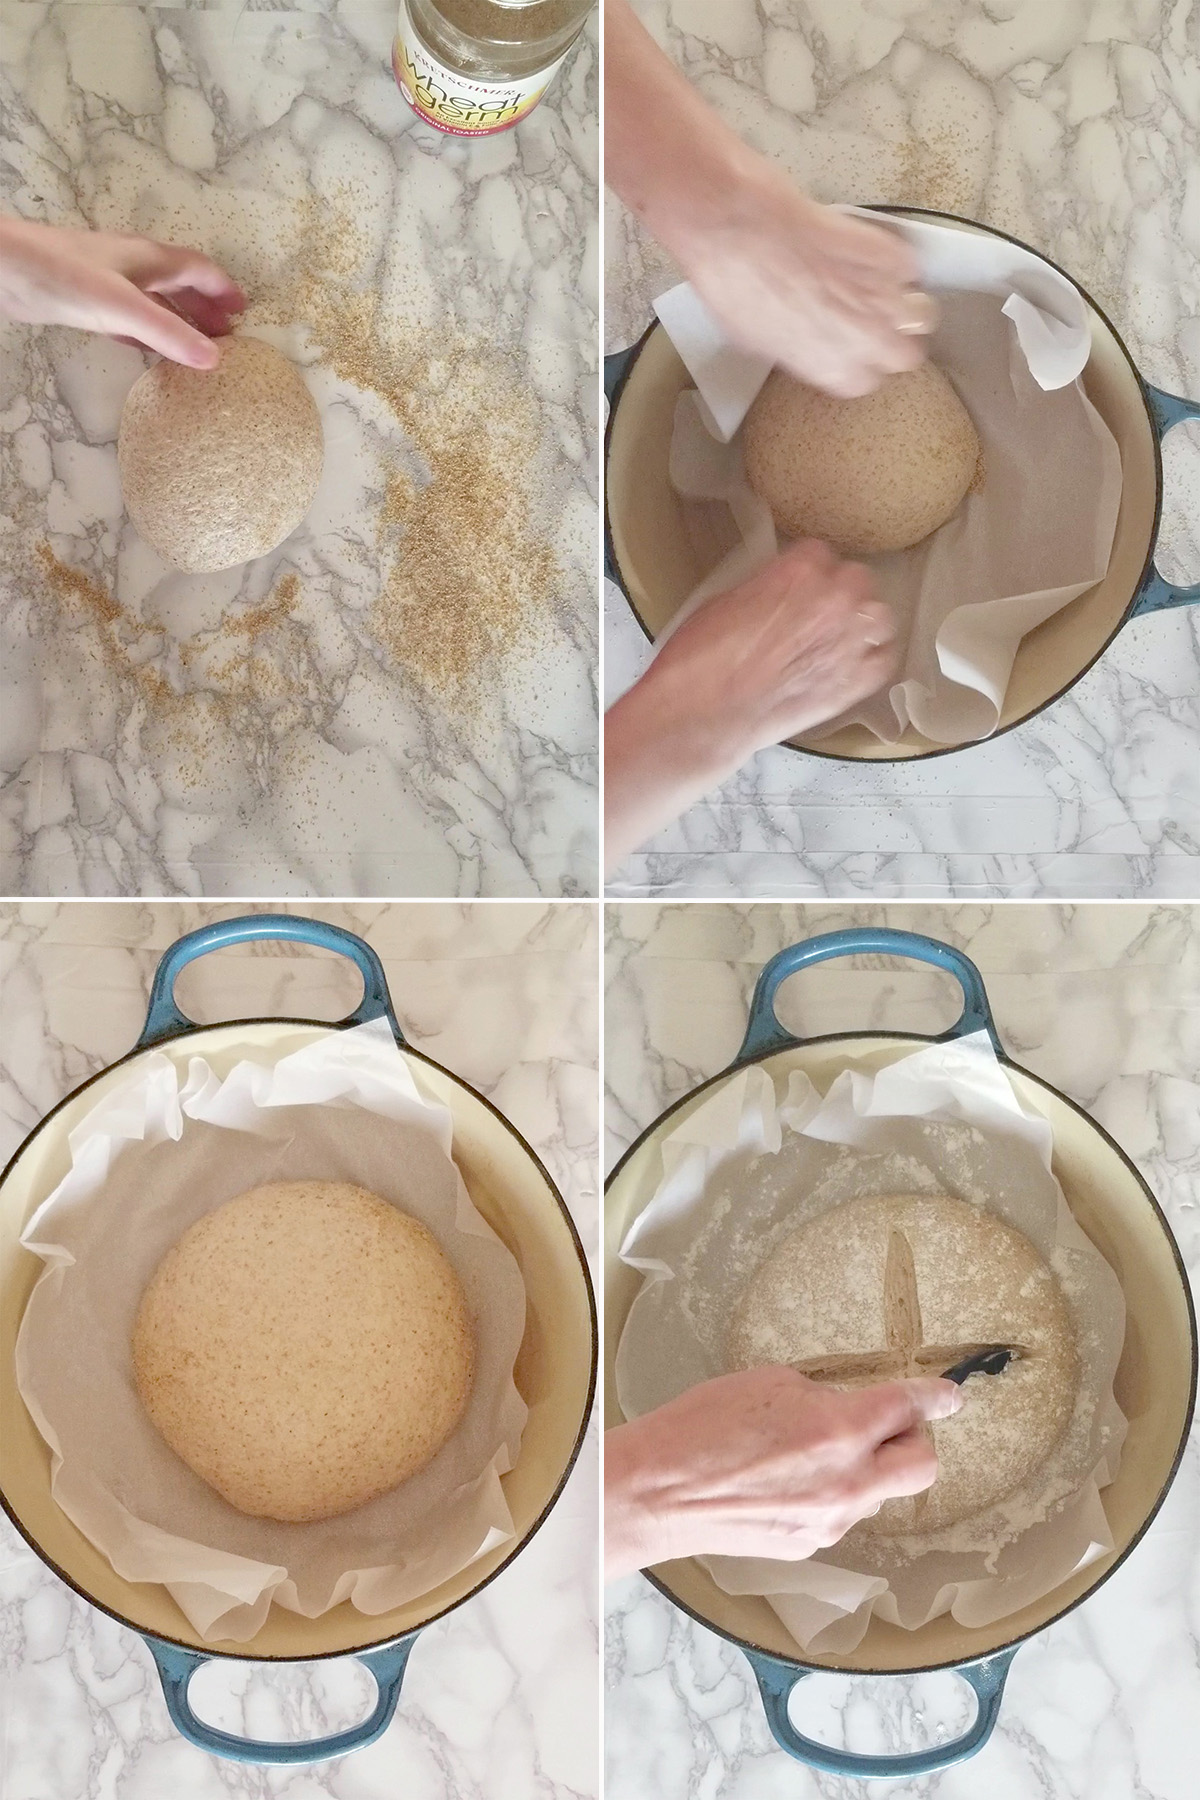
- Knead the dough 10-12 times on a surface dusted with wheat germ. For the dough into a ball.
- Set the dough onto a sheet of parchment paper and transfer it to a Dutch oven or baking sheet.
- Allow the dough to double in size.
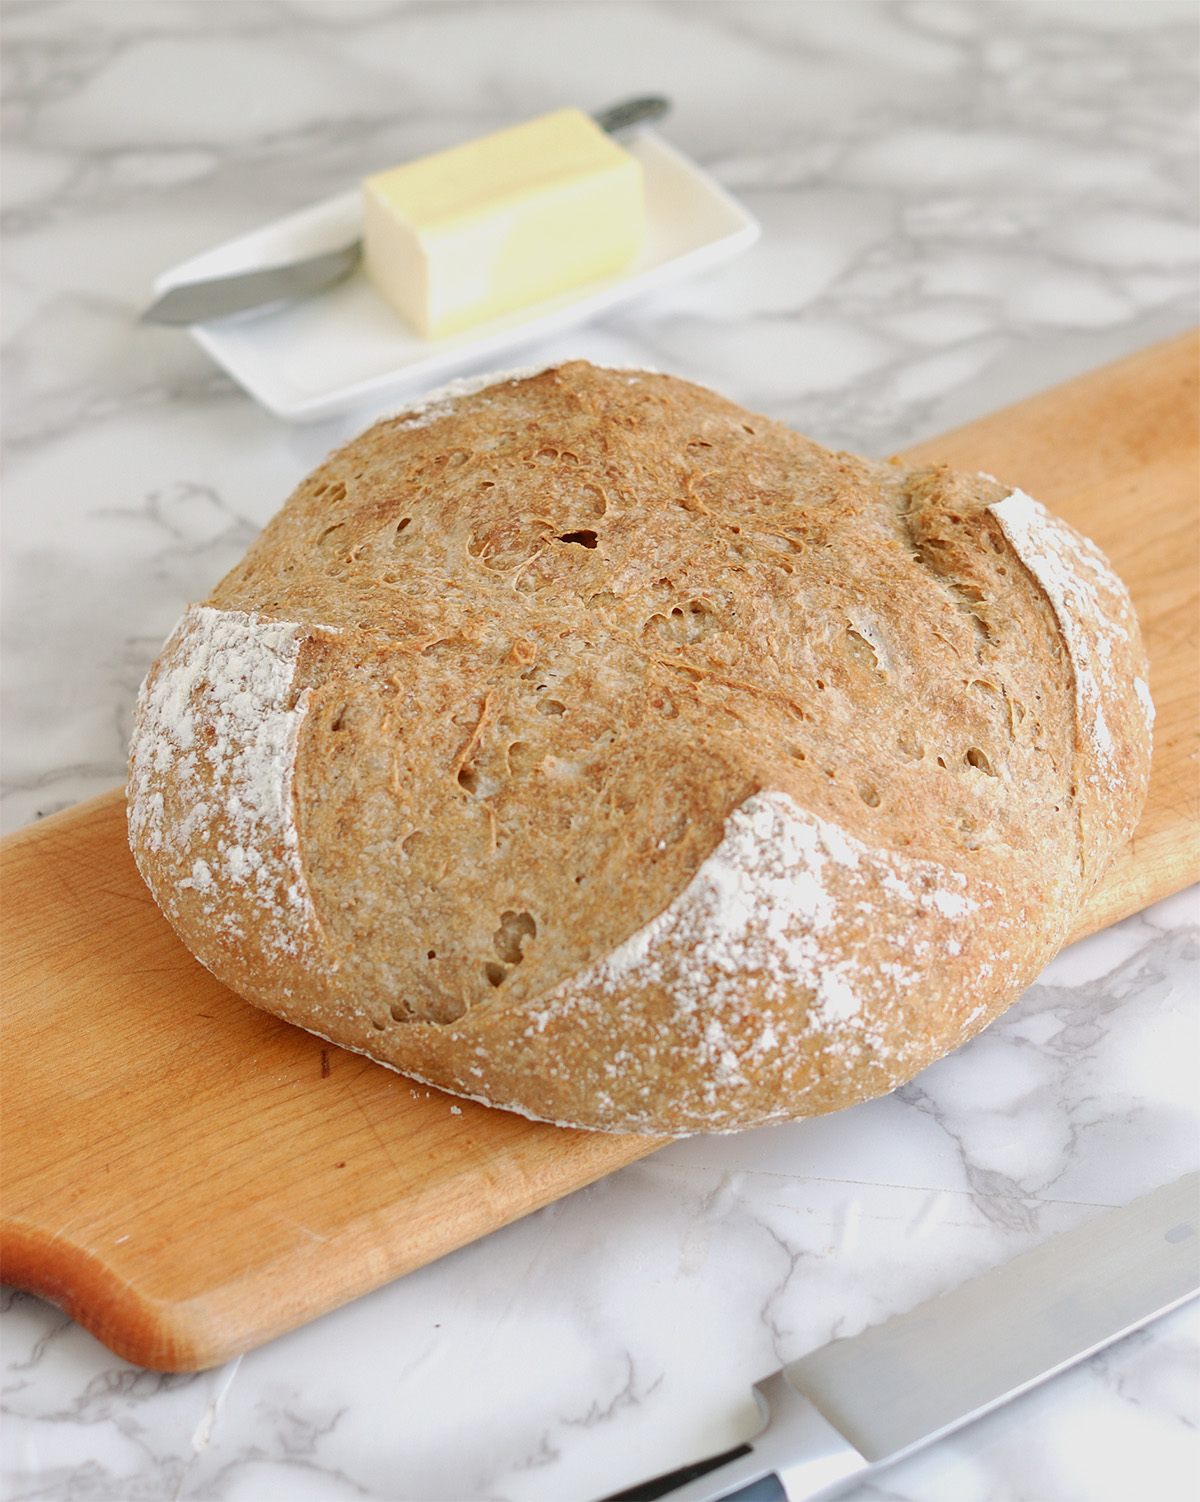
- Sprinkle the top of the dough with flour and slash a large X across the top.

- Bake until the dough is well risen, golden brown and the interior measures 200F.
- Cool on rack to room temperature before slicing.
The Science of “No Knead” Bread
Although the idea of a no knead bread has been recently popularized, I suspect that this way of making bread goes all the way back to the invention (or discovery?) of bread itself — because the method depends on a natural reaction in the dough.
How does it work?
As I explain in the Science of Flour page, protein is a major component of wheat flour.
When a batter or dough is mixed, two proteins in the dry flour, glutenin and gliadin, absorb water and form gluten.
Gluten is a network of coiled and folded protein strands which form the structure of baked goods.
As a dough is kneaded, the coiled and folded strands of gluten begin to align and tighten. This is why a bread dough that starts out loose and “shaggy” becomes smooth and silky as it is kneaded.
When you make bread using the “no knead” method, the bread does the work of developing the gluten without you having to flex a single muscle. This happens via a process called autolyse.
What is autolyse?
Basically, autolyse is an enzymatic reaction in bread dough which breaks the gluten strands in the dough into smaller pieces.
Those smaller strands can line up and form a network more easily than long strands. This action allows the gluten to develop with no or very little kneading.
It takes some time and a fairly high proportion of water for this process to happen. Low knead and no knead bread recipes take advantage of autolyse by making a wet dough and giving the dough time to work it’s magic creating a strong gluten network.
Work Ahead
This recipe is designed to rise slowly over 10-18 hours, so you can adapt the timing to fit your schedule.
Baking Schedule
Plan to mix the dough the evening before you want to bake. When you wake up in the morning, it should be ready to shape and bake.
To extend the window between mixing and baking, refrigerate the dough after 8 hours. It can be held for up to another 12 hours in the refrigerator.
Storage
Because of the high water content and whole grains, this bread will keep at room temperature for 2-3 days. Do not refrigerate the bread or it will stale faster. For longer term storage the loaf— whole or sliced — can be frozen for up to 2 months.
More Whole Grain Breads
If you love this recipe as much as I do, I’d really appreciate a star rating and a quick comment. Ratings and comments help my recipes show in search results. Thanks!
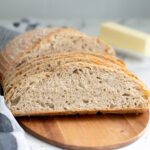
Whole grain No knead bread
Video
Ingredients
- 11 ½ oz all purpose flour (2 ¼ cups, see note)
- 2 ½ oz whole wheat flour (½ cup)
- 1 oz wheat germ (¼ cup)
- 1 ½ teaspoons table salt
- ¼ teaspoon dry yeast (not quick rise)
- 12 oz water (1 ½ cups, room temperature)
Instructions
- Whisk together 11 ½ oz all purpose flour, 2 ½ oz whole wheat flour, 1 oz wheat germ, 1 ½ teaspoons table salt and ¼ teaspoon dry yeast in a large mixing bowl. Add 12 oz water all at once and mix with a spatula until the flour is incorporated. The dough will look shaggy, not smooth. Cover the bowl with plastic wrap and leave it at room temperature for at least 10 hours and up to 18 hours.
- Lightly sprinkle a sheet of parchment paper with wheat germ. Turn the dough out onto a lightly floured surface and knead very briefly, just 12-15 times. Pull the sides of the dough towards the center to form a round. Set the dough, seam side down, onto the parchment paper.
Sheet Pan Baking
- If you are using a sheet pan, slide the parchment paper onto the pan, cover the bread and set aside to rise until doubled in volume, about 1-1½ hours. Preheat the oven to 400 °F.
- Uncover the bread. Sprinkle the top of the loaf lightly with flour. Use a sharp knife or a razor to slash a ½” deep X across the top of the loaf. Slide the pan into the oven and bake until well-risen, golden brown and the interior temperature is 200 °F. Slide the paper onto a rack and cool to room temperature before slicing
Dutch Oven Baking
- Use the parchment paper to lift the dough and set it into a heavy Dutch oven. Cover the pot with plastic wrap and the lid of the pot. Leave the dough at room temperature to rise until doubled in volume, 1-1 ½ hours. Preheat the oven to 425 °F.
- Uncover the bread and sprinkle the top of the loaf lightly with flour. Use a sharp knife, scissors, or a razor to slash a ½” deep X across the top of the loaf.
- Cover the pot and place it in the oven and bake the bread for 30 minutes. Remove the lid from the pot and bake for another 25-30 minutes until the crust is deeply-browned. Use the paper to lift the loaf onto a rack to cool to room temperature before slicing.
Would you like to save this recipe?


As an Amazon Associate and member of other affiliate programs, I earn from qualifying purchases.

Thank you for the recipe. How much water should I use
if I don’t have wheat germ and substitute wheat flour?
Also, would a 100% whole wheat recipe work, assuming
more water added? I assume it would be denser than
bread made with some refined flour.
I found when developing this recipe that the wheat germ absorbed quite a bit of water. Without testing I couldn’t say for sure the amount of water to use without the extra germ. Try reducing the water to 12 oz then adjust the dough with more water or flour as needed. Using 100% whole wheat will result in a denser bread since the gluten won’t be quite as strong as it is with the ap flour.
what so i use if i do not have a dutch oven
WHAT DO I USE IF I DONT HAVE A DUTCH OVEN
Any heavy pot with a lid will do. Even a deep casserole dish would probably work. You might night get quite the same crust, but it would work.