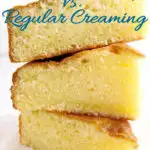
The Reverse Creaming Method for Cakes
Introducing Reverse Creaming also know as Two Stage Creaming.
This is the first in a series of 7 “Cake Batter” classes. Over the course of the series we’ll test how changes to cake batter mixing technique and ingredients can alter a cake’s taste and texture.
We’ll work with the original pound cake as our test recipe for the “Cake Batter” classes. Pound cake is a great tool for our purposes precisely because it’s a simple recipe with just 4 ingredients.
Pound cake got it’s name based on the original formula of 1 pound each of butter, sugar, eggs and flour. It’s called “quatre-quarts” (four-fourths) by the French.
For our science of cake batter series we’ll look at the role each ingredient plays in the batter. But first we’ll look at two cake batter mixing methods.
Traditional Creaming vs. Reverse Creaming
When I was in culinary school, our first lesson in the “cakes” section was the basic pound cake. Not only did we have to use the original “quatre quarts” recipe, we were required to cream the butter and sugar with a wooden spoon, by hand.
At the time it seemed a little ridiculous. We knew we’d never actually mix a pound cake by hand, especially in a pro kitchen.
But the exercise did reinforce how important technique is, not only for pound cake but for all baking.
What is the creaming method?
The traditional creaming method starts by beating together the butter and sugar. The sharp edges of the sugar crystals cut through the butter to create lots of little air bubbles. The eggs are added one at a time and the flour is added last.
As soon as the flour is added gluten, the protein in the flour that gives baked goods their structure, will start to form. As the cake bakes the air bubbles trapped in the butter will expand in the heat of the oven producing, in theory, a light and airy cake.
What is Reverse Creaming?
Reverse creaming, aka two-stage creaming, is an alternate technique used by many bakers (including me). Reverse creaming starts by beating together the flour, sugar and butter.
Gluten won’t start to form until the flour comes in contact with water (in the egg whites). Coating the flour molecules with butterfat before the eggs are added creates a barrier which slows the formation of gluten. Reverse creaming should, in theory, make a cake with a more tender and velvety texture.
Cake test – creaming versus reverse creaming
One way to compare mixing techniques is to run side-by-side tests. For each test I mixed one batch using the traditional creaming method and one batch using the reverse creaming method.
Each batch of cake contained exactly 8 ounces each of cake flour, granulated sugar, unsalted butter and eggs. The butter and eggs were at ideal room temperature, between 65-70°F.
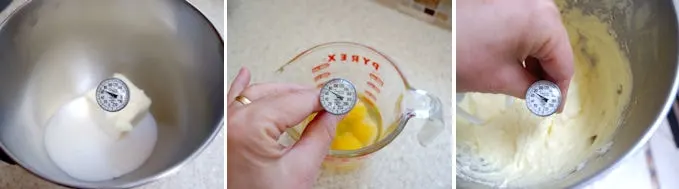
- All ingredients were at ideal room temperature, about 65°-70°F.
- All cakes were baked in identical 9”x 5” loaf pans at 325°F in a convection oven.
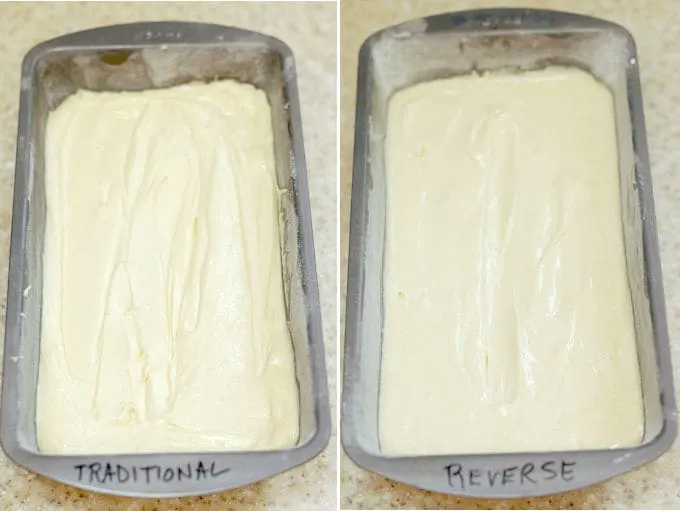
- The cake batters look similar going into the oven.
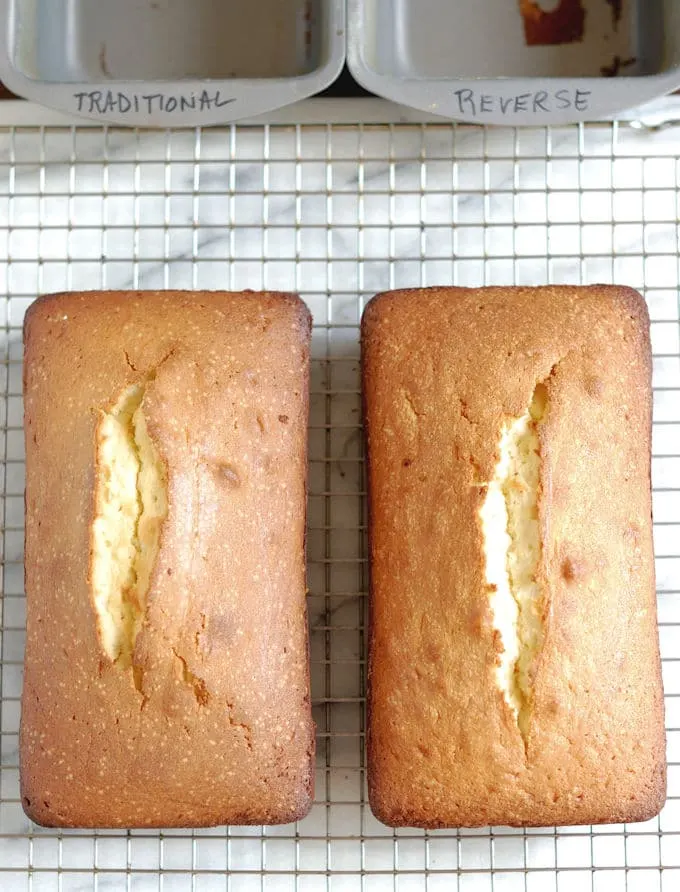
- The crusts on the cakes had slightly different texture.
Creaming vs. Reverse Creaming test results
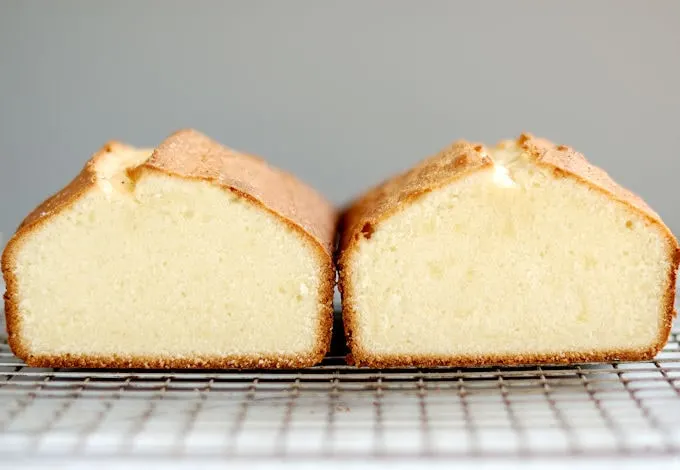
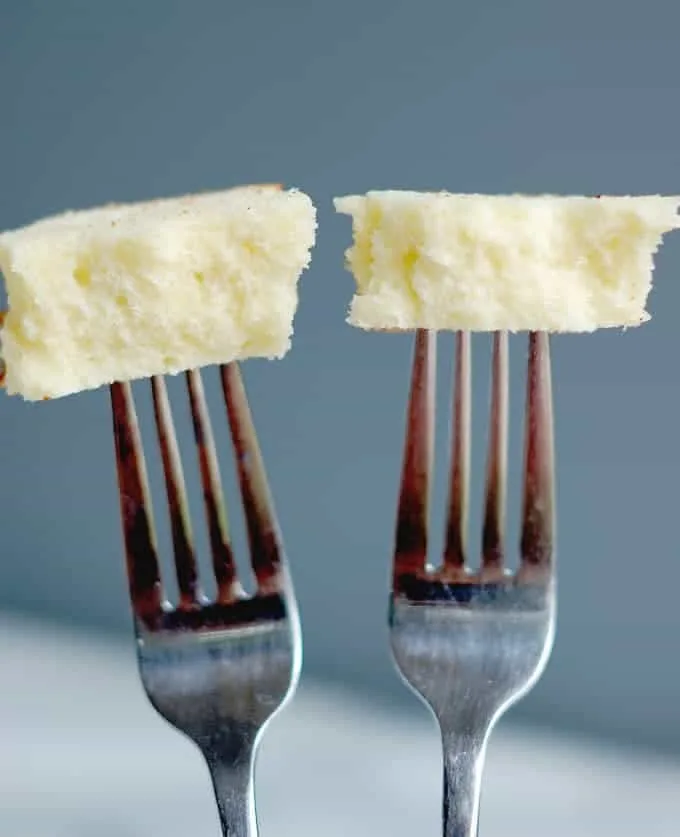
- At first glance, the cakes made with the different mixing methods looked very similar, but once I cut and tasted the cakes the differences became apparent.
- The cake made with the traditional creaming method had a very tight crumb and contained a few pockets of air. The cake was a little chewy with a slightly bouncy texture. I pinched a piece of the cake between my fingers and it held together a moment before breaking up.
- The cake made with the reverse method also had a tight crumb, but it was very consistent with no air pockets. The texture was softer and more tender. When I pinched a piece of that cake between my fingers it broke apart more easily.
Which is better, creaming or reverse creaming?
In tests using the exact same ingredients, a cake made with the reverse creaming method was softer and more tender. Which is why reverse creaming is my preferred mixing method.
Other cake batter classes:
Next up: Cake Batter Class #2 will explore how adding salt, flavorings and leavening can improve on the basic pound cake recipe.
- The function of flour in cake batter
- The function of eggs in cake batter
- The function of sugar in cake batter
- The function of fat in cake batter
- The Cake recipe formula
When we’re done experimenting with all the ingredients for this “cake batter” course, we’ll use all we’ve learned to create Pound Cake Perfection.
Can you please tell me which type of cake is mixed but not whisked.
I’m sorry. I don’t understand your question.
I don’t have cake flour can I use all purpose flour or cake flour substitute
Yes, for each cup of cake flour you can use 3/4 cup of all purpose flour plus 2 tablespoon of corn starch.
@Eileen Gray,
But the volume when compared are not same. Still 2Tbsp is short.
The volume doesn’t need to be the same. The all purpose flour will absorb more moisture from the batter than cake flour does. It’s a good substitution. I’ve used it myself in a pinch.
@PAWAN,
I was trying to make eggless version and used oil instead of butter.
I normally use 1/4 up of oil for one cup of cake flour.
with this replacement of APF+Corn Flour, do we need to reduce the qty of oil also. and accordingly other ingredients.
@PAWAN,
Actually I mean to say weight not volume.
Would this method also work for a chocolate cake where there is traditionally less creaming but only egg/dairy then flour/dry?
I’m not sure I understand your question. The reverse creaming technique can be used for any recipe that normally begins with creaming the butter and sugar and then adding the flour (and dairy if there is any). The basic premise of this technique is that the flour is coated with fat to mitigate gluten formation before the liquid is added.
I’ve learnt one or two and hoping to learn more. More blessing. Pls grant access to getting hold of your ebook
Which book are you looking for? My self published pound cake book and my book Easy Baking From Scratch are both available on Amazon.
I did a similar test when I was working with a high school student as her mentor. The thing that really surprised me was that not only were the batters of difrerent texture, they also had a slightly different color and tasted completely different (more than what could be accounted for from difference in texture).
We tested with a “standard” yellow cake, using The Creaming Method for one and Two Stage for the other. Did you taste the batters and notice the same thing with a simpler, 4-ingredient cake? I’m still intrigued by the huge difference. I expected the two-stage cake to have a more velvety crumb, but I didn’t expect the two cakes to taste so different. Fascinating!
Yes, I love doing side by side tests. The results are often surprising. If found in the original tests that the regular creamed cake had a more “greasy” taste than the reverse creamed cake.