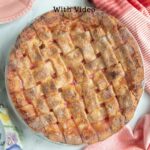
How to Weave a Lattice Pie Crust
A lattice pie crust is both beautiful and functional — the woven pattern shows off the filling and allows steam to escape as the pie bakes. Once you learn the technique, you can adapt it to any fruit pie for a classic, bakery-quality finish.
In this tutorial, I’ll show you how to weave a lattice top that bakes up neat and evenly spaced. You’ll just need a few simple tools and a little patience — the results are worth it.
Equipment You’ll Need
Gather your tools before you start. The right setup makes the process easier and neater.
- Pie Plate – The size and shape of your pie plate determine how many strips you’ll need.
- Rolling Pin – For rolling the top crust to an even thickness.
- Ruler – To measure and guide your cuts for uniform strips.
- Pizza Cutter or Paring Knife – To cut clean, straight strips of dough.
How to Weave a Lattice Pie Crust
You might be surprised how simple it is weave a beautiful lattice top pie. Cut the strips thinner for a more intricate look or slightly thicker for a more rustic look.
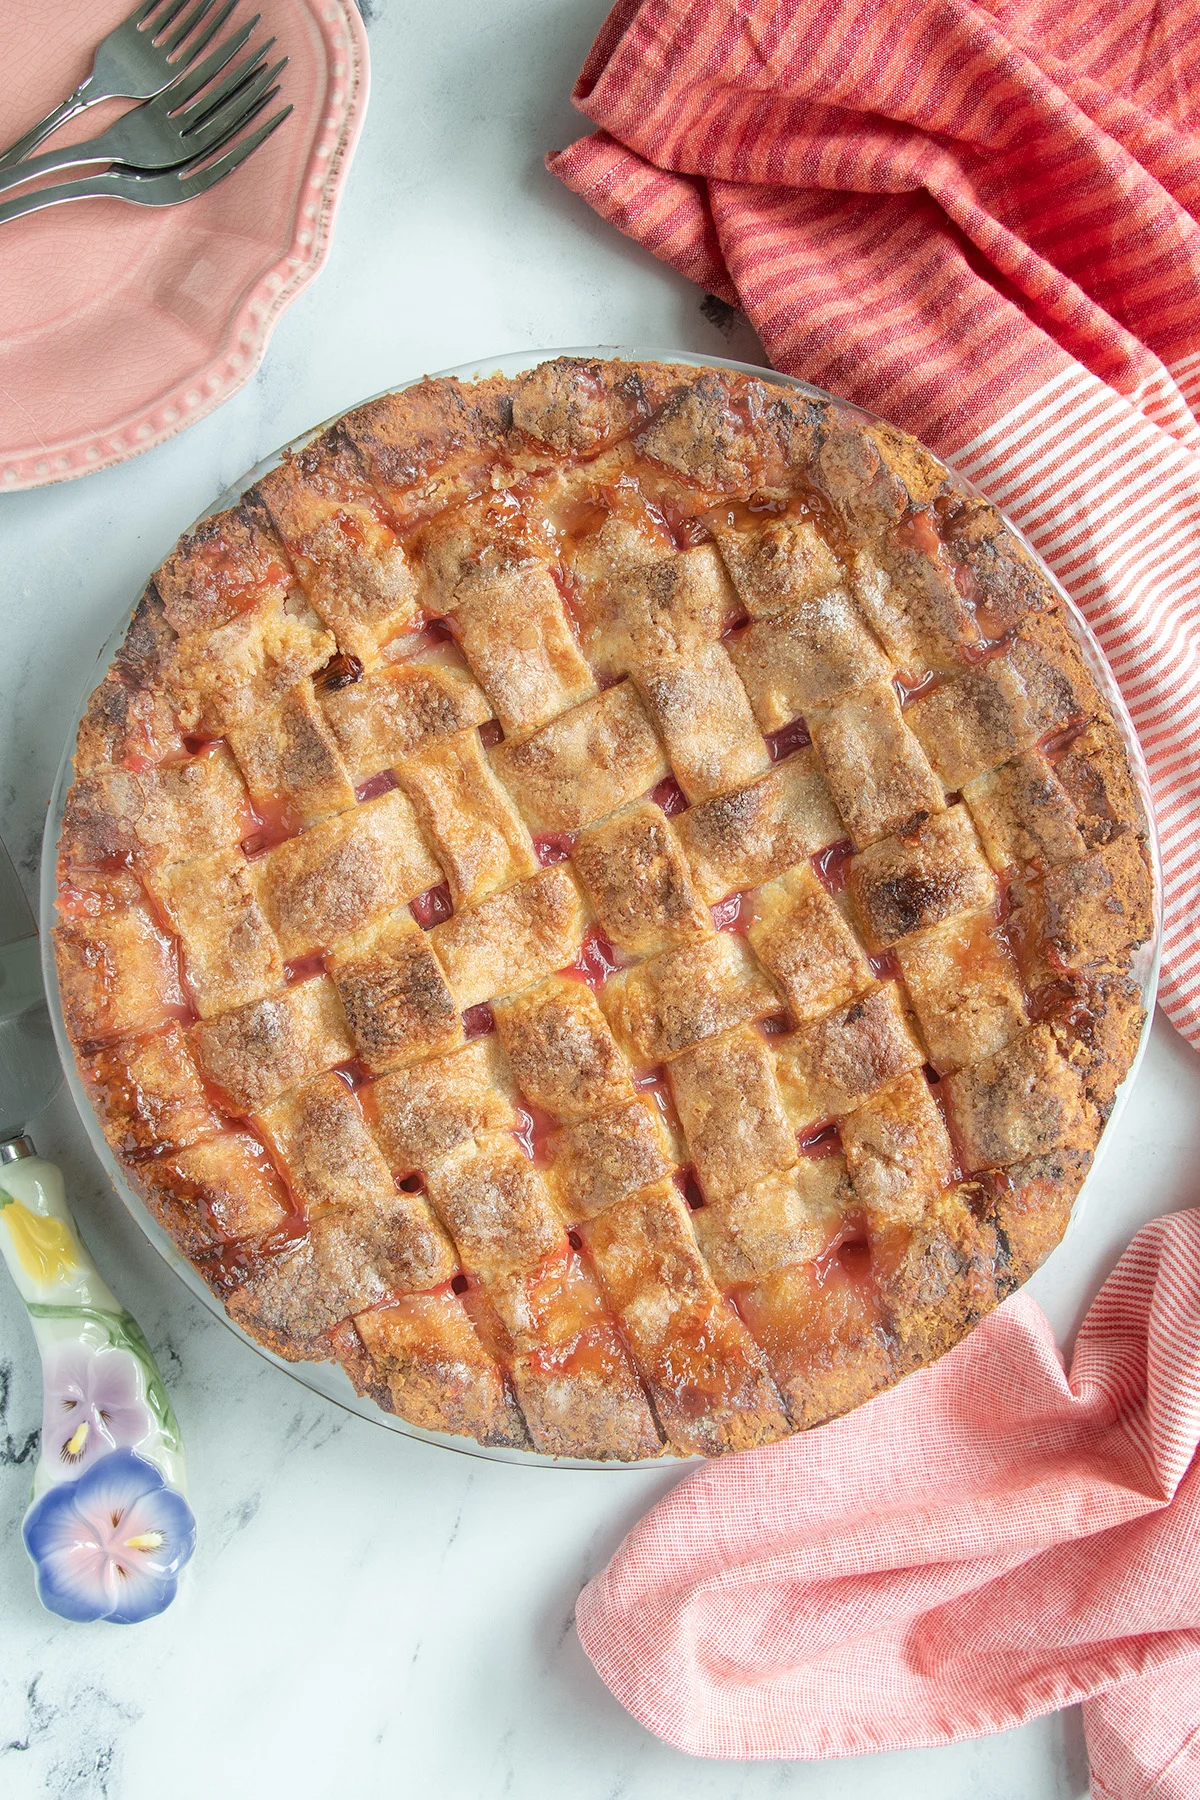
- Step 1: Roll and Cut the Dough
Have your pie plate filled with a bottom crust and the filling of your choice.
Roll the dough for the lattice top from the center out, turning it frequently so it doesn’t stick. Keep rolling until it forms a 12-inch circle about ⅛-inch thick.
Use a ruler to mark even increments for cutting the strips. Cut the strips with a pizza cutter or sharp knife — anywhere from ½ inch to 1 inch wide, depending on the look you want for your pie.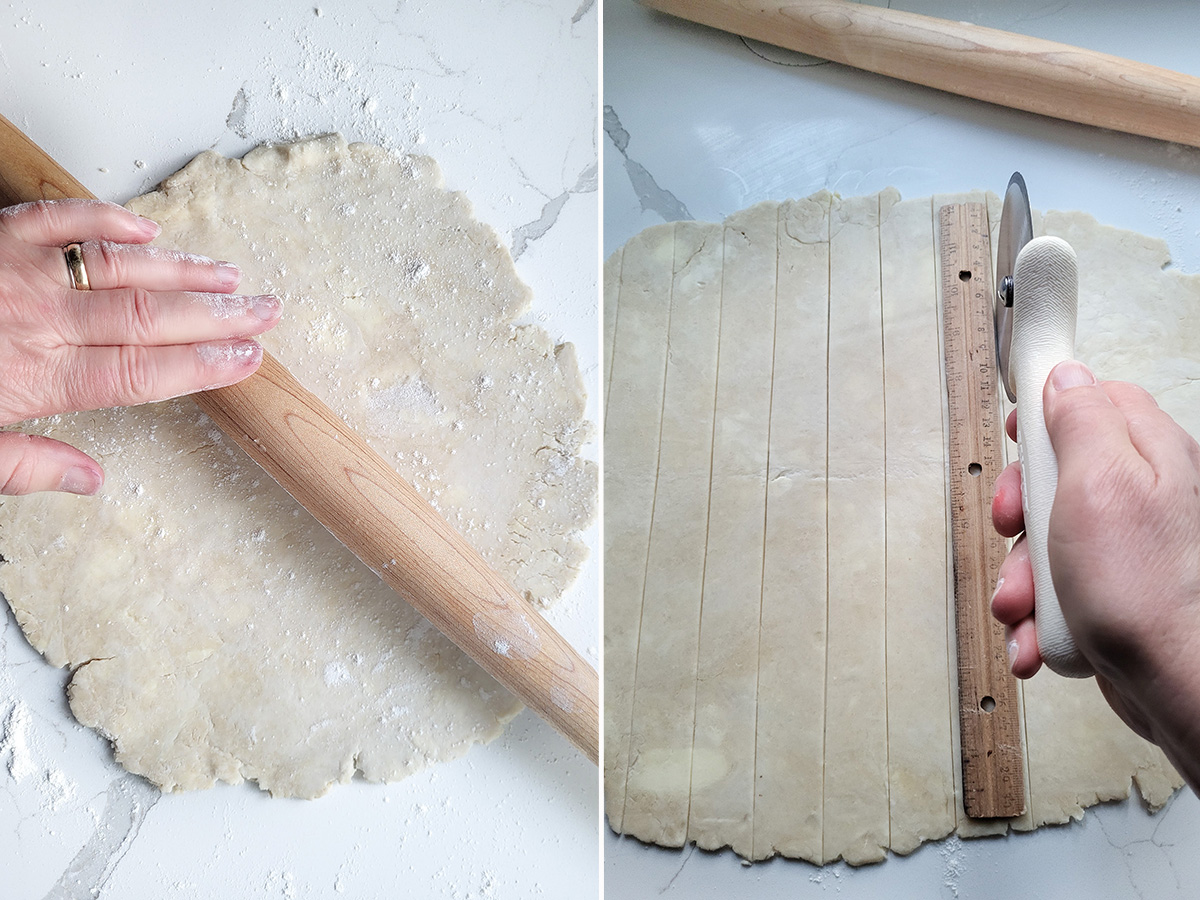
- Step 2: Lay the First Strips
Brush the edge of the pie dough in the pan with a little egg wash.
Arrange half of the dough strips in one direction across the pie, leaving small gaps between each strip. Use the longest strips in the center and the shorter ones toward the edges.
Flip every other strip back halfway, then lay one long strip across the pie, perpendicular to the first set. Flip the folded strips back down. Continue lifting alternating strips and adding new ones in the opposite direction to create the weave.
- Step 3: Finish and Bake
Once the pie is fully covered, press the ends of the strips onto the bottom crust to seal. Trim the excess dough with scissors or a paring knife, If you’d like, crimp the edges with a fork or your fingers.
Brush the entire top with egg wash and sprinkle with sugar for shine and texture. Bake according to your pie recipe.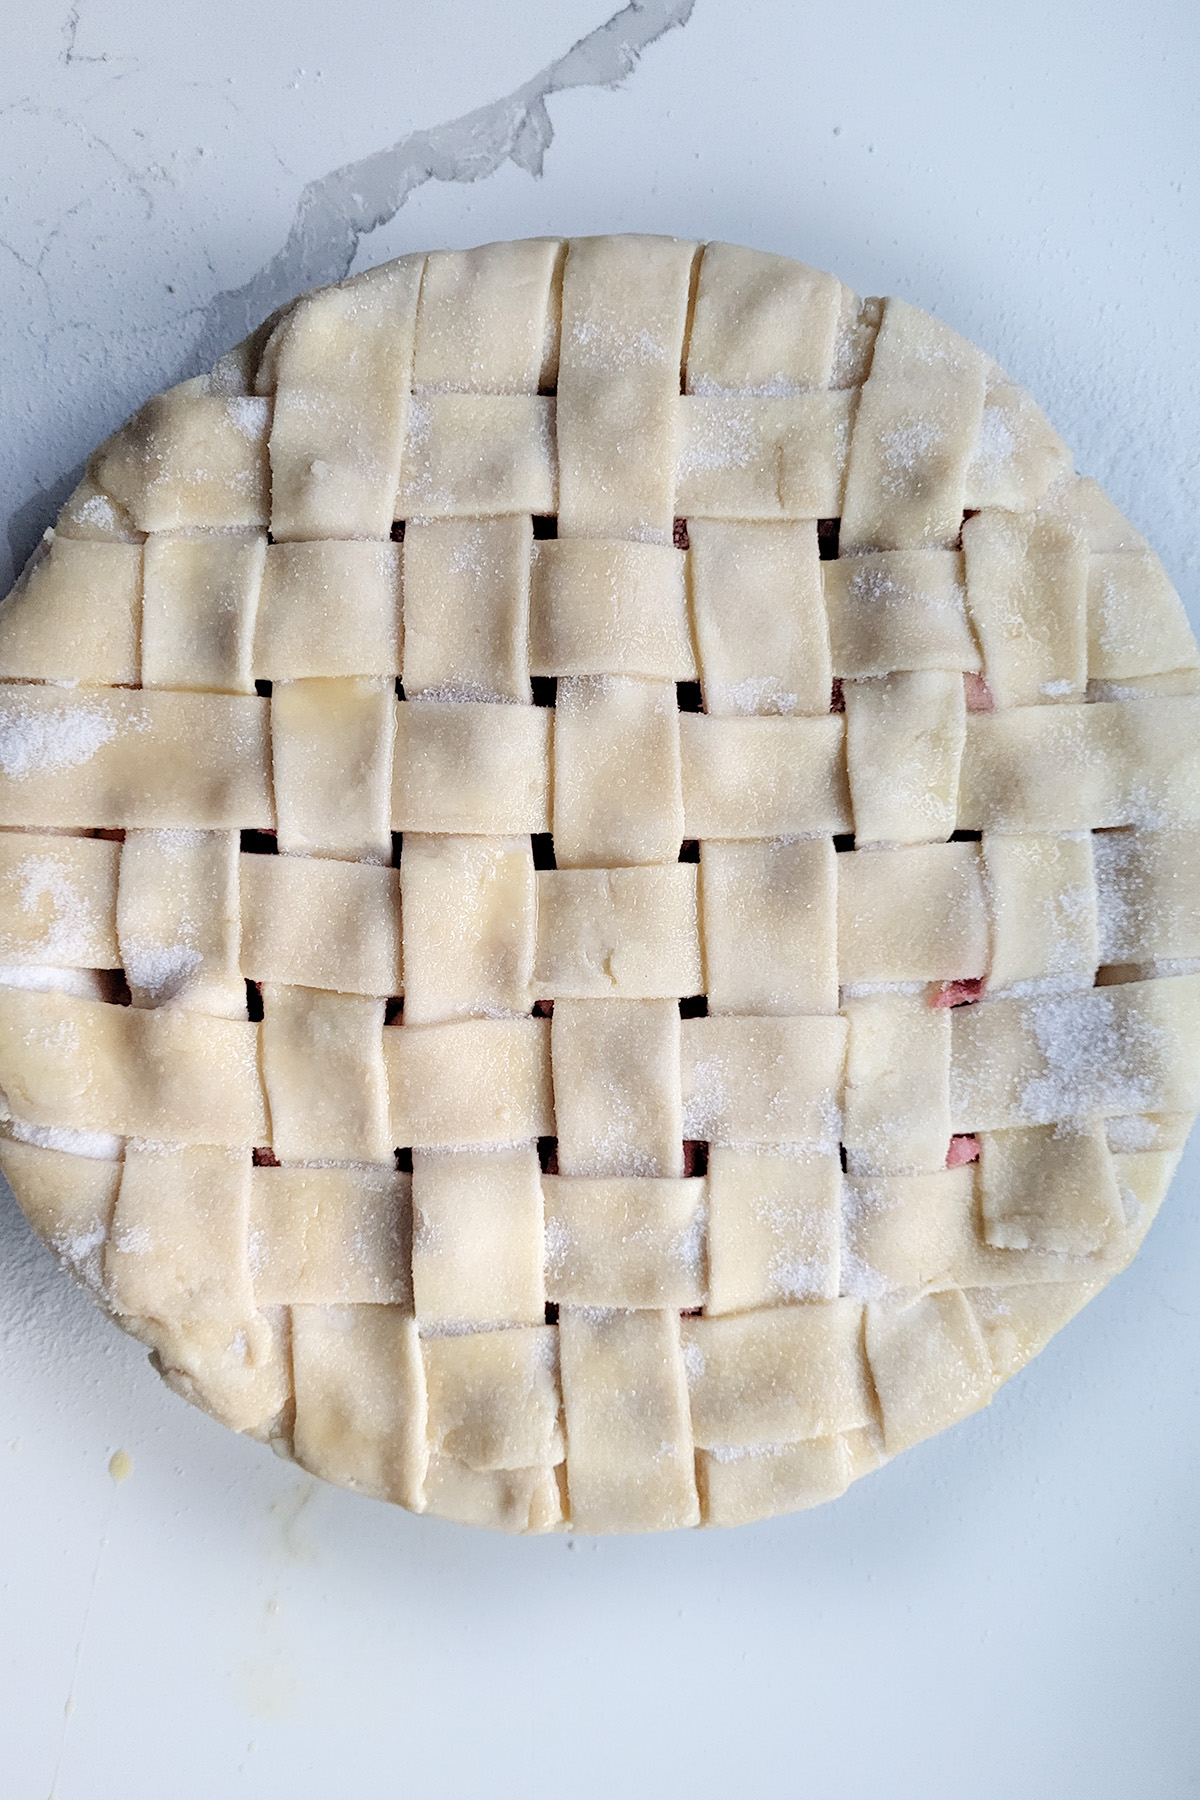
Watch the Process
See the entire weaving technique in action in the video below.
Learn More Pie Recipes & Techniques
Take your pie baking a step further with these tutorials and recipes:
- How to Make Flaky Pie Dough ↗︎ — My step-by-step guide for tender, buttery pastry every time.
- Apple Pie with Lattice Crust ↗︎ — Classic spiced apple filling wrapped in a beautifully woven top.
- Sour Cherry Pie with Lattice Crust ↗︎ — A bright, tart cherry filling that shows off the lattice design perfectly.
- Blueberry Pie with Lattice Crust ↗︎ — Sweet summer blueberries bubbling up through a golden, sugared crust.
- Pie & Tart Hub ↗︎ — Explore all my pie and tart recipes and learn the techniques that make them great.