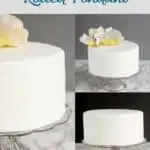


How to Cover a Cake with Fondant
Love it or hate it, there’s no denying that a fondant-covered cake has a polished, porcelain-smooth finish that turns any dessert into a centerpiece. Once you learn the technique, you’ll be ready to create beautiful celebration cakes with professional precision.
If you’ve never worked with fondant before, don’t worry — it’s easier than it looks. Watch the video below and follow the step-by-step guide for a flawless finish.
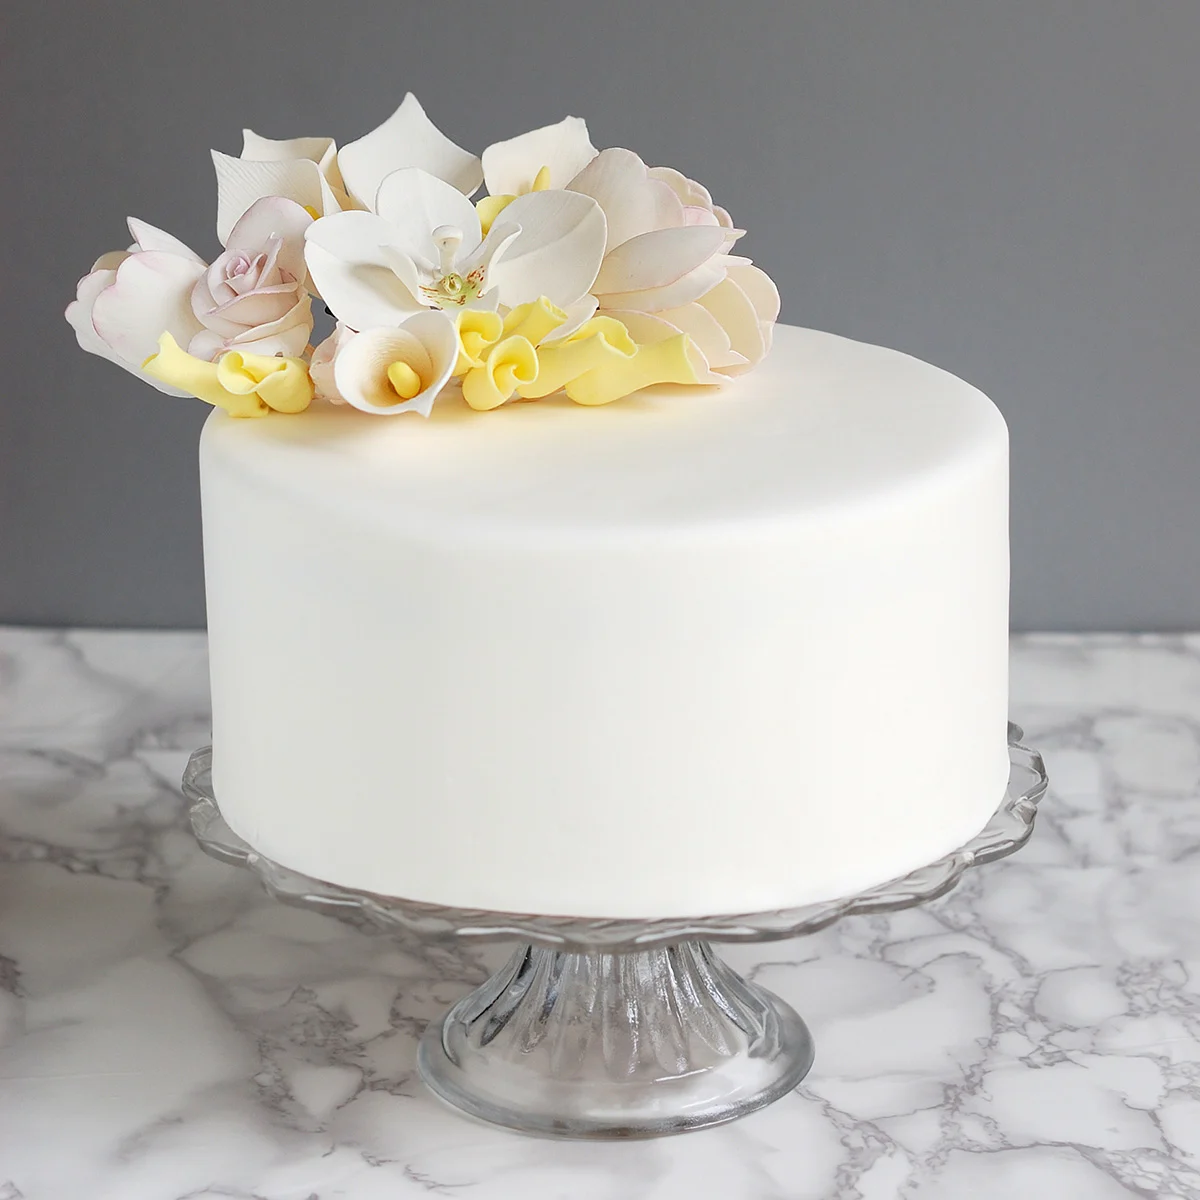
Table of contents
Equipment You’ll Need
Having the tools makes all the difference in how easily and neatly you can cover a cake with fondant.
- Cake Turntable – Optional but helpful for smooth, even coverage.
- Fondant Rolling Pin – For rolling the fondant to an even thickness.
- Cornstarch or Powdered Sugar – To prevent sticking while rolling.
- Fondant Smoother – To press and polish the surface without leaving marks.
- Paring Knife or Pizza Cutter – For trimming excess fondant around the base.
You can buy pre-made fondant or use this recipe to make fondant from scratch.
How to Cover a Cake with Fondant
Once you know the technique, fondant is nothing to fear. Learn how to knead, roll, and smooth fondant for flawless celebration cakes.
- Prepare the Cake
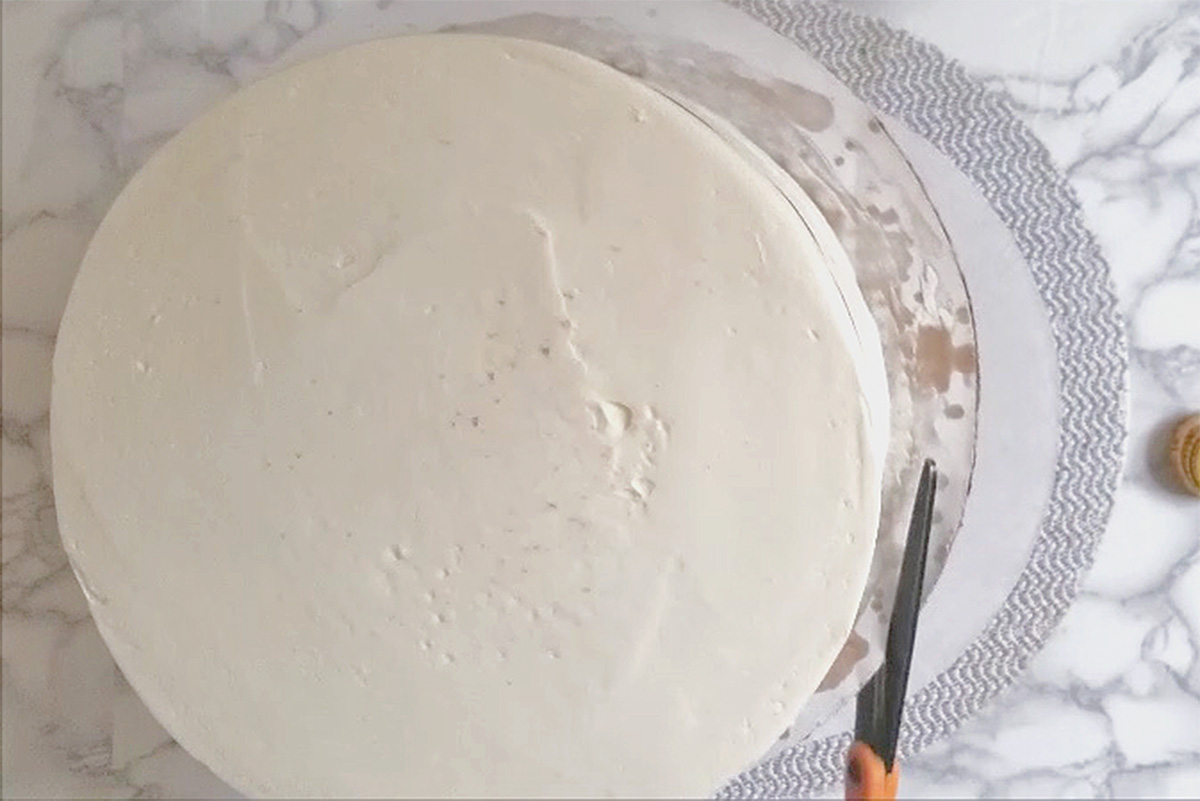
Start with a perfectly straight, chilled cake that’s already coated in a smooth layer of buttercream. Buttercream provides an even surface and prevents the fondant from showing imperfections or color from the cake underneath. Ice the cake on a cardboard circle, then cut the circle even with the bottom edge of the cake. This will give you a perfect guide to trim the fondant.
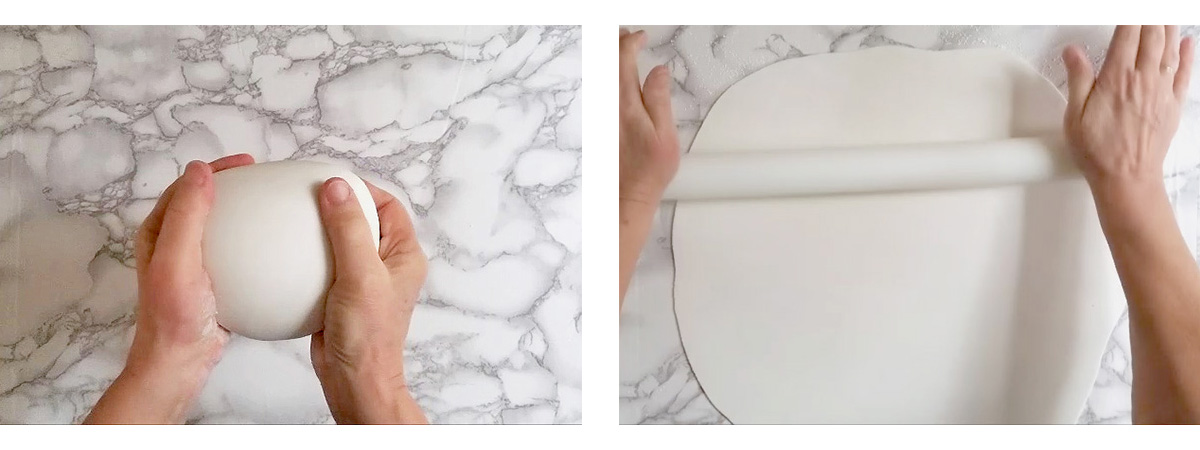
- Roll Out the Fondant
Knead the fondant until it’s soft, smooth, and pliable. Lightly dust your work surface with powdered sugar or cornstarch and roll the fondant from the center out until it’s about ⅛ inch thick and several inches wider than your cake.
- Cover the Cake
Lift the fondant carefully (you can roll it onto the pin for support) and drape it over the cake. With your hands or a fondant smoother, gently smooth the top first, then work down the sides, easing out air bubbles as you go.

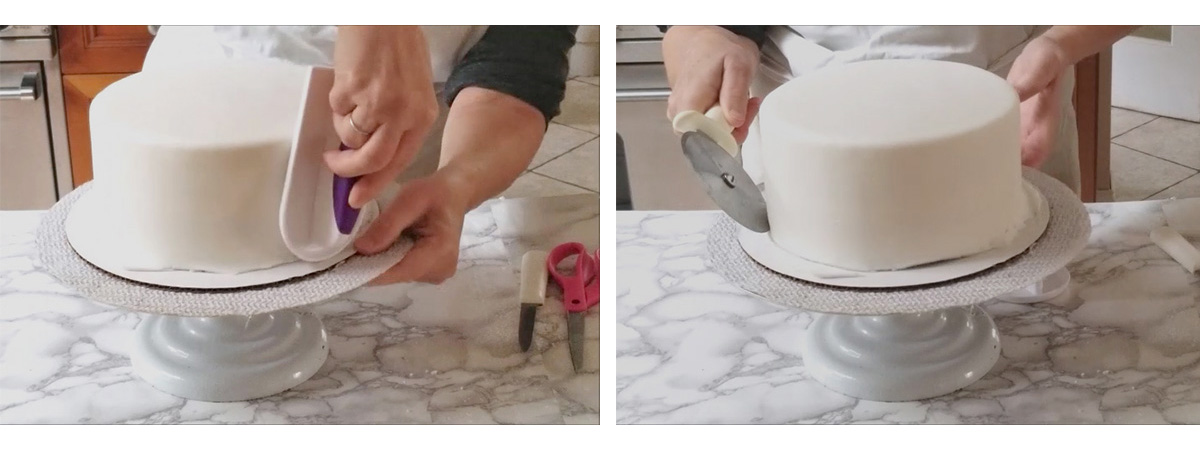
- Trim and Finish
Use a paring knife or pizza cutter to trim the excess fondant at the base. If small bubbles form, pierce them with a pin and smooth them with your fingertip. Finish by buffing the surface lightly with your fondant smoother.
Watch the Video to See the Entire Process
Pastry Chef Tips
- Fondant won’t hide flaws — start with a perfectly iced cake.
- Work slowly and methodically; don’t stretch or pull the fondant.
- Too much powdered sugar can dry the surface and cause cracking (“elephant skin”).
- If the fondant feels dry, knead in a few drops of water; if it’s soft, knead in a little powdered sugar.
- Wrap leftover fondant tightly in plastic wrap and store it airtight for months.
Fondant FAQs
A thin, even coat of buttercream helps the fondant adhere and creates a smooth surface.
Yes. A chilled cake is firm and easier to handle without damaging the shape.
Most cakes keep well at room temperature for 1–2 days and in the fridge for up to 4. Let the cake and filling determine your timeline.
Yes, but keep it covered to prevent condensation — place it in a box or wrap it lightly in plastic wrap and unwrap immediately after removing from the fridge.
es, if both the cake and filling are non-perishable.
Learn More Cake Decorating Techniques
- How to Assemble a Layer Cake ↗︎ — Stack and fill your cake with even layers before covering in fondant.
- How to Ice a Cake Like a Pastry Chef ↗︎ — Perfect your buttercream base before rolling out the fondant.
- How to Make Chocolate Shavings ↗︎ — Add a decorative finish to your fondant cakes.
- Cakes Hub ↗︎ — Browse all my cake recipes and decorating tutorials.