Your Guide to Shaping & Proofing Bread
Once your dough has completed bulk fermentation, it’s time to turn that aerated, lively mass into a loaf with strength and direction.
Shaping organizes the gluten structure, creates surface tension, and prepares the dough for final proof and oven spring. Thoughtful shaping and proper proofing are what turn good dough into beautiful, bakery-quality bread.
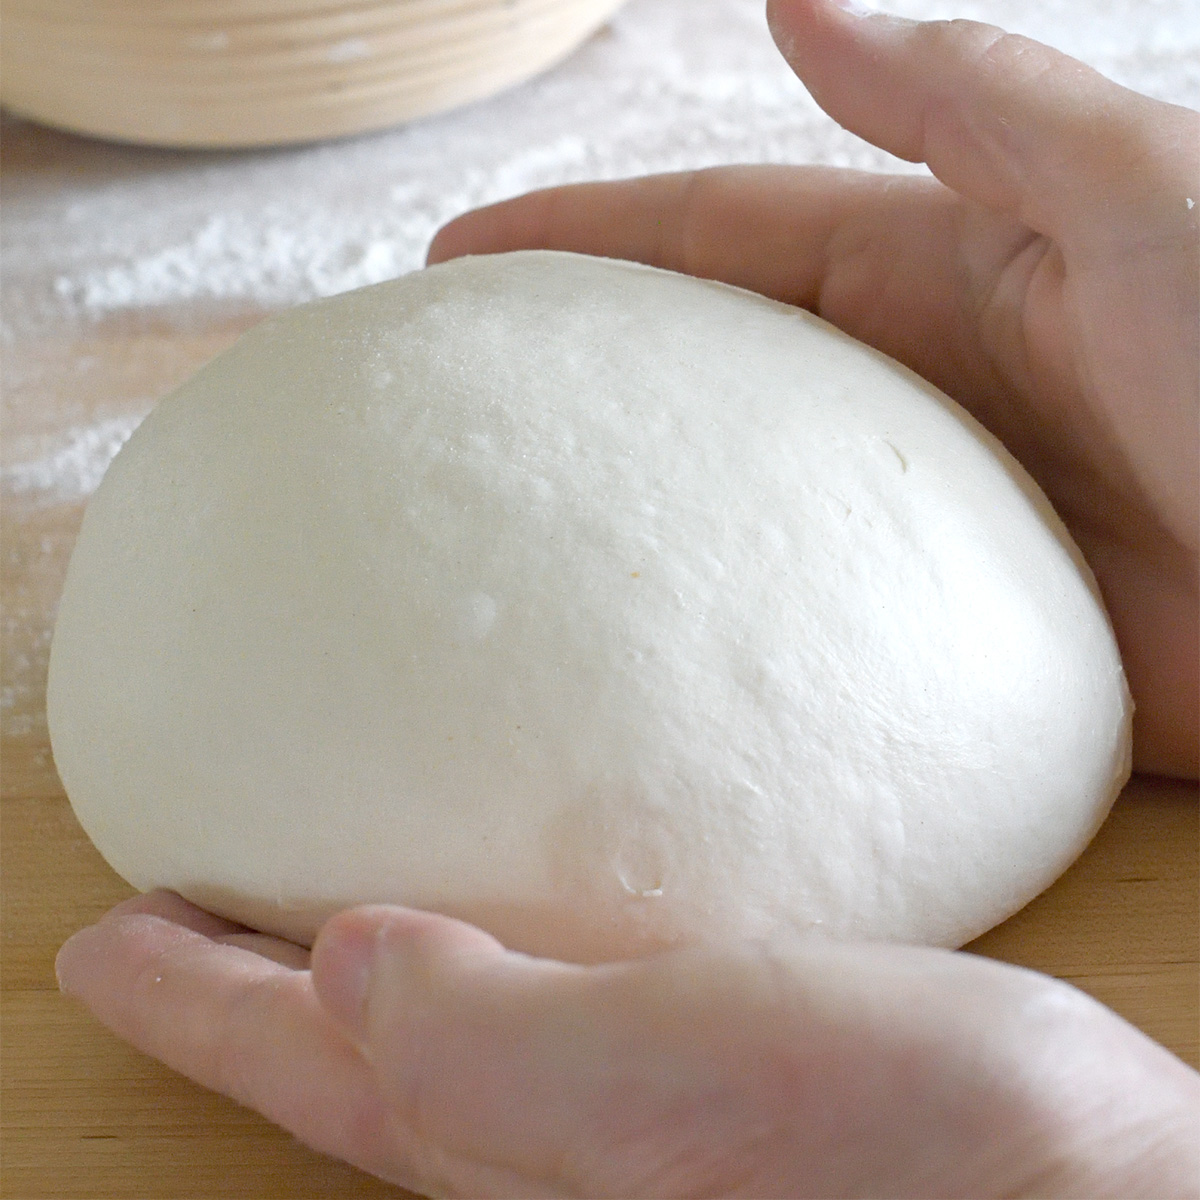
Table of contents
Why Shaping Matters
Shaping isn’t just about appearance—it affects structure, crumb, and rise.
Key Concepts
- Surface tension: A taut outer skin helps the loaf rise upward instead of outward.
- Even structure: Proper shaping aligns gluten strands so the loaf bakes evenly.
- Oven spring: A well-shaped loaf can expand predictably and dramatically in the oven.
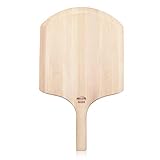
Tools You’ll Need
I’ve listed the bread shaping and proofing tools I recommend. You can make a nice loaf of bread without any specialty tools at all, but the right tools do make the job easier.
**As an Amazon Associate and member of other affiliate programs, I earn from qualifying purchases.**


Step-by-Step Shaping Techniques
Baking Sense Tip
Clean, dry hands make shaping much easier. If your hands are wet or sticky with bits of dough, the loaf will cling and tug as you handle it, breaking the surface tension you’re trying to create. Rinse and dry your hands before each shaping step for smoother, more controlled movements.
Dividing the Dough
- Turn the dough onto a lightly floured surface.
- Use a bench scraper to cut portions cleanly without tearing the gluten.
- For rolls or multiple loaves, weigh portions for even baking.
Pre-Shaping
- Gently pull/fold the dough from the outside towards the center to form a loose round or log. This will begin organizing the gluten.
- Aim for light but purposeful handling. Aggressive handling will cause the dough to release too much gas and you may end up with a dense loaf.
- Cover and rest for 10–20 minutes so the gluten relaxes.
- If the dough is elastic or “fights back,” this rest is essential.
Final Shaping
Shaping is all about creating surface tension. As you tighten the outer “skin” of the dough, you help the loaf rise upward instead of outward and set the structure for good oven spring. Every shaping method—boules, batards, sandwich loaves, braids, or rolls—uses this same idea: firm, confident movements that stretch the surface without tearing it.
Baking Sense Tip
Use flour sparingly during shaping. A light dusting prevents sticking, but too much keeps the dough from gripping the counter or the basket, making it harder to build tension and can leave streaks on the crust.
Boules (Round Loaves)
Boules need plenty of surface tension to encourage upward rise of the loaf.
- Working from a loose round, fold around the edges of the round toward the center. This will begin to align the gluten.
- Flip the dough seam-side down. Using cupped hands, drag the dough towards and away from you in small movements. This “round and round” motion creates surface tension.
- Continue rotating the round until the top feels smooth and taut without tearing.
- If you tear the surface of the dough, let it rest for 5-10 minutes then try again.
Watch: How to Shape a Boule
This short demo shows the hand movements and tension-building steps described above.
Batards (oval loaves)
- Lightly pat the dough into a rectangle.
- Fold the top third down toward the center and press to seal.
- Fold the bottom third up and over, then roll into a tight cylinder.
- Use the sides of your hands to roll the cylinder back and forth allowing the dough to grip the counter to tighten the surface of the dough.
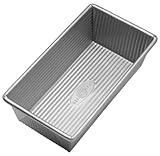
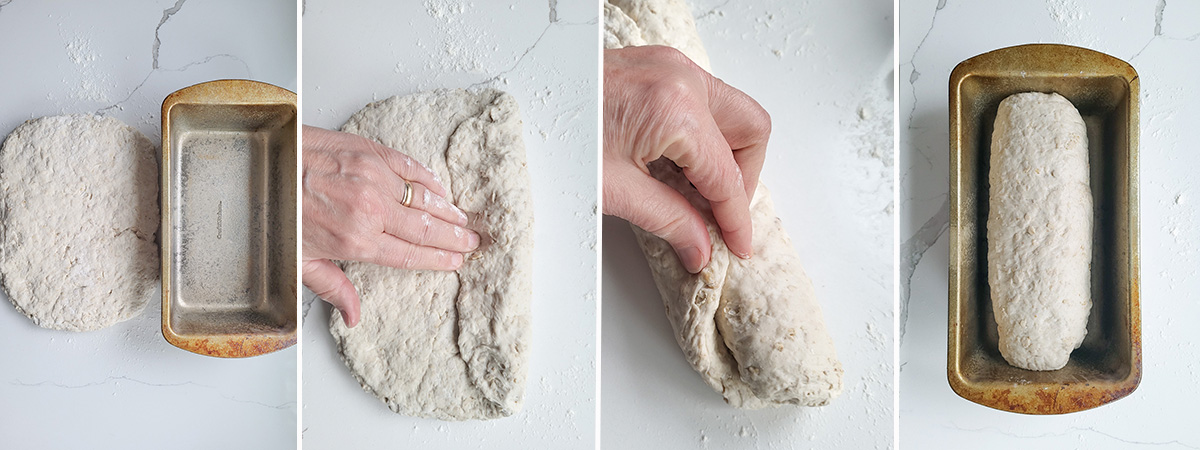
Sandwich Loaves
- Lightly punch down (degas) the dough for a finer crumb.
- Use your hand to flatten the dough into a rectangle the same length as your loaf pan. Roll tightly from the long end, sealing the seam. Gently roll the log back and forth to tighten the surface of the dough.
- Place seam-side down in the loaf pan.
Step-by-Step Photos: How to Shape a Sandwich Loaf
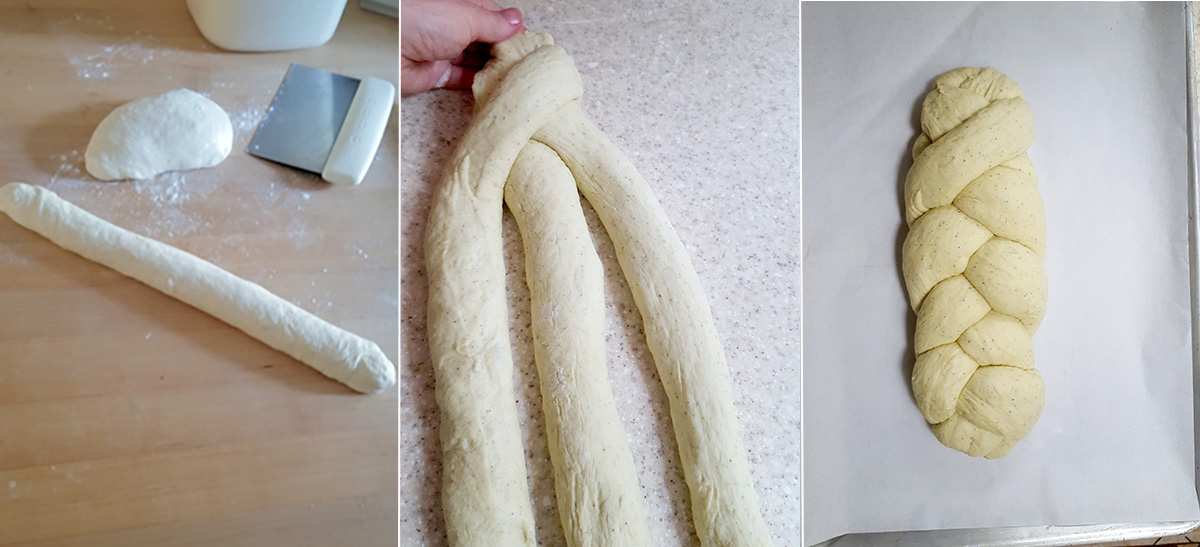
Braided Loaves
- Divide the dough into equal portions and preshape each into a tight round.
- Rest 10–15 minutes to relax the gluten.
- Use both hands to roll each piece into an even strand. Work your hands back and forth along the dough to keep even thickness from end to end.
- Align the strands and pinch them together firmly at the top.
- Braid with steady, even movements, keeping light tension in the strands so the braid holds its shape.
- Tuck the ends under the loaf to seal.
Step-by-Step Photos: How to Shape a Braided Loaf
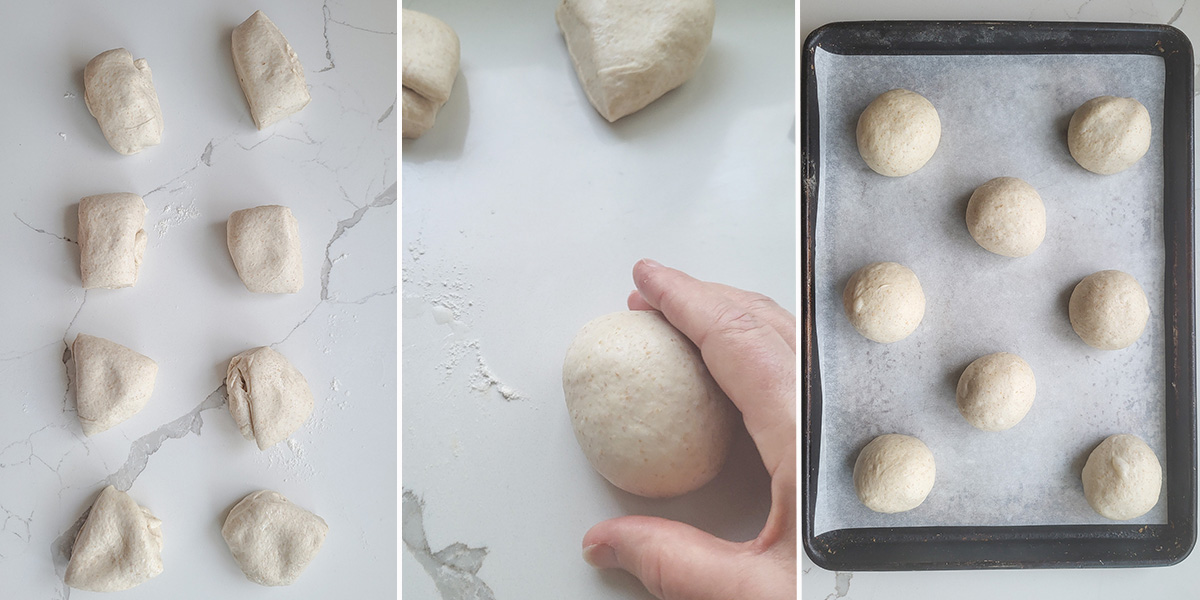
Rolls
- Divide the dough evenly. Use a scale for consistently sized rolls.
- Cup your hand over each piece and move it in small circles on the counter to create a smooth, taut surface.
- Adjust pressure to achieve even rounding without tearing the outer skin.
Step-by-Step Photos: How to Shape Round Rolls
The Final Proof
Proofing allows the shaped dough to relax and expand before baking. A properly proofed loaf feels airy and slightly bouncy.
- Under-proofed dough: Tight, dense crumb; uneven rise; blowouts.
- Over-proofed dough: Weak oven spring; flat, pale loaf; collapsed structure.
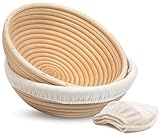
How to Proof a Boule in a Basket
- Lightly flour the proofing basket, or line it with a floured cloth.
I use a mixture of half all-purpose and half rice flour to dust the basket. The slightly gritty texture of rice flour ensures a reliable release. - Place the shaped boule seam-side up in the basket.
- The basket supports the dough as it relaxes, helping it maintain height and a round, even shape.
- Cover the basket to prevent the surface from drying.
How to Proof a Loaf on a Sheet Pan
- Line a sheet pan with parchment.
- Place the shaped loaf seam-side down on the parchment.
- If the dough is very soft or high-hydration, you can support the sides with rolled kitchen towels or use a couche to keep the shape compact.
- Cover the loaf loosely but completely—a large bowl, damp kitchen towel or lightly greased plastic wrap will prevent drying.
- Expect a bit of natural spreading with free-form proofing, especially with rustic or wetter doughs.
How to Check if your Loaf is Proofed
- Finger Dent Test: A gentle press should leave a dimple that fills in slowly.
- Visual Cues: Dough looks fuller, smoother, and slightly jiggly when moved.
- Timing: Depends on dough strength, temperature, and formula.
Yeasted doughs: 1–2 hours.
Sourdough loaves: 2–3 hours, sometimes longer in cooler environments.
Common Shaping & Proofing Mistakes
- Weak surface tension: Loaf spreads instead of rising.
- Under-proofing: Blowouts; tight or gummy crumb.
- Over-proofing: Collapsed structure; pale crust; uneven crumb.
FAQ
Lightly flour the work surface. Too much flour prevents tension; too little causes sticking.
For rustic loaves, only lightly—just enough to even out large bubbles while preserving structure.
For sandwich loaves, release more gas to create the fine, even crumb that holds fillings well.
Don’t bake an over-proofed loaf. Punch it down, reshape, and proof again before baking..
Your dough is now ready to score and bake. Move on to Scoring & Baking Bread Dough →