
Chocolate Ice Cream Cone Recipe
Is it really worth the effort to make your own ice cream cones? Yes! Pre-made cones are fine and all, but crisp, sweet and fresh homemade cones are an extra special way to enjoy your favorite ice cream.
cones
Ingredients
- 4 oz brown sugar (½ cup)
- 4 oz granulated sugar (½ cup)
- ⅛ teaspoon table salt
- 2 large eggs
- 4 oz whole milk (½ cup)
- 2 oz unsalted butter (¼ cup, melted)
- 1 tablespoon vanilla extract
- 3 ¾ oz all purpose flour (¾ cup, see note)
- 1 oz cocoa powder (¼ cup)
Instructions
- In a large bowl, whisk together 4 oz brown sugar, 4 oz granulated sugar, ⅛ teaspoon table salt, 2 large eggs, 4 oz whole milk, 2 oz unsalted butter and 1 tablespoon vanilla extract.
- Whisk in 3 ¾ oz all purpose flour and 1 oz cocoa powder until combined. The batter will look like pancake batter.
- Set aside the batter for 30 minutes or refrigerate overnight. Return the batter to room temperature before making the cookies.
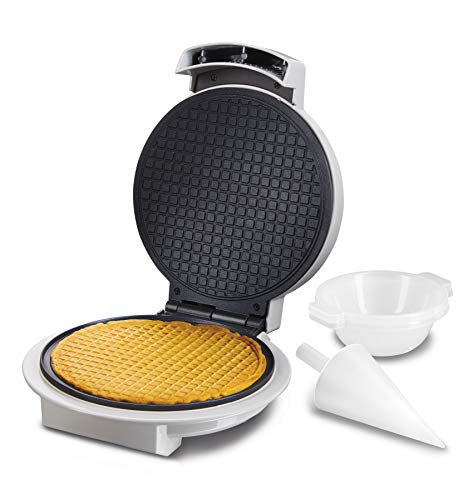
- If you have a pizelle cookie/waffle cone iron, preheat that. If you don't have a cookie iron, line 2 baking sheets with parchment paper or a silicone baking. mat and preheat the oven to 350 °F.
- Use about 2 tablespoons of batter for each cone or adjust the amount of batter according to the instructions for your cookie iron. Scoop the batter into the center of the cookie iron and immediately spread to cover the surface. Close and bake until set. Remove the cookie from the iron and set it on a work surface. Pour another cookie and while that bakes, wrap the first cookie into a cone shape. Continue working with two cookies at a time. While one is baking, form the other into a cone. As the cones cool continue tweaking the shape until they are set.
- If baking the cones in the oven, work with 2 cookies at a time on each baking sheet. For each cookie, spread two tablespoons batter to a 5"-6" circle. Bake one sheet of cookies until set, about 10 minutes. While the first set of cookies is baking, spread the cookies onto the other sheet. Remove the first sheet from the oven and put in the second sheet. While the second sheet is baking, form the cones from the first sheet. Continue working with the sets of cookies until all the batter is used up. (see note)
- Cool completely. Store at room temperature in a tightly covered container.
Would you like to save this recipe?

As an Amazon Associate and member of other affiliate programs, I earn from qualifying purchases.
Notes
If measuring the flour by volume use the “dip & sweep” method. That is, dip the measuring cup into the flour bin, overfill it, then sweep away the excess.
If a cookie starts to harden before you shape it return it to the oven for a minute or two to soften and then continue.
You can create ice cream bowls by draping the warm cookies over the back of a small bowl.
The batter will keep in the refrigerator for several days if you want to make just a couple of cones at a time.
Have you tried this recipe?Mention @eileen.bakingsense or tag #bakingsense!